Since Chris and I moved aboard Avocet three years ago, we noticed that our fresh produce was going bad more quickly than it should and that the fridge compressor was running nearly 24/7, putting unnecessary strain on our batteries. Having finished a majority of our larger refits, including building our new lithium battery bank, we decided “now” was the best time to finally look into the issue and tackle whatever project lied ahead. Our theory was that the insulation (or lack thereof) was the culprit and was soon confirmed, leading us into our fridge rebuild.
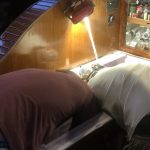
My favorite part of every project (besides finishing them) is the demolition and discovery phase because that’s where we learn what went wrong and how we can improve the design. When we ripped off the once-white-now-stained Formica countertop to reveal what was in the “walls” of our fridge and freezer, we were shocked. The fridge (or icebox, rather) was a liner that sat inside the surrounding walls. From the looks of it, the previous owners had taken a crack at resolving this poor insulation issue themselves and chose to use open-cell foam in between the liner and walls. However, there was not enough foam to encapsulate the liner entirely leaving a lot of voids. With a multitool and circular saw, Chris cut the remaining large pieces of the fiberglass liner out to access the walls and bottom of the fridge cavity, where we uncovered the remains of wet and moldy foam that undoubtedly added to the overall inefficiency.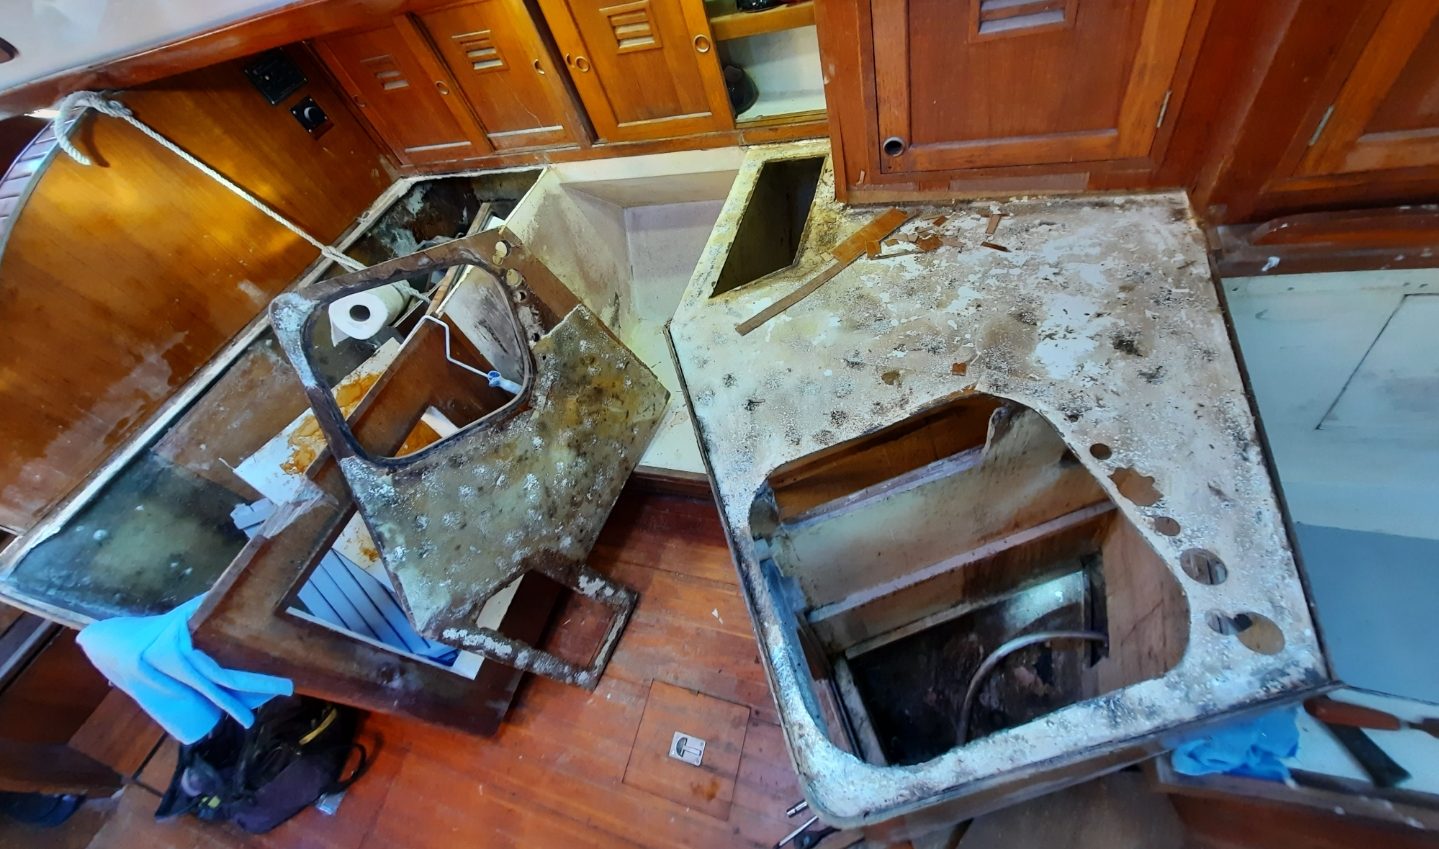
With the wet foam and remnants of the previous owners’ attempted fix stuffed in an XL Hefty trash bag, we researched our insulation options for a permanent solution as we were on a mission to make the most efficient boat fridge possible for Avocet. After doing our due diligence and reading articles from IsoTherm, Nigel Calder, and other notable marine-fridge experts the collective conclusion was to reinsulate the fridge with a type of XPS Foam – a closed-cell foam that will not absorb water. This material is ideal for the marine atmosphere not only because of the high moisture content in the air but also because of the temperature fluctuation that the fridge walls experience during night and day. Also, due to the water repellent properties, if there is ever a leak in the interior liner the foam will not degrade or fall apart as the previous foam did. The rigid texture of the XPS foam allowed us to build the insulation liner like Lego blocks, cutting each sheet to match the unique corners and curves of the fridge cavity, maximizing the space and ensuring there were no voids.
 Before finally settling on the XPS Foam, we did weigh the option of using closed-cell-pour-in foam such as US Composites 2 part expanding foam but realized that if we used a pour in foam it would require us to suspend the cold plate while the foam expanded, and we would have had to build another FRP liner. Having worked with closed-cell foam many times prior, we know that it is a messy job and runs the risk of getting voids while the foam expands, which is what we believe happened with the original insulation. Not only was this option tempting history to repeat itself, but it also would have cost nearly double what it did to insulate using XPS foam. For $120 USD, we bought 6 sheets of Insulpink Foamular 1’’ thick 4×8’ XPS Foam at Home Depot in Nevada, since it was unavailable in that size in all California locations.
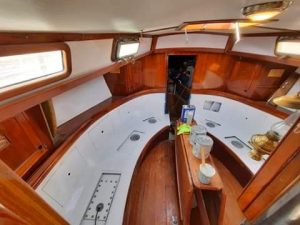
In our original plans, we were going to build the fridge on top of the FRP liner that already existed in the old fridge layout. However, due to the pour-in foam technique that was originally used, we realized that we needed to not only make the interior liner of the fridge so the foam would have something to go around but also the hull and walls of the cabinetry in the galley. In addition to the interior liner, there was also an exterior liner in between the hull and the walls of the fridge, sandwiching the foam together in what we can only assume was a way to preserve materials while also making the process easier and quicker to build. Chris believes that the fridge was most likely completely built and insulated outside of the boat before being “popped” into place when the interior was being constructed.
The galley countertops, cabinets, and oven space are made of one large liner that is attached to the hull on the outside walls. This likely meant that the entire galley was lifted down into the hull to be tabbed into place and finished with teak and hardware before the deck was installed on top – very similar to how new production boats are built. Although great in theory, this technique left a huge waste of space in the fridge and freezer by not bringing the foam all the way to the hull, causing inches of usable space to be lost. While preparing to install our new insulation, we made the executive decision to cut the liner out, separating the hull from where the foam could lay. By doing this we could build up four inches of thickness and keep not only the original amount of usable space inside the fridge but also keep the beam-to-beam measurement, therefore, increasing the overall volume inside. Another reason he decided to cut out the liner was to fully tab the areas that were not glassed to the hull for added strength.
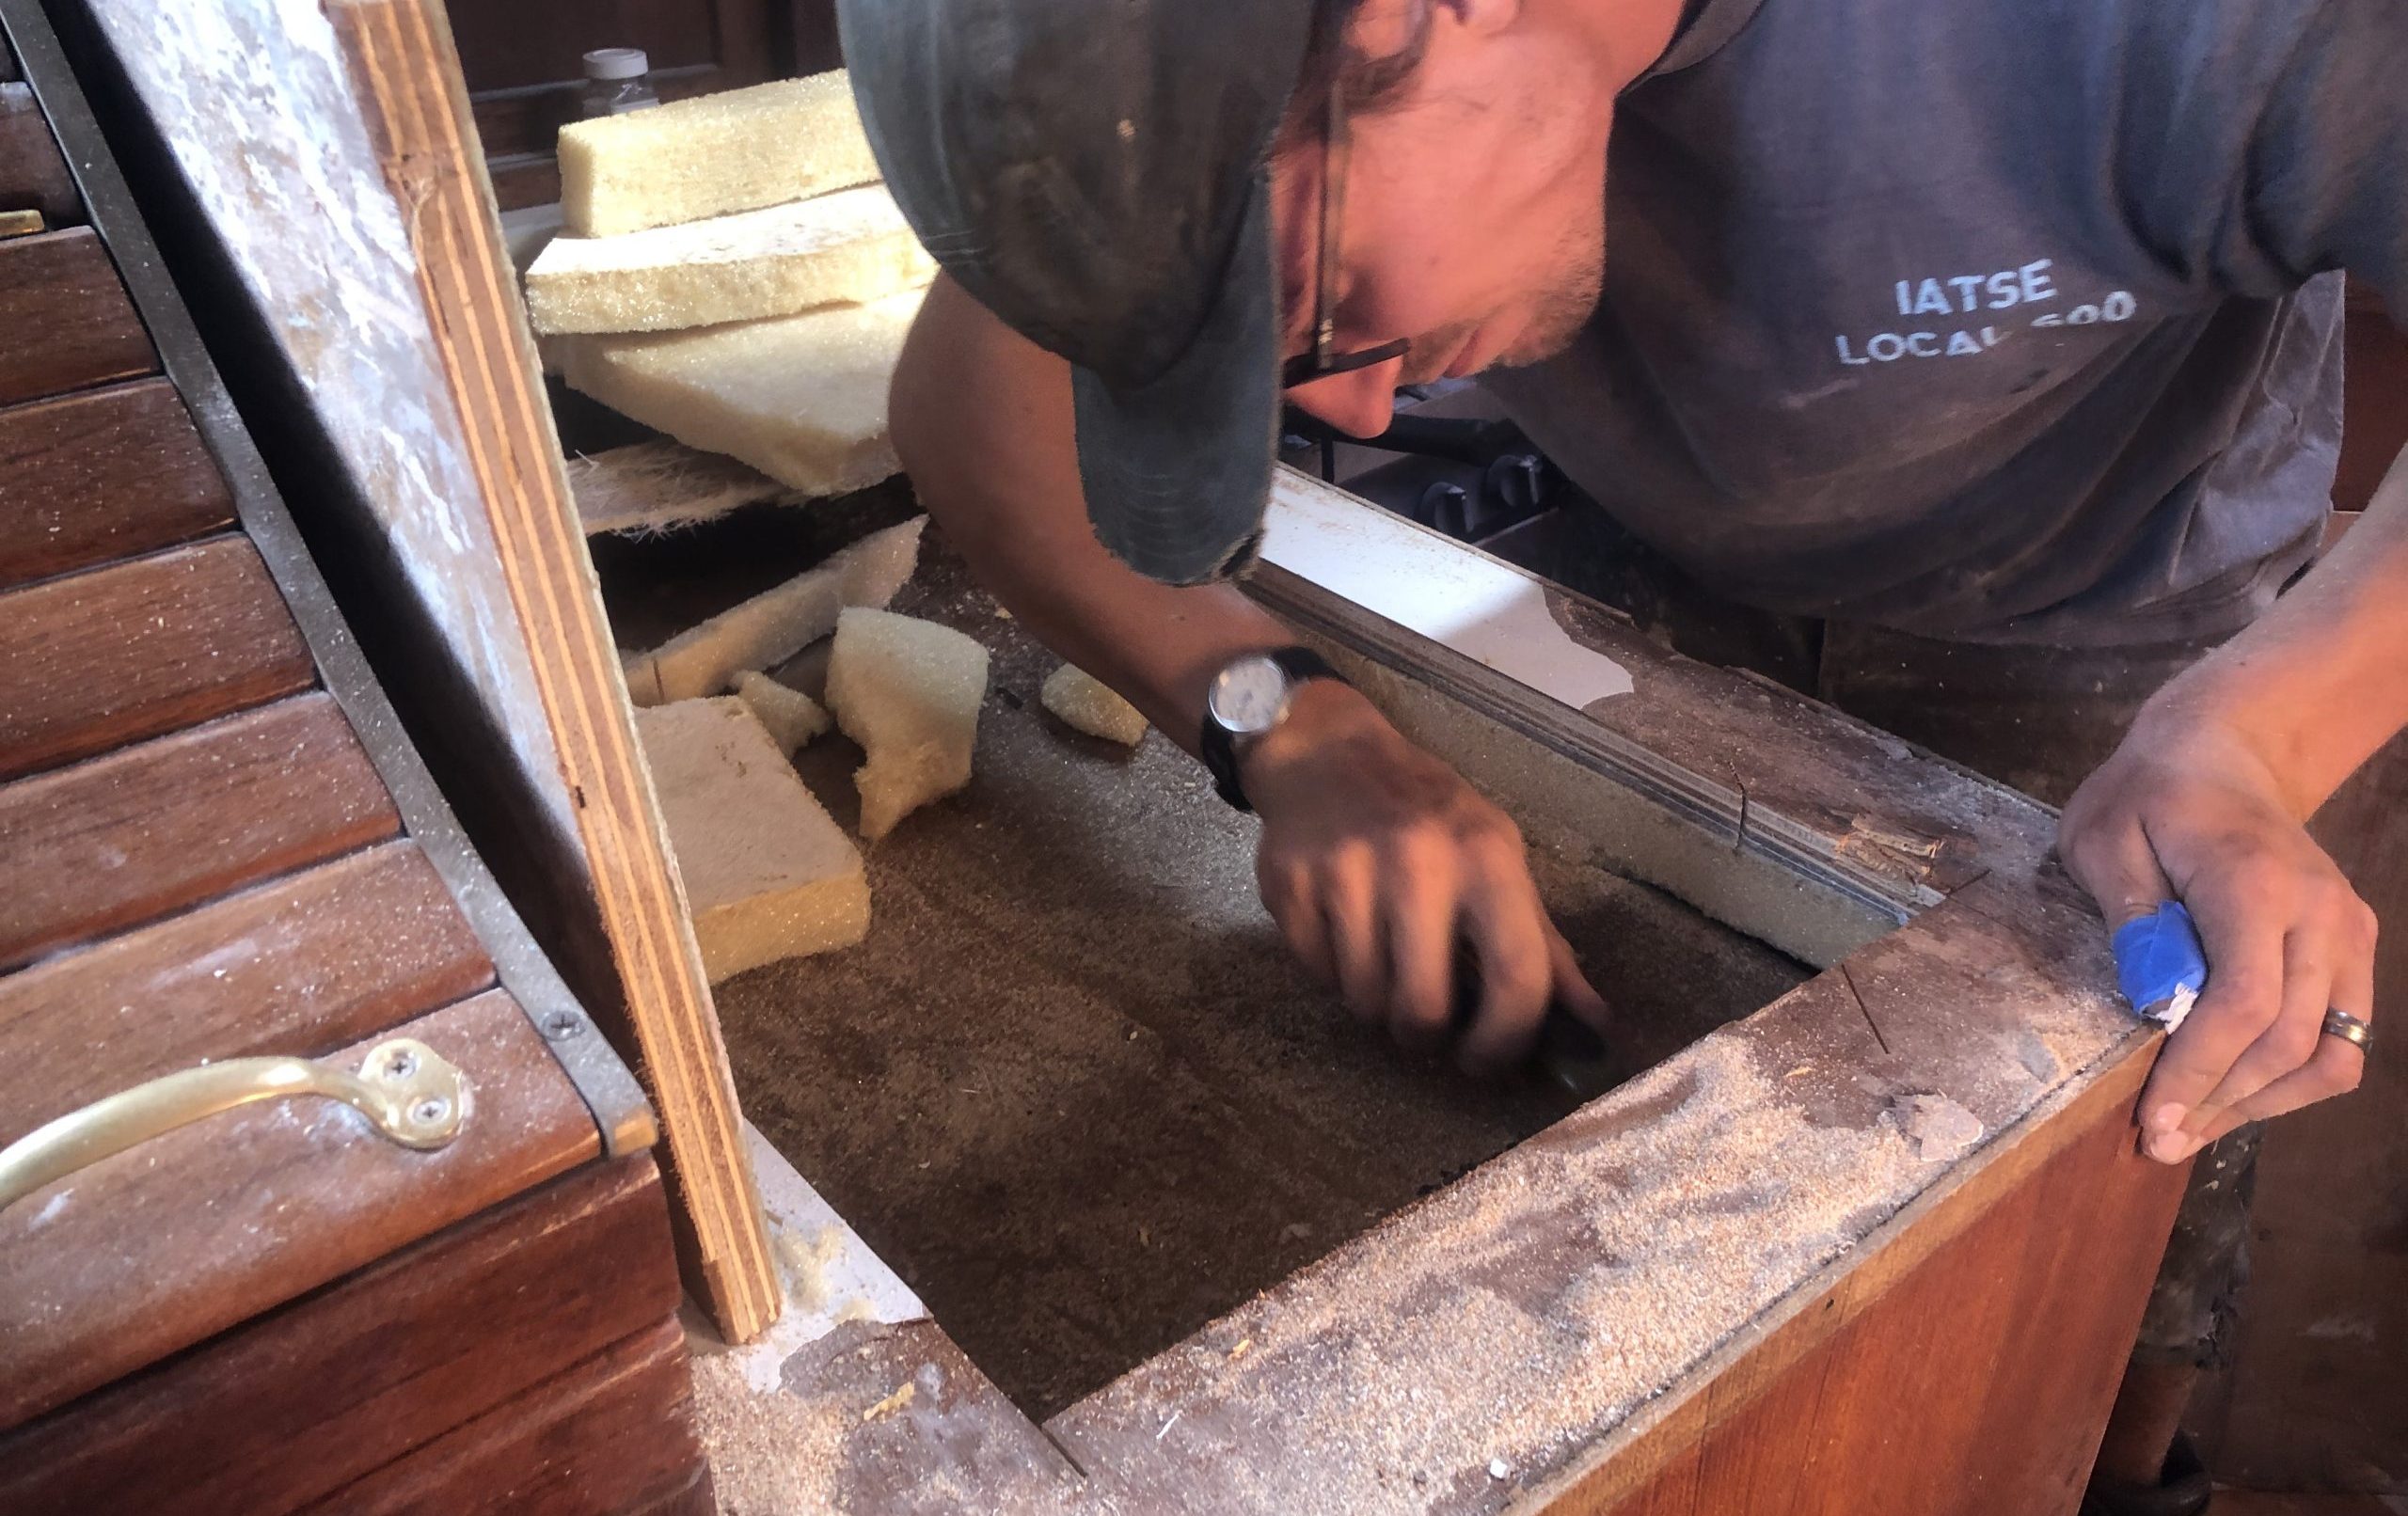
Recreating the fridge’s previous flat floor seemed to be the path of least resistance. However, after seeing how much space was wasted in the original footprint, we decided to cut the entire liner out and build up from there. Although this task seems daunting to most, Chris has many years of experience working with fiberglass from small repairs to building entire fishing vessels (which he did for a short stint in 2018). Within two hours, he had removed the floor (the remainder of the liner), which exposed the hull and bilge. Armed with his multi-tool and circular saw, he cut out an estimated 100 pounds of wet foam and 100 pounds of the overly-engineered fiberglass liner. After some serious grinder time, Chris was able to tab two layers of 1708 biaxial fiberglass connecting the bulkheads to the hull, reinforcing the structural integrity and our peace of mind.
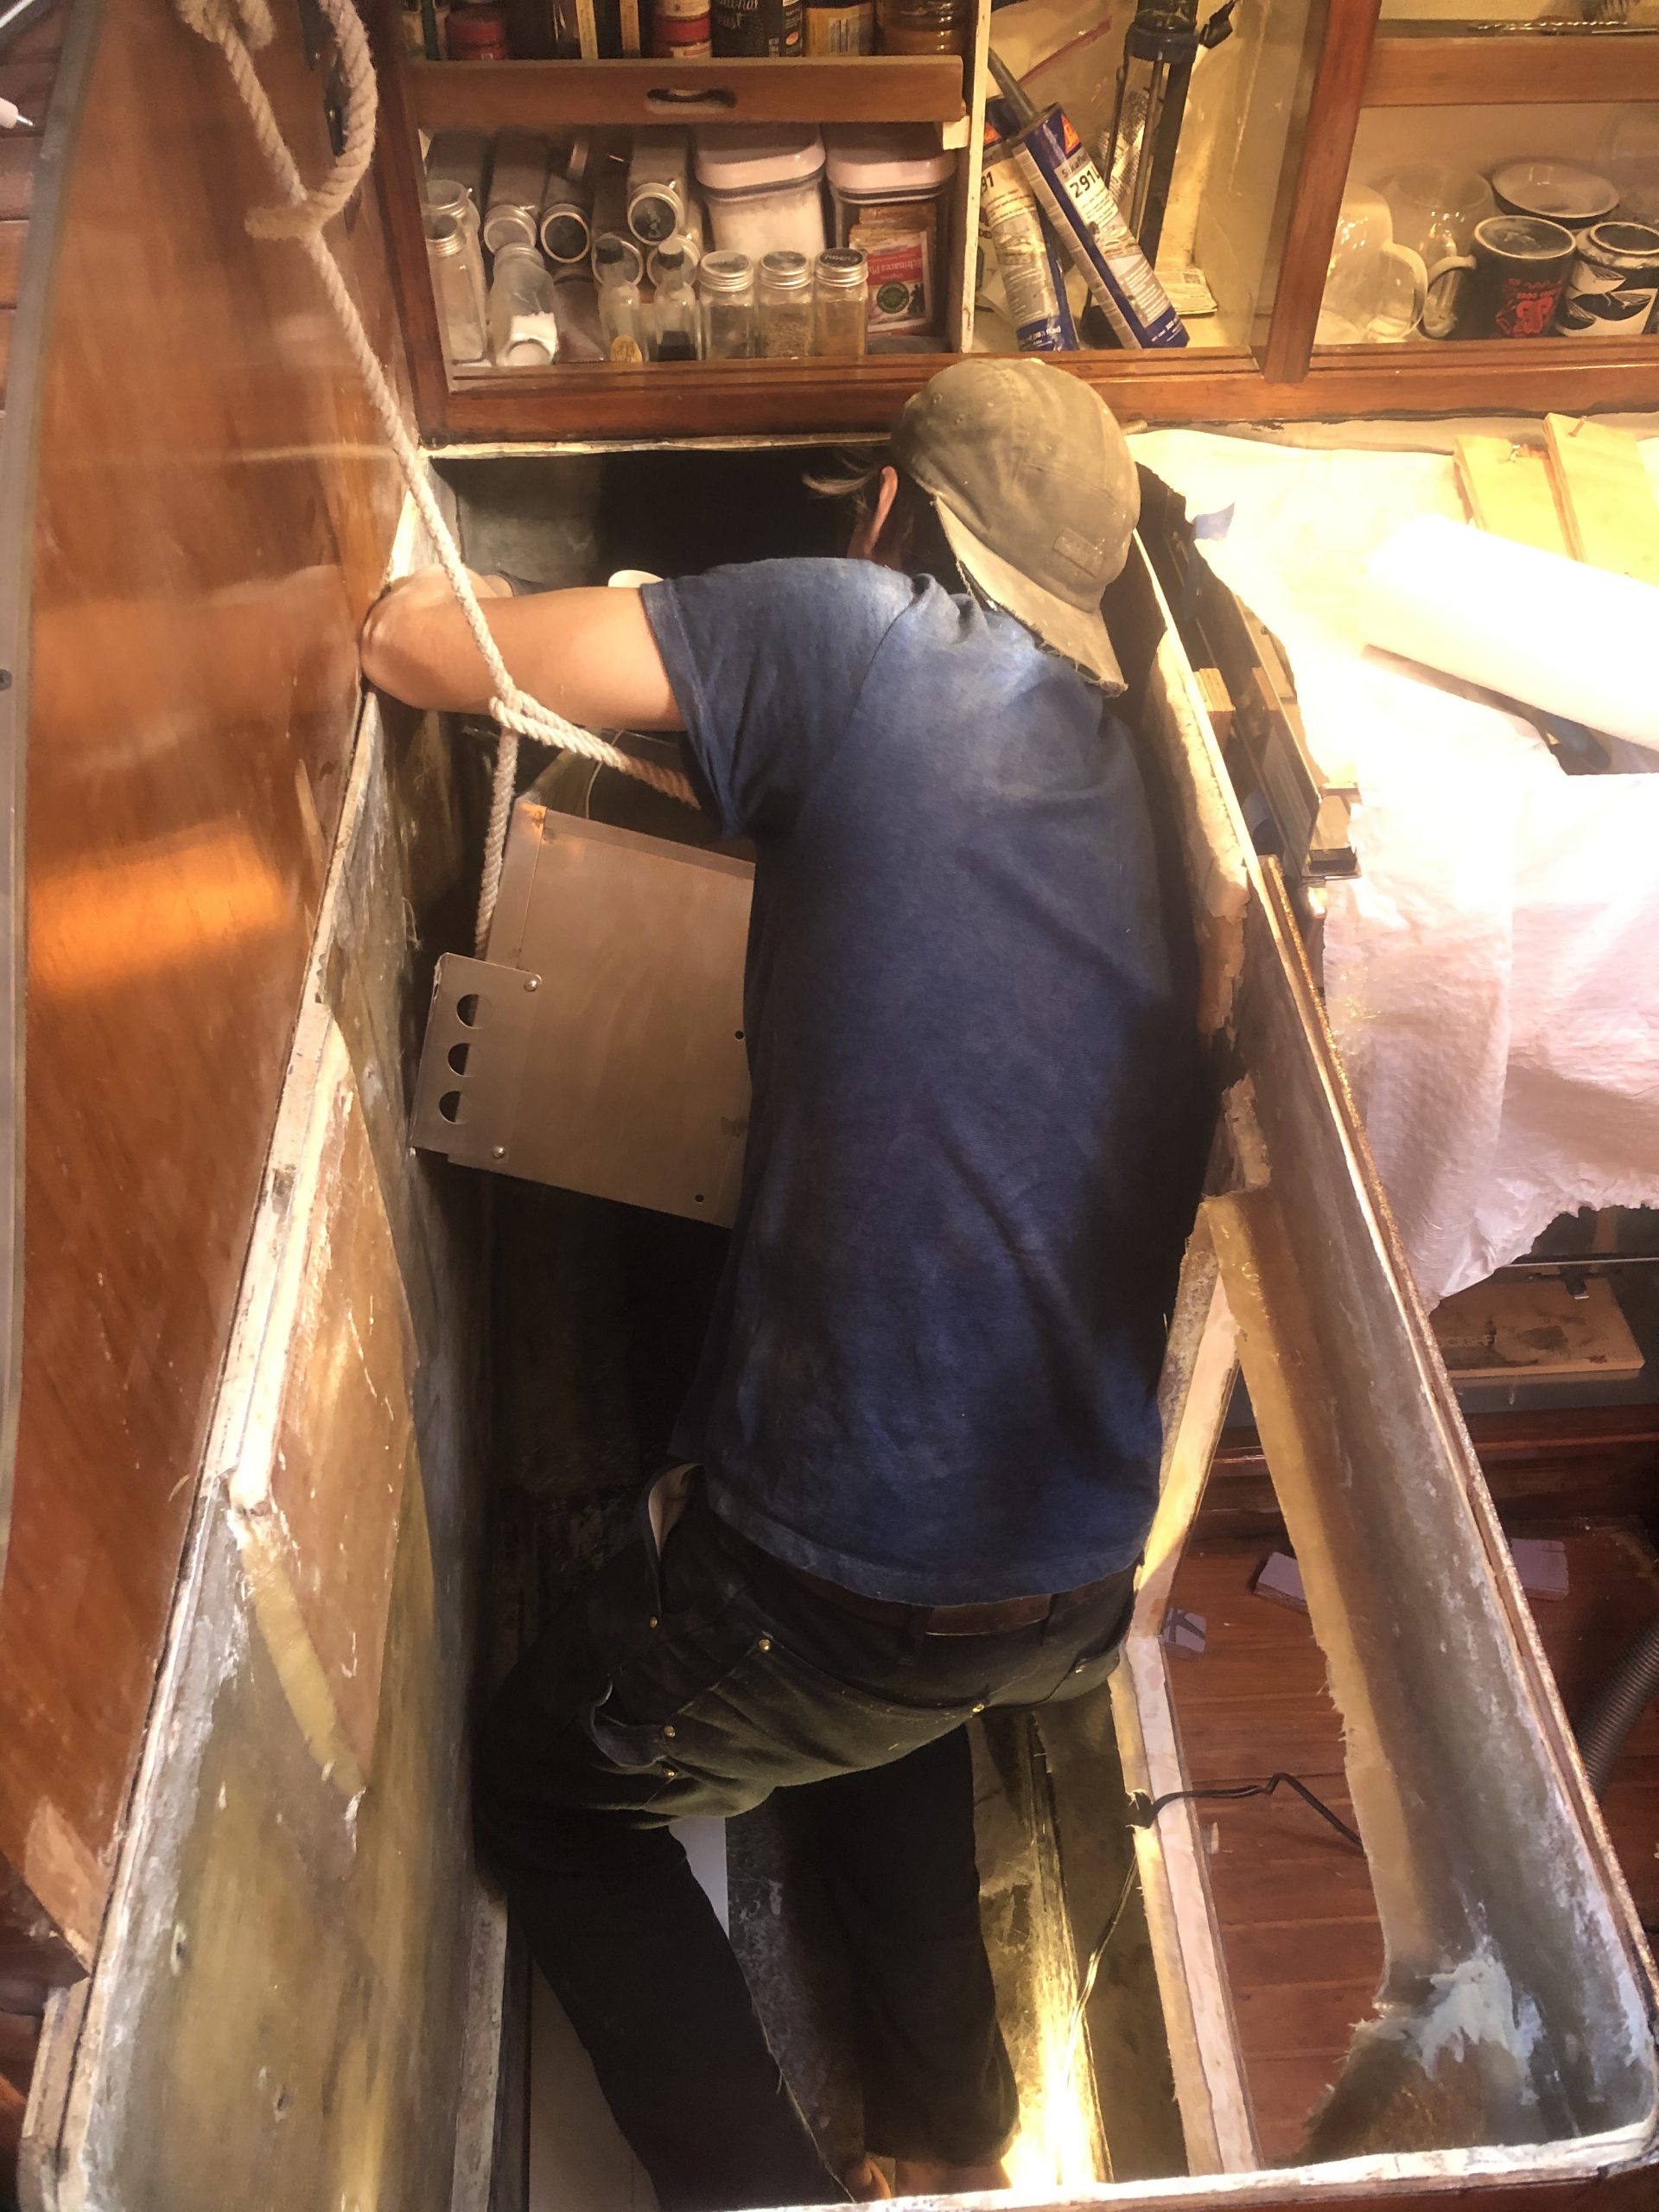
With a blank canvas and the curvature of the hull exposed, the space lost from the liner was reclaimed and we were able to put a full 4 inches of foam against the hull while still having more room inside than the original design. After reading another round of marine fridge-building articles, we decided that it would be best to get our fridge walls, floor, and ceiling to an insulation rating of at least R20, considering that anything under R20 loses a significant amount of energy. To achieve our desired rating, we used the 1” thick XPS insulation panels that held an R5 rating themselves, and played around with different configurations and layers inside the fridge cavity, ultimately deciding on 3” of insulation on all walls with 8” inches between the floor and engine compartment.
Before installing the XPS foam, Chris and his brother Jon (who was visiting from the east coast) created templates using hot glue and straight timber, like paint mixing sticks, to ensure that the foam cuts would match the unique angles and curvature. This technique prevented the waste of materials and space, ensuring our cuts would be precise- measure twice, cut once! We deeply insulated the fridge bottom well below where the “floor” sits, taking into consideration that the heat from our engine that lies under the cabin sole had affected this area prior. By carrying the insulation so deep into the bilge (down to 8 inches in some areas), we had the opportunity to create what we now know as the “beer well,” which can hold a 30-pack of beer cans (or sparkling water), thus giving us even more storage space than originally anticipated. The “well” is covered by a grate that serves as part of the new fridge floor.
-
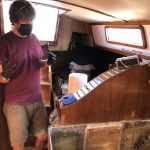
- Jon Supervising
-
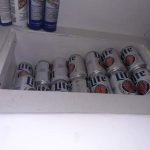
- The Beer Well
-
- Brother Bonding
The bottom of the fridge
While working in the fridge cavity, we suspended the Sea Frost evaporator plate using a spare line to prevent having to completely remove all of the copper tubes and connections. For a brief time, Chris and I had considered replacing the cold plate but had no real reason to since it worked great and was a relatively newer upgrade installed by the previous owners, in what we estimate sometime was sometime in the mid-2000s. We were careful to not disturb the seemingly precarious arrangement as we distorted our bodies in and out of the space, making sure our reconstructive efforts were thorough.
After a full five days of templating, cutting, and dry fitting the fridge actually looked like a fridge once again and we could move forward with gluing everything in place. Chris had originally thought that our one gallon of thickened epoxy would see us through to the end of this project, but this was not Jon’s first rodeo (or refit, I suppose), and he knew there was no way we had enough epoxy to bond every piece of insulation together. After some more thought and discussion, the brothers decided to adhere the pieces using 20 tubes of Sika 291-lot that were purchased prior with the intentions of a different project. When the test piece was proven a success, Chris removed all of the dry-fit foam for the last time and labeled each one so we would know which piece went where when installing for the final time. In addition to the Sika 291-lot, we used expanding foam in the corners and wherever else there were gaps between materials to ensure there were no voids mitigating the possibility for air to escape. This process took a couple of hours to complete and a full 24 hours to cure, using carefully placed wedged clamps to keep everything in place.
With the pink XPS foam installed and bonding agents cured, the next step of the project was to cover the foam with something durable, easy to clean, and waterproof that would present well since it would be what is seen when the fridge is opened. Between Chris, Jon, and myself many ideas were thrown around regarding what method and materials to use. Glassing the interior was ruled out due to the mess it would make, as well as how much time and materials it would take to complete. This led to our consideration of buying ⅛’’ G10 sheets and gluing them in place since Chris liked the durability aspect. However, we would need about $600 worth of G10 and still have to paint afterward, which was not preserving our budget or time. Jon recommended using pre-manufactured FRP boards with a glossy white finish because it was only $30 per 4×8’ sheet and would give us the same finished look we were wanting. With our minds made up, we pulled out the hot glue gun and created more templates to cut the FRP board, leading to the final installation of rigid panels using thickened epoxy. The best part about this decision: no sanding required! Chris mixed the last of our thickened epoxy with a white pigment and ran the fillets on all the hard corners of the fridge where the edges of the board came together creating a smooth and rounded finished look.
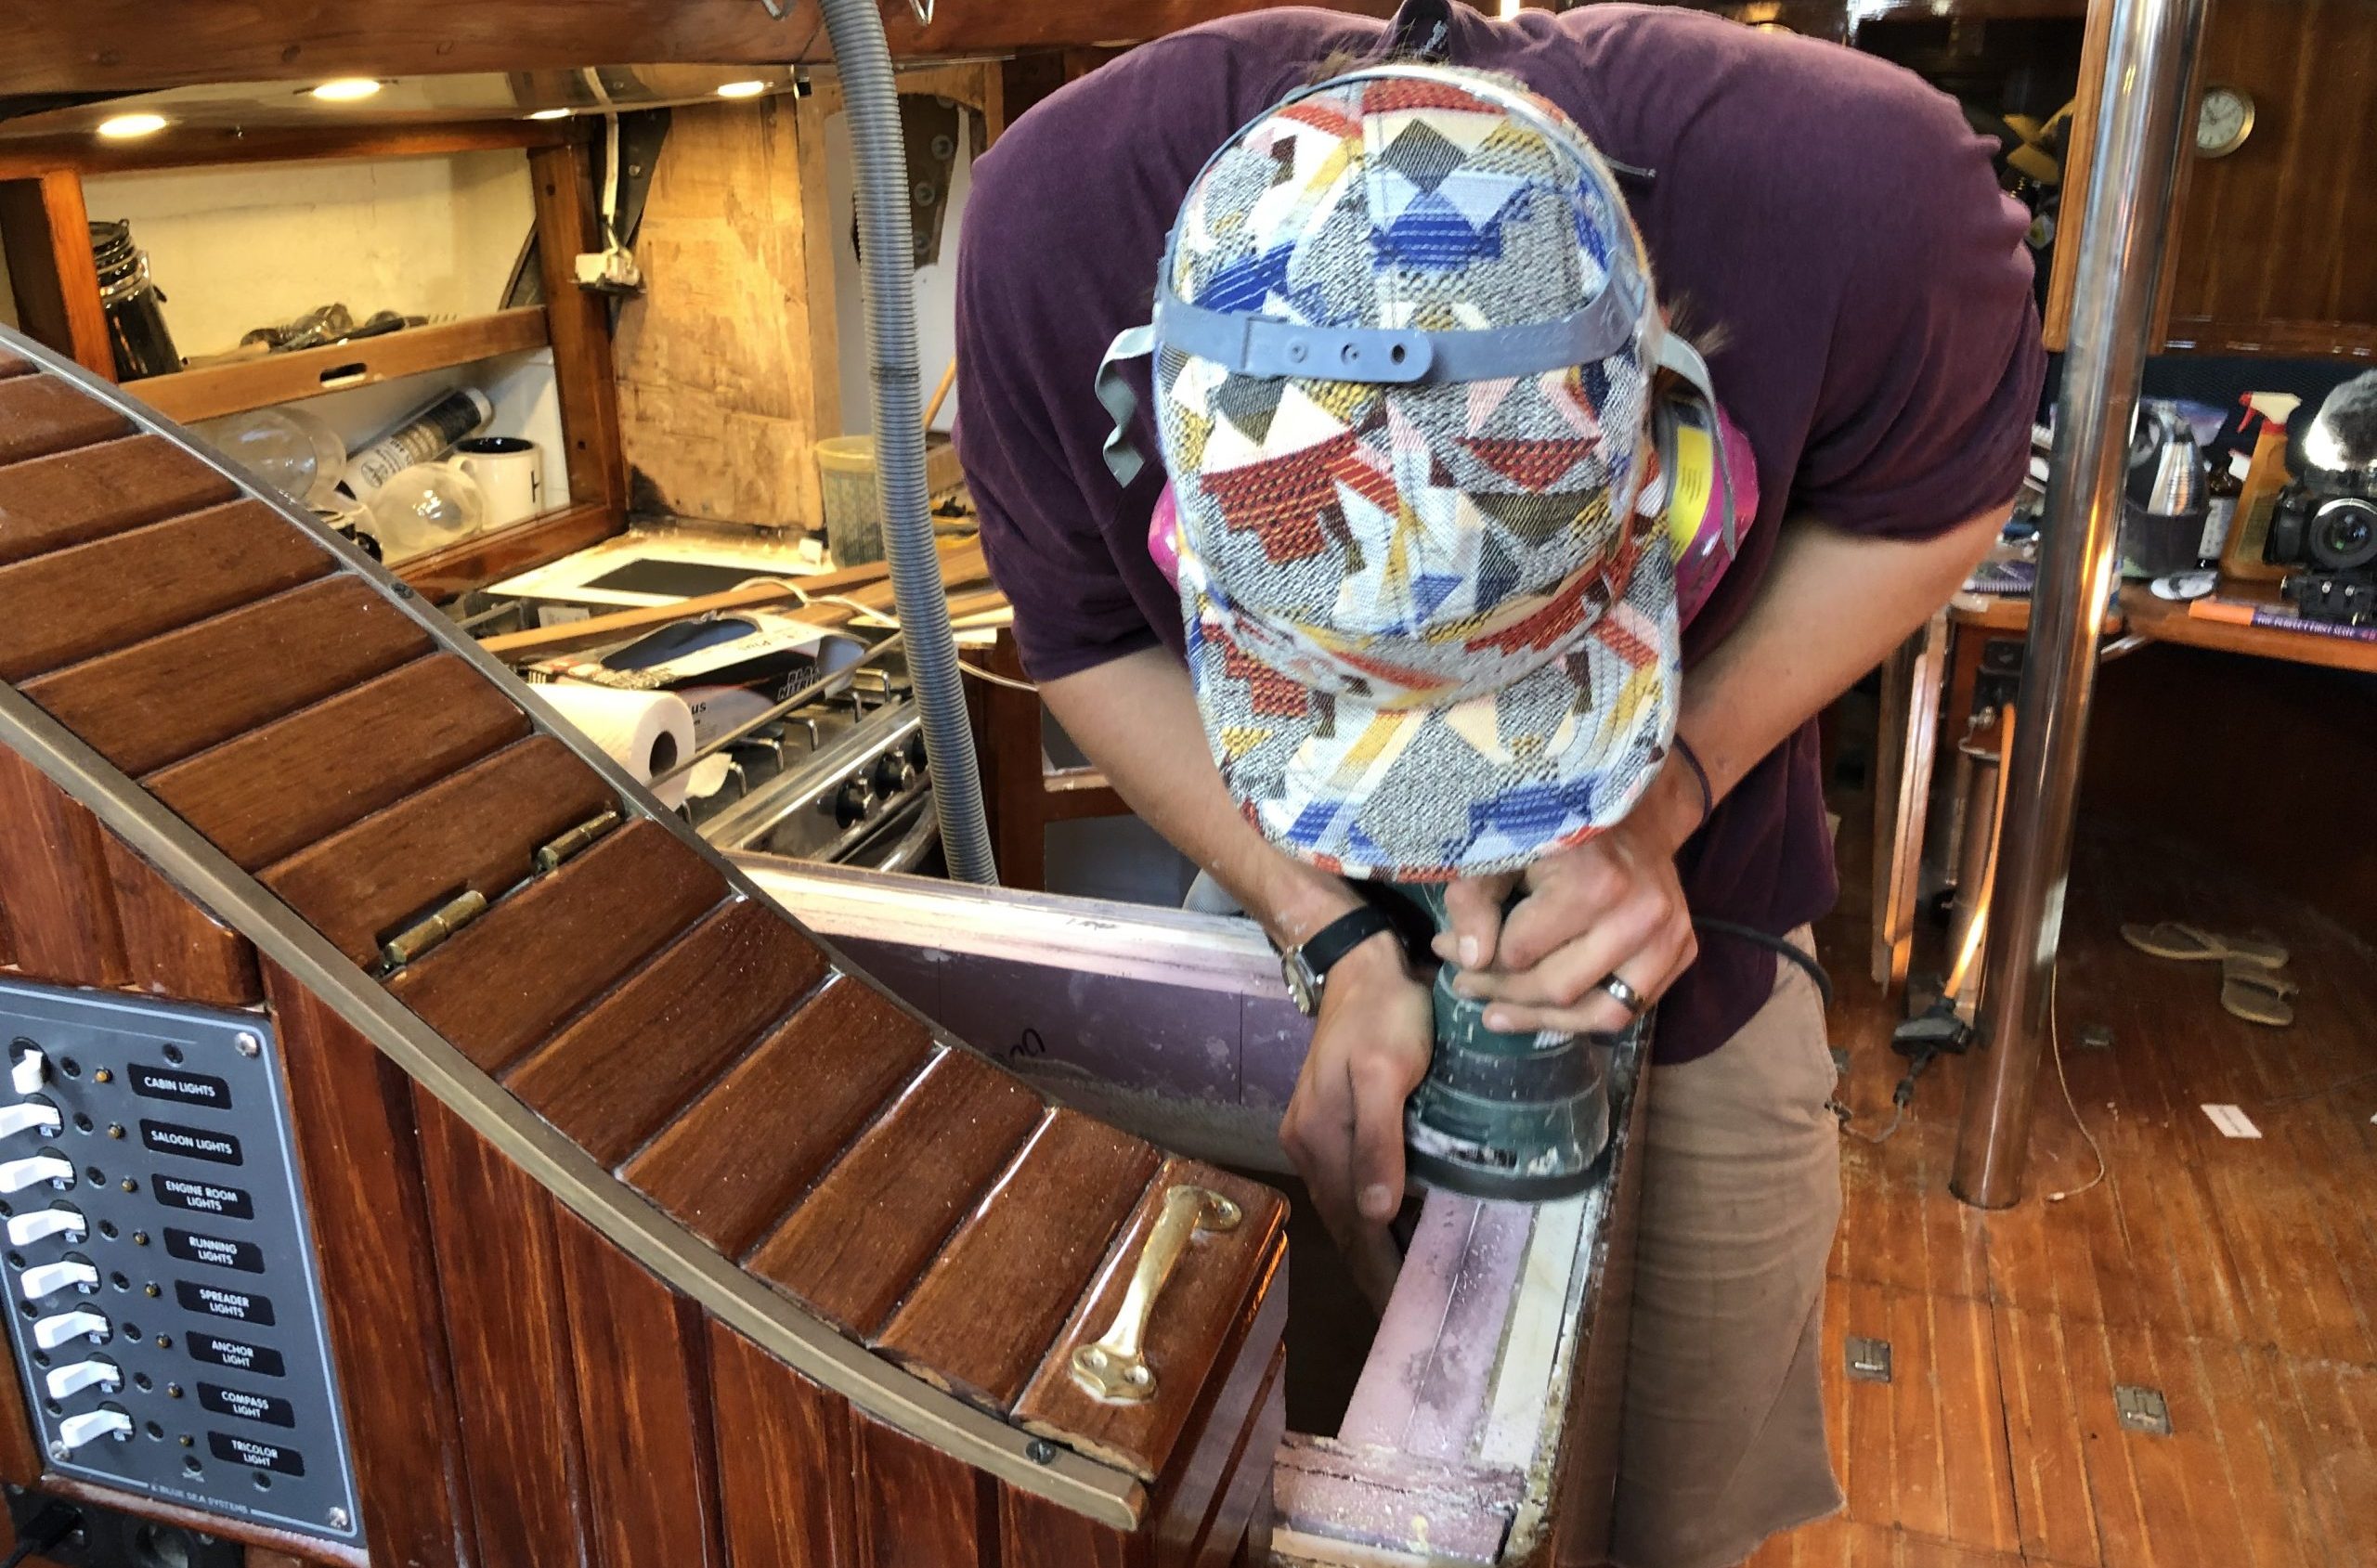
Okay…there was a little sanding involved but just to make the foam a uniform surface!
Following two weeks of hard work and compilation, Avocet finally had a water and air-tight fridge. We initially received a lot of questions regarding why we decided against including a drain hole, but the answer is quite simple: the entire goal of this project was to make an efficient fridge, which was accomplished by eliminating all voids and places where air could escape. After putting so much time and effort into sealing every square millimeter of the fridge, it felt wrong to drill a hole in the bottom for the little amounts of water that actually end up there – water that could easily be soaked up using a sponge. The decision against the drain hole was supported by many maritime professionals who agree that a drain isn’t necessary if there is no air entering the system, as most condensation builds up on the cold plate when air infiltrates the space then thaws out creating a pool at the bottom. With the “beer well” existing for extra storage it also doubles as a true “well” being the lowest part of the space at a slant catching whatever spillage and keeping our groceries dry and concealing it all to the lowest area, therefore making it easy to clean up. In the future, if we do decide a drain is necessary, there is always a drill nearby.
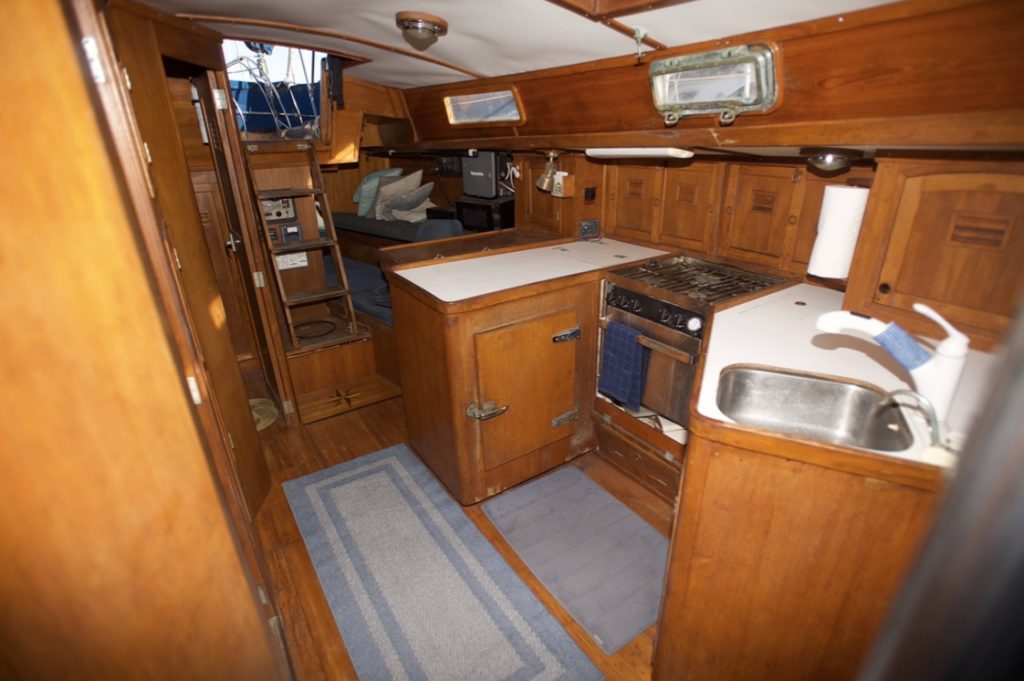
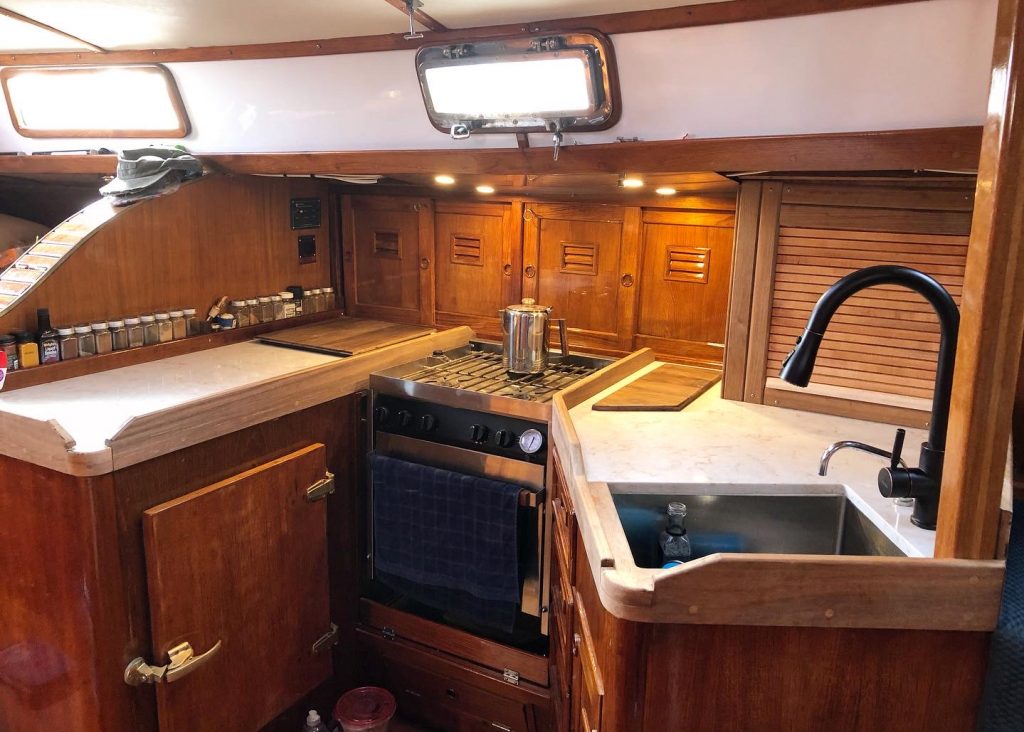
When we removed the Formica countertops at the beginning of this project, we knew that we would be replacing them with a material that could stand the test of time; something scratch-proof, heat-resistant, good for baking, and not too heavy. After searching high and low for the perfect fit we went to a local shop in Ventura that shared their incredible inventory with us and expressed their excitement to work with us and our odd-shaped templates. After hours of perusing the options laid before us, we decided on quartz countertops because quartz stone met the criteria listed above (with the exception that it was heat tolerant, not proof). When we announced our decision on Facebook many people were concerned with weight, but since the galley is mostly centerline, it wasn’t that big of a deal, especially since it leveled out our previous slight starboard list. Altogether, the countertops weighed maybe around 120 pounds, which is basically the weight of an additional crew member and only 50 pounds more than the former plywood and Formica.

bye bye formica!
While the fridge is a front (or side) access, our freezer is accessed from the top. The freezer top used to have a hinged lid, but we decided instead of replacing it with quartz-like the rest of the countertops, we’d create a new lid out of butcher block that was much lighter. This added a beautiful contrast, complementing the other wood and pops of white in Avocet’s interior. With the fridge and freezer interior ready to be used, Chris repurposed the old shelves to account for the slightly new design. He then added the divider between fridge and freezer, making sure it can be removed for easy cleaning as well as for access to the cold plate when it needs to eventually be replaced.
-
- Before…
-
- After!
I did the honors of turning the fridge “on” for the first time in weeks, putting our work to the ultimate test. At this point, the fridge was complete, and thanks to the brand new ½” rubber seals and new bronze latch and hinges on the fridge door, we kept the cold air in and all else out, ensuring our food would stay fresh longer. To satisfy our infatuation with our work and make sure the contents of our fridge were properly refrigerated, we installed a Bluetooth SensorPush wireless thermometer so we could access instant data from our phone allowing us to follow the fridge cycles and how often we open the doors, making us more aware and efficient in our everyday use.
With the fridge primed and icy cold, Chris and I went on a proper grocery run, filling the space to the brim with fresh produce, frozen goods, and other items for a family excursion to Santa Cruz Island to celebrate a job well done. We had enough food to keep our extended family of 8 fed for at least one month, and even after our return from the island, the remaining produce stayed fresh for an additional 3 weeks. Most importantly the fridge maintains optimal temperature with minimal use of the compressor meaning it should have a longer life expectancy now that it is running as intended in addition to putting less of a load on our batteries.
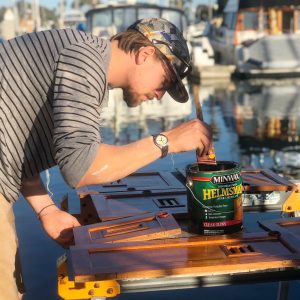
The fridge rebuild and countertops were just two (very centrical) aspects of an overall galley refit that started with the deep cleaning of our 170-gallon freshwater tanks located beneath our settees. Chris spent 3 days in awkward positions grinding out the insides of the tanks to prepare them for Tile Clad paint and our triple filtered water that would be filling them. We discovered that about 30 gallons of water was sitting in the lowest point of the tanks, untouched by the spigot so we replaced the spigot with a longer one to ensure all of the water would be used and circulated. With that project complete we removed the failing paint from under the settee cushions and prepared them for fresh, white paint that would look nice and be easier to clean. Somewhere in all this mess we also found time to finally varnish our interior (except the table and floors) and paint the inside of all drawers and lockers with more Tile Clad. In the galley, we installed a new sound dampening deep sink accompanied by a new faucet to replace the ugly plastic one and new fiddles that could actually be used as handholds in a seaway. Chris also built a compression post near the sink that looks like it’s been there the entire time, to act as another grab option while navigating in the cabin while underway.
It is safe to say that this was one of our favorite projects because it made life aboard that much more comfortable and truly sparked a huge transformation in the galley and surrounding space. We learned a lot about temperature efficiency and best practices when constructing a fridge, and hope that this recap will prove helpful in someone’s research if they are looking to undertake a similar project. This was definitely the messiest project we have undergone as Avocet was unfair for living for a solid month or so. With that said, we are extremely thankful Mama Neely allowed us to live aboard Sea Castle next door while we made Avocet “home” again. We also are appreciative of Jon’s help, as he stepped in to lend a hand while I was at work during the week. It was good brother bonding time and together they really created something incredible! As we grow closer to our cruising adventure, I have a feeling that our to-do list will be completed in rapid time just by knowing that at the end of every project there is a celebratory ice-cold drink with our names on ‘em, right from our own galley fridge.
Fair winds and happy crafting!
Marissa, Chris, and Cleo cat


0 Comments