How We Created a Stack Pack for our Sailboat
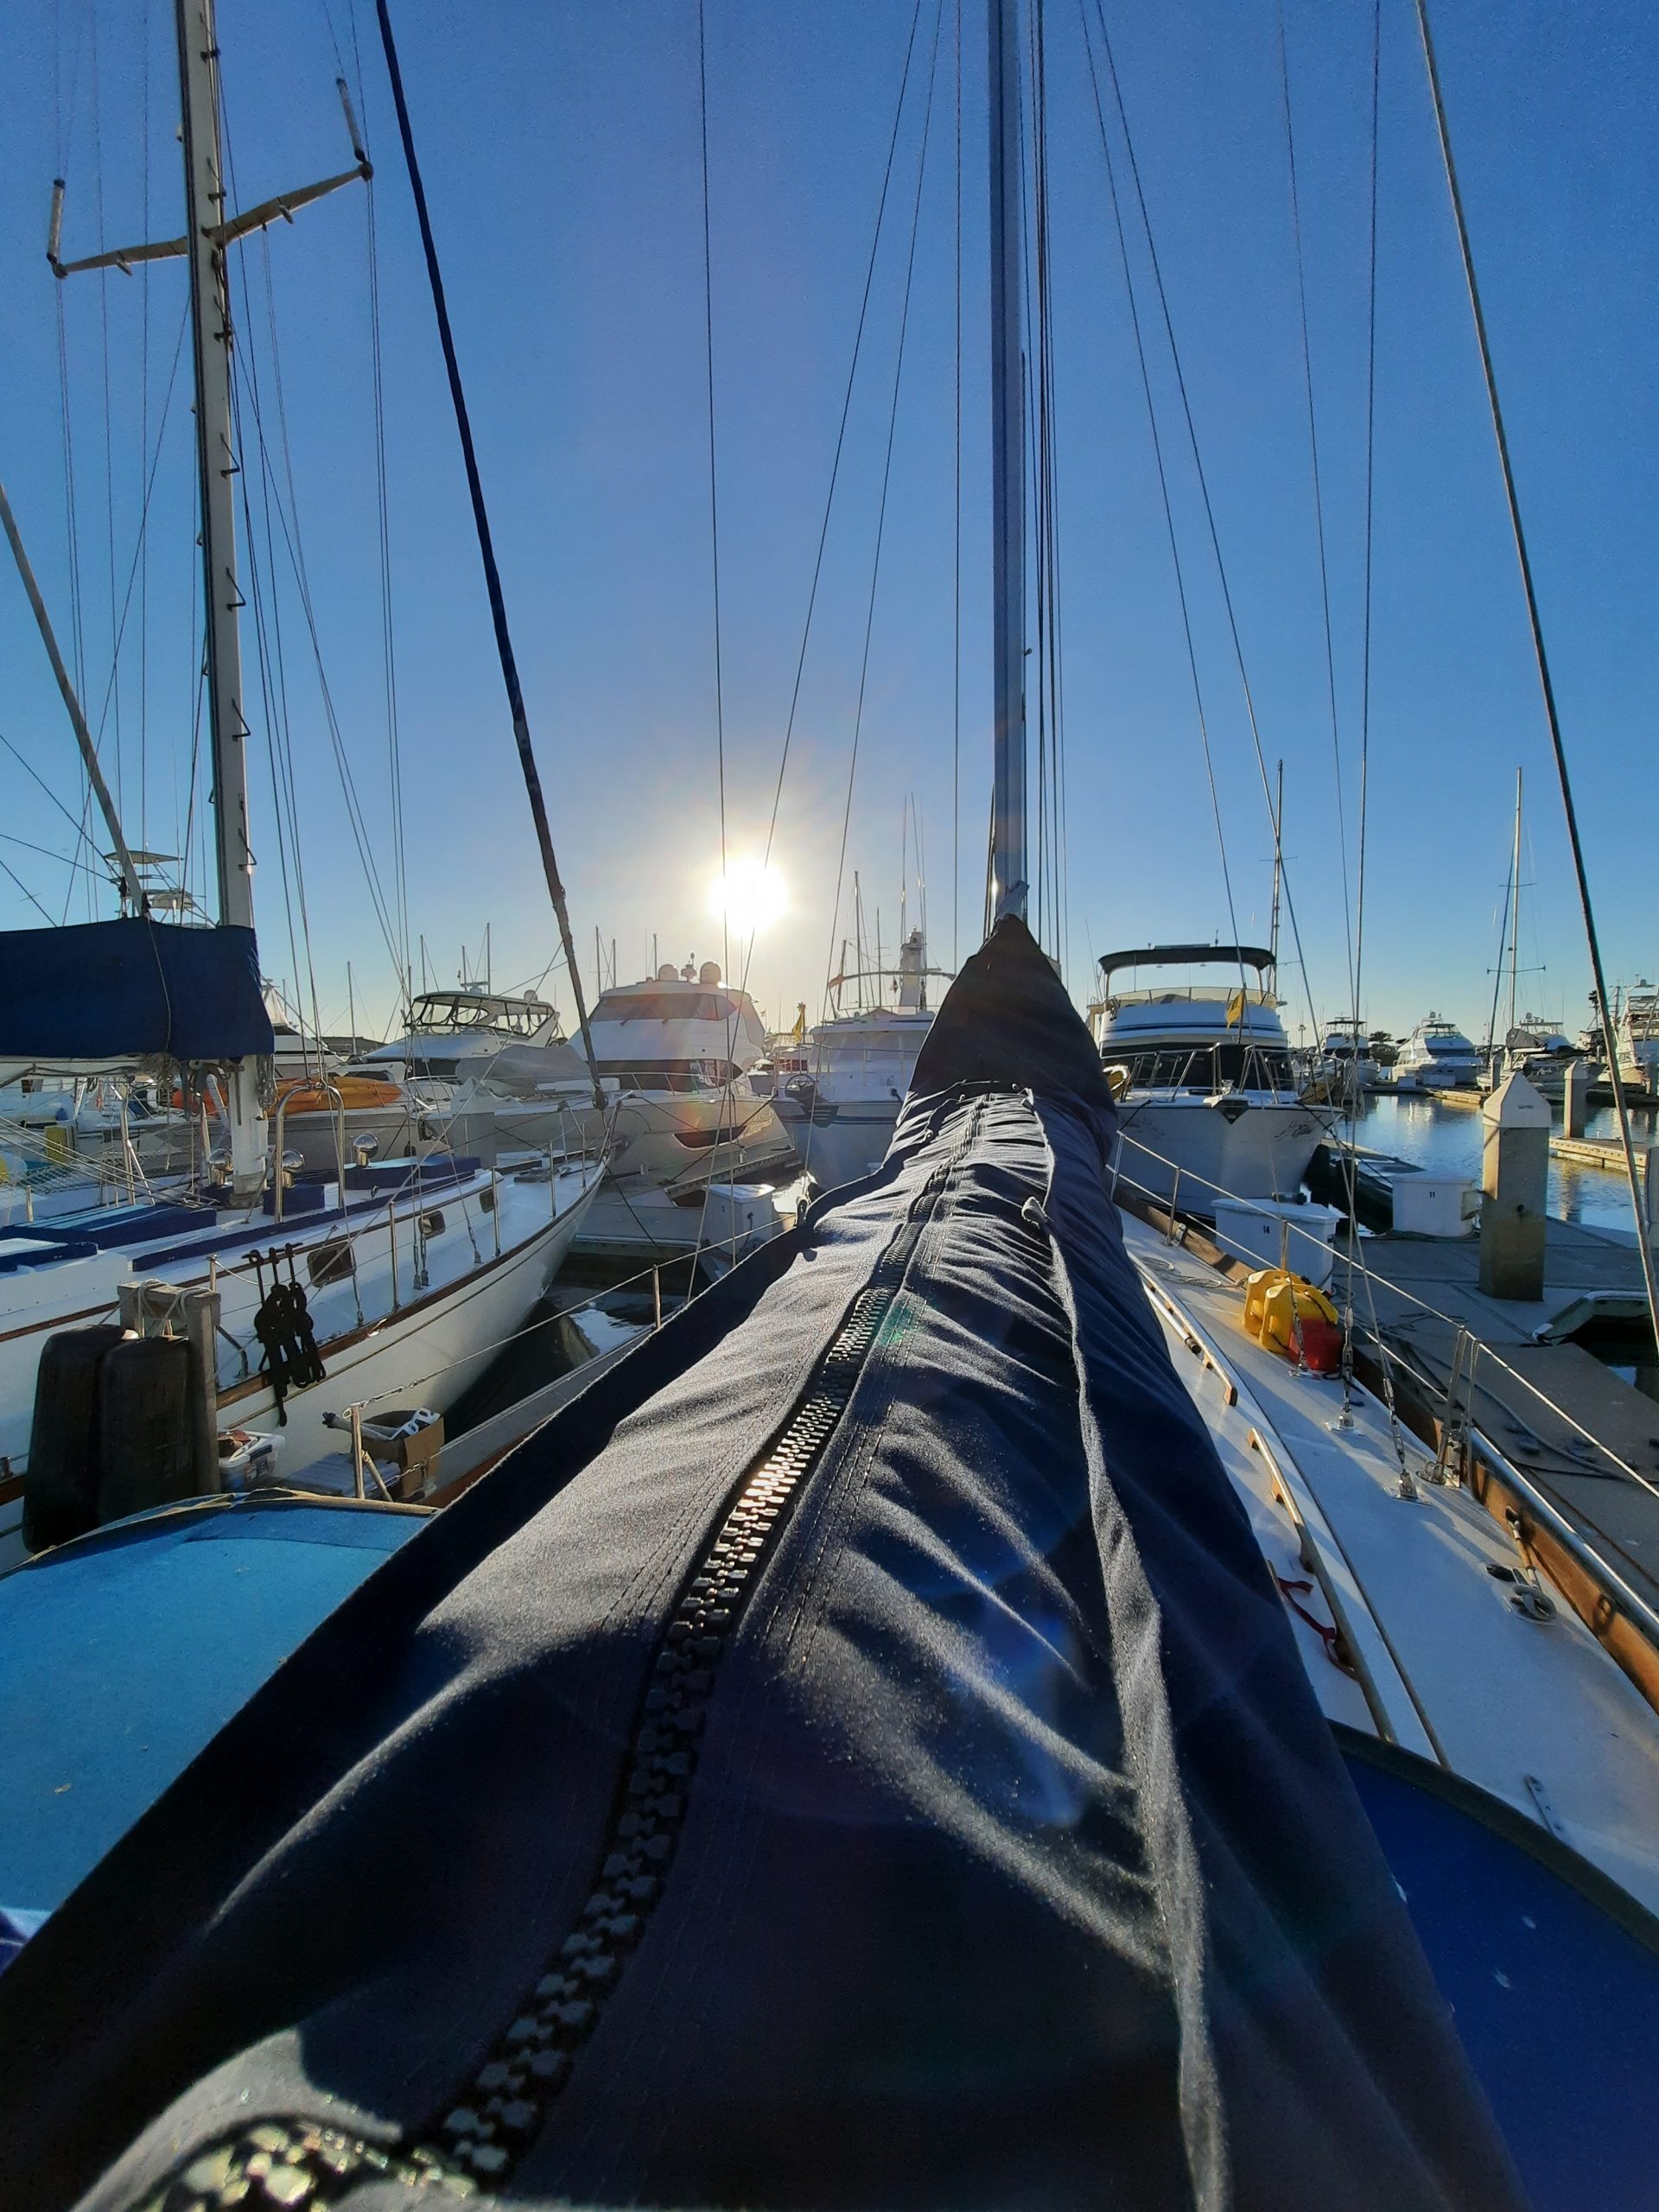
The sun began to set behind the harbor entrance as we made our way through the fairway. With our headsail quickly furled I took the helm to carefully steer through the gaggle of paddle boarders while Chris moved to the deck to lower our main. He had become a pro at wrestling our sail into submission with three years of sailing Avocet under our belts. We have raised and lowered our sail over hundreds of times, unassisted by a sail management system, always flaking it as the final touch to our well-practiced routine. Although we can appreciate a beautifully flaked sail, we longed for a simple way to lower our sail that was less straining on Chris, especially in any kind of wind; so when the time was right we dove into our next project which was creating a stack pack.
Way back in 2019, our sweet dock neighbors aboard MV Lagom gifted us a roll of dark blue Sunbrella leftoverr from one of their projects. It was the exact color we had wanted to use on our exterior and were beyond thrilled to have acquired such a large spool. Unfortunately, we were preoccupied with other projects and actually sailing so ended up carrying the spool aboard for quite some time before we could settle down to use it. When we finished our rig and were settled back in our slip, we revisited the measurements and design we had mocked up from years prior and made some adjustments before we got our hands busy with sewing – but wait, with so many stack packs available online, why would you make one?
Stack packs have become pretty much an industry standard for new yachts and it seems that every sailmaker now offers them as a product in addition to their sails. These sail and canvas lofts usually charge between $1,000 to $2,000 USD for a stack pack in the 14-18’ boom size. Going this route is definitely the easiest, with the combination of a few measurements plugged into the the-loft-of-your-choices online inquiry form you can have a stack pack ordered in 15-20 min and delivered in a month or so. Although we definitely considered this option, we take pride in learning all we can; if you can build it yourself you will know how to care for it and maintain it all that better. Not to mention, we already had the materials, could design this specifically for Avocet (no one knows your boat like you do) and we could save money for another project.
Some examples of where to purchase a stackpack include: Mack sails, Doyle, Pineapple, US Sails, Ullman, and of course our pals at Precision Sails.
We weren’t going into this project totally blind since Chris had assisted in creating the Stackpack on his mom’s Mason 43, Sea Castle, alongside the crew of SV Prism. Since Sea Castle is our slip neighbor, we had the opportunity to assess her stackpack design and find what worked and where we could improve in our own design. After analyzing examples from surrounding boats and utilizing Sailrites library of blueprints we had a pretty well rounded idea of what we were looking to create: a very simple design with clasps on the bottom edge for easy removal and dyneema lazy jacks with reinforced attachment points which would remove the need to use PVC or FRP battens.
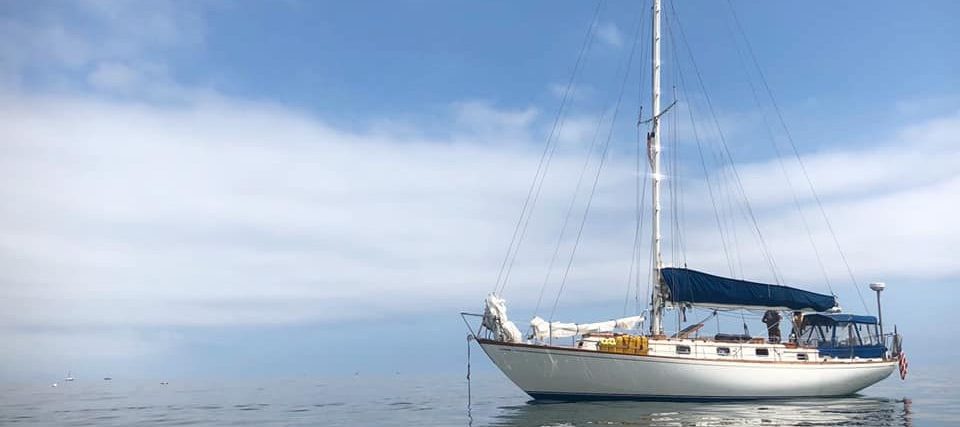
Sea Castle anchored in Santa Barbara
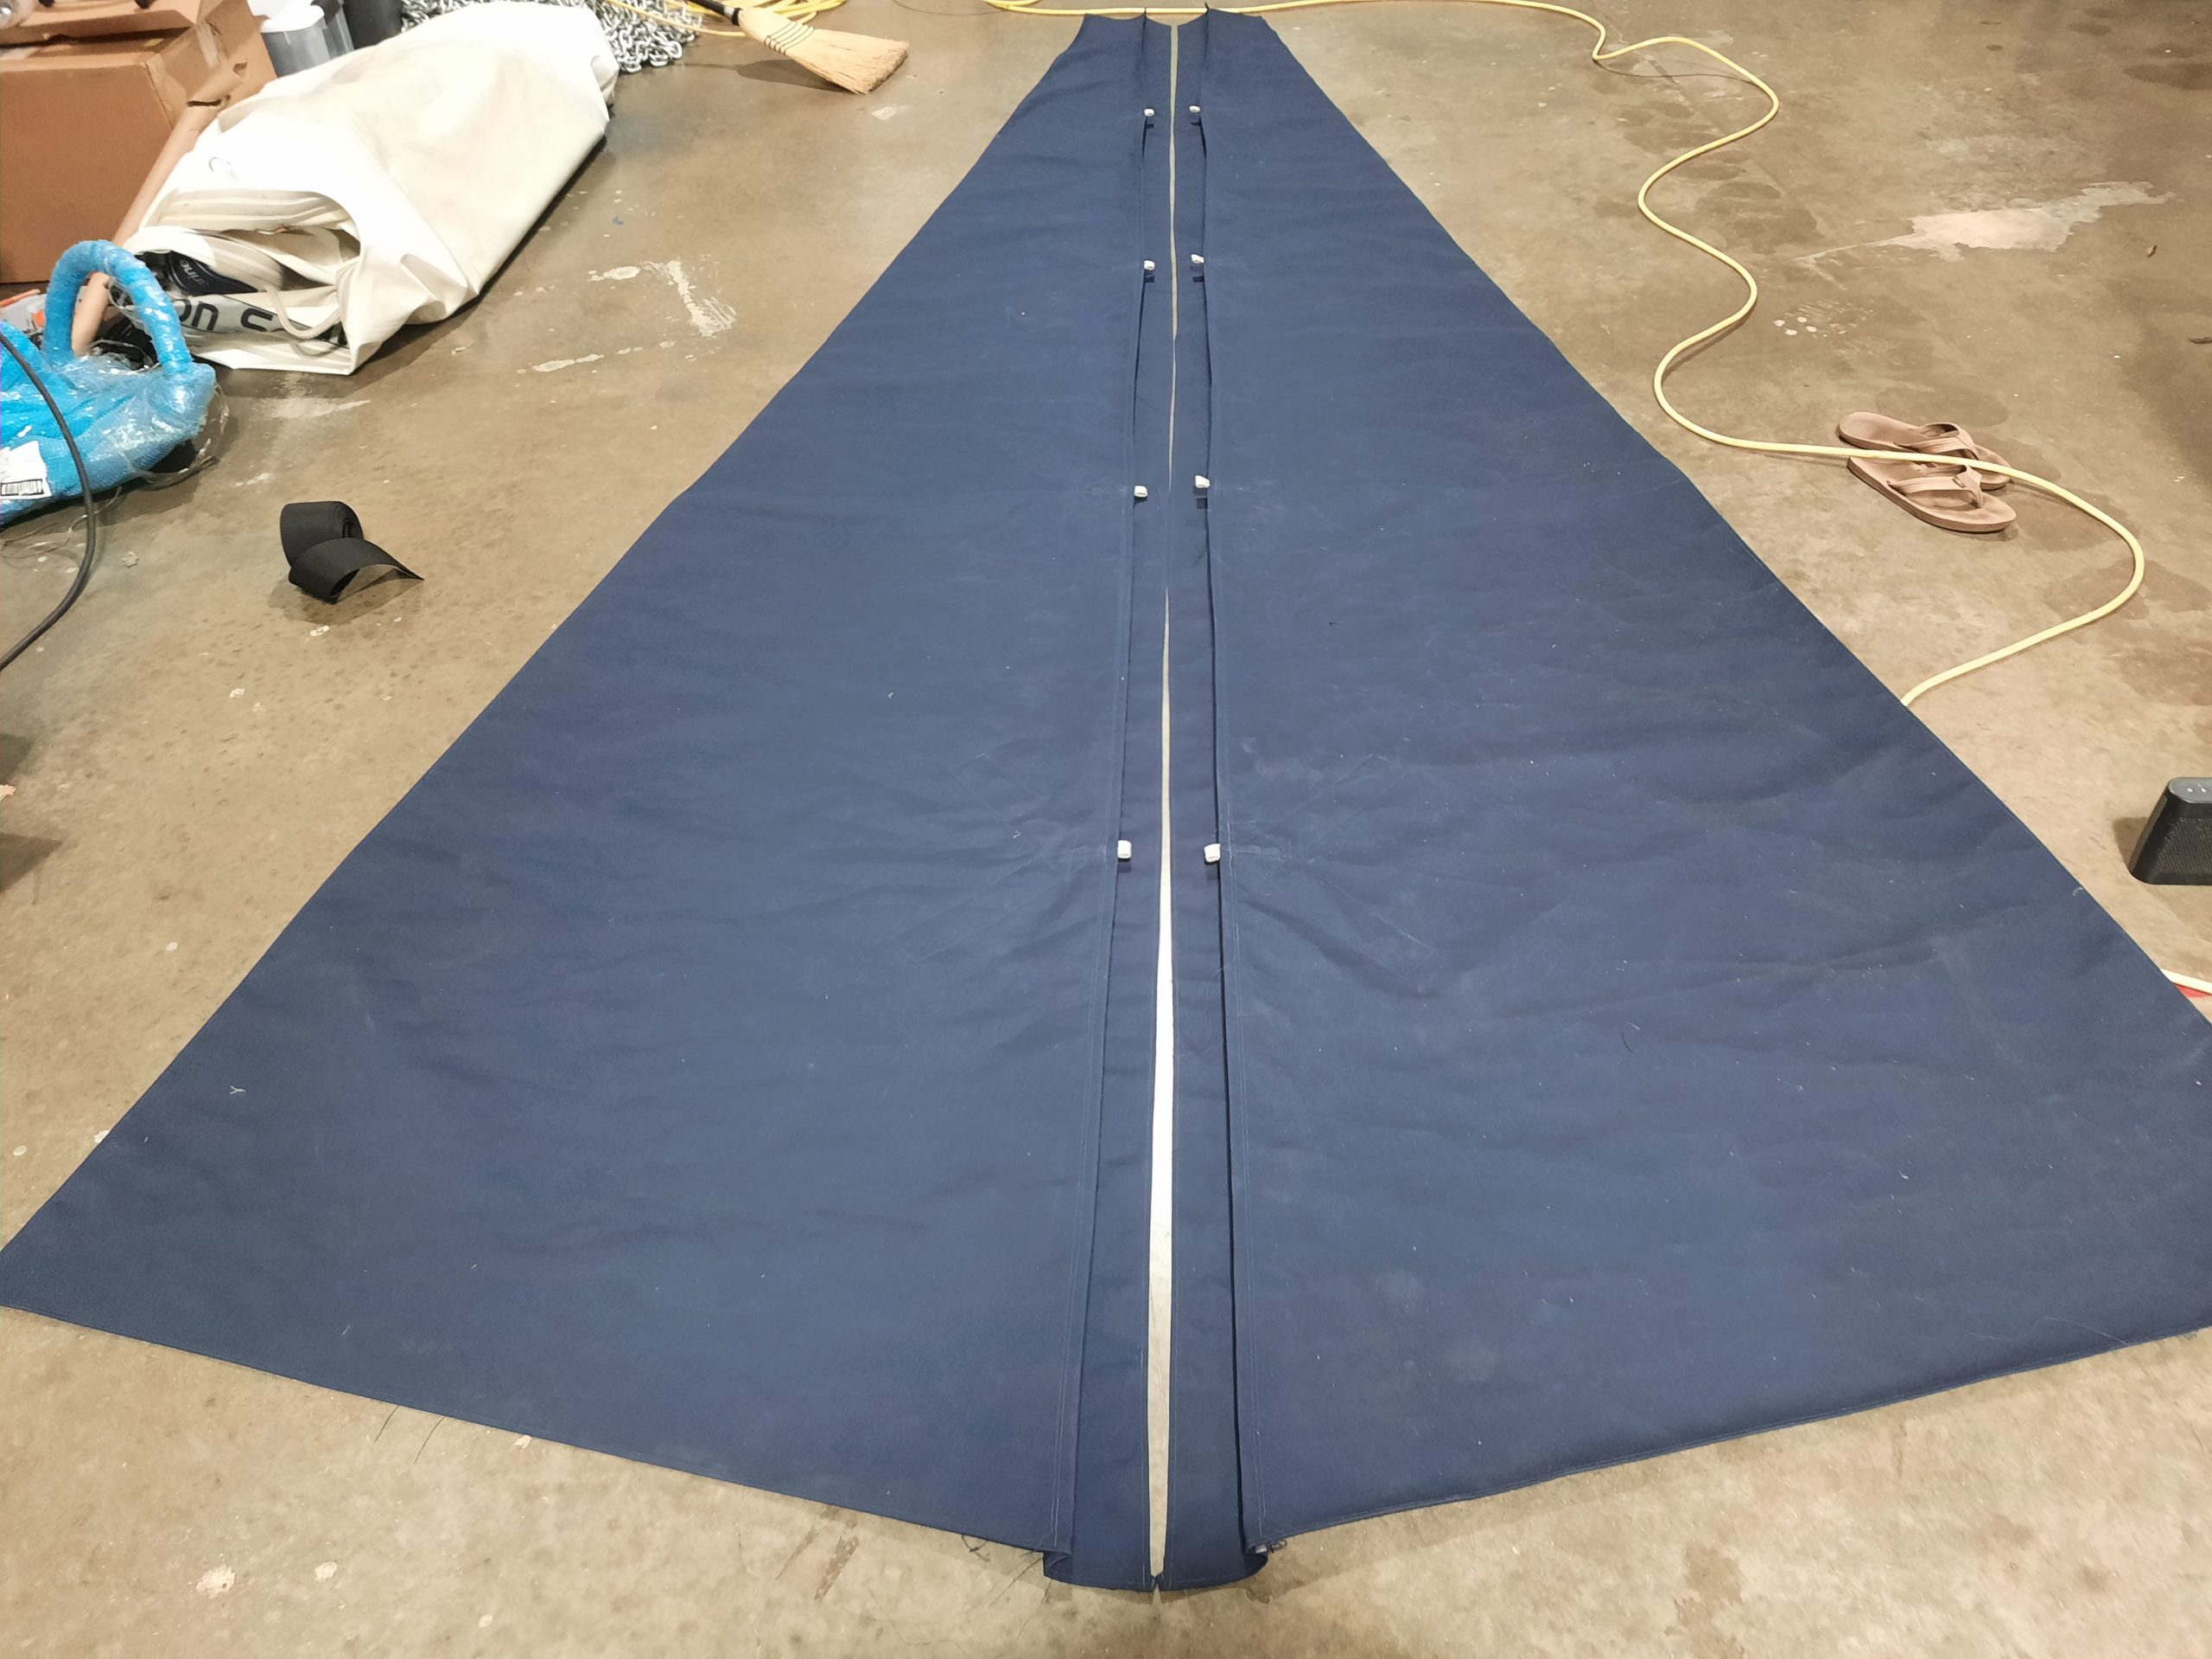
Although boat life is wonderful and we wouldn’t trade it for a thing, it is nice to be able to spread out for projects like this one which is why we are eternally grateful for our friend Jeff offering to let us use his office’s garage as our sewing loft. With such a large space we were able to roll out the spool of fabric and draw out the measurements to make exact cuts using a fabric marker and our fabric shears (not to ever be confused with regular scissors). To our complete shock and delight, we had just enough material to create our stack pack with no more than 3’ of fabric to spare. After our Sunbrella was measured and cut we rolled out the chafe protection material that would line the inside and cut it to size. The whole process of layering our materials was very methodical as we had to ensure they would make sense and perform as we anticipated.
-
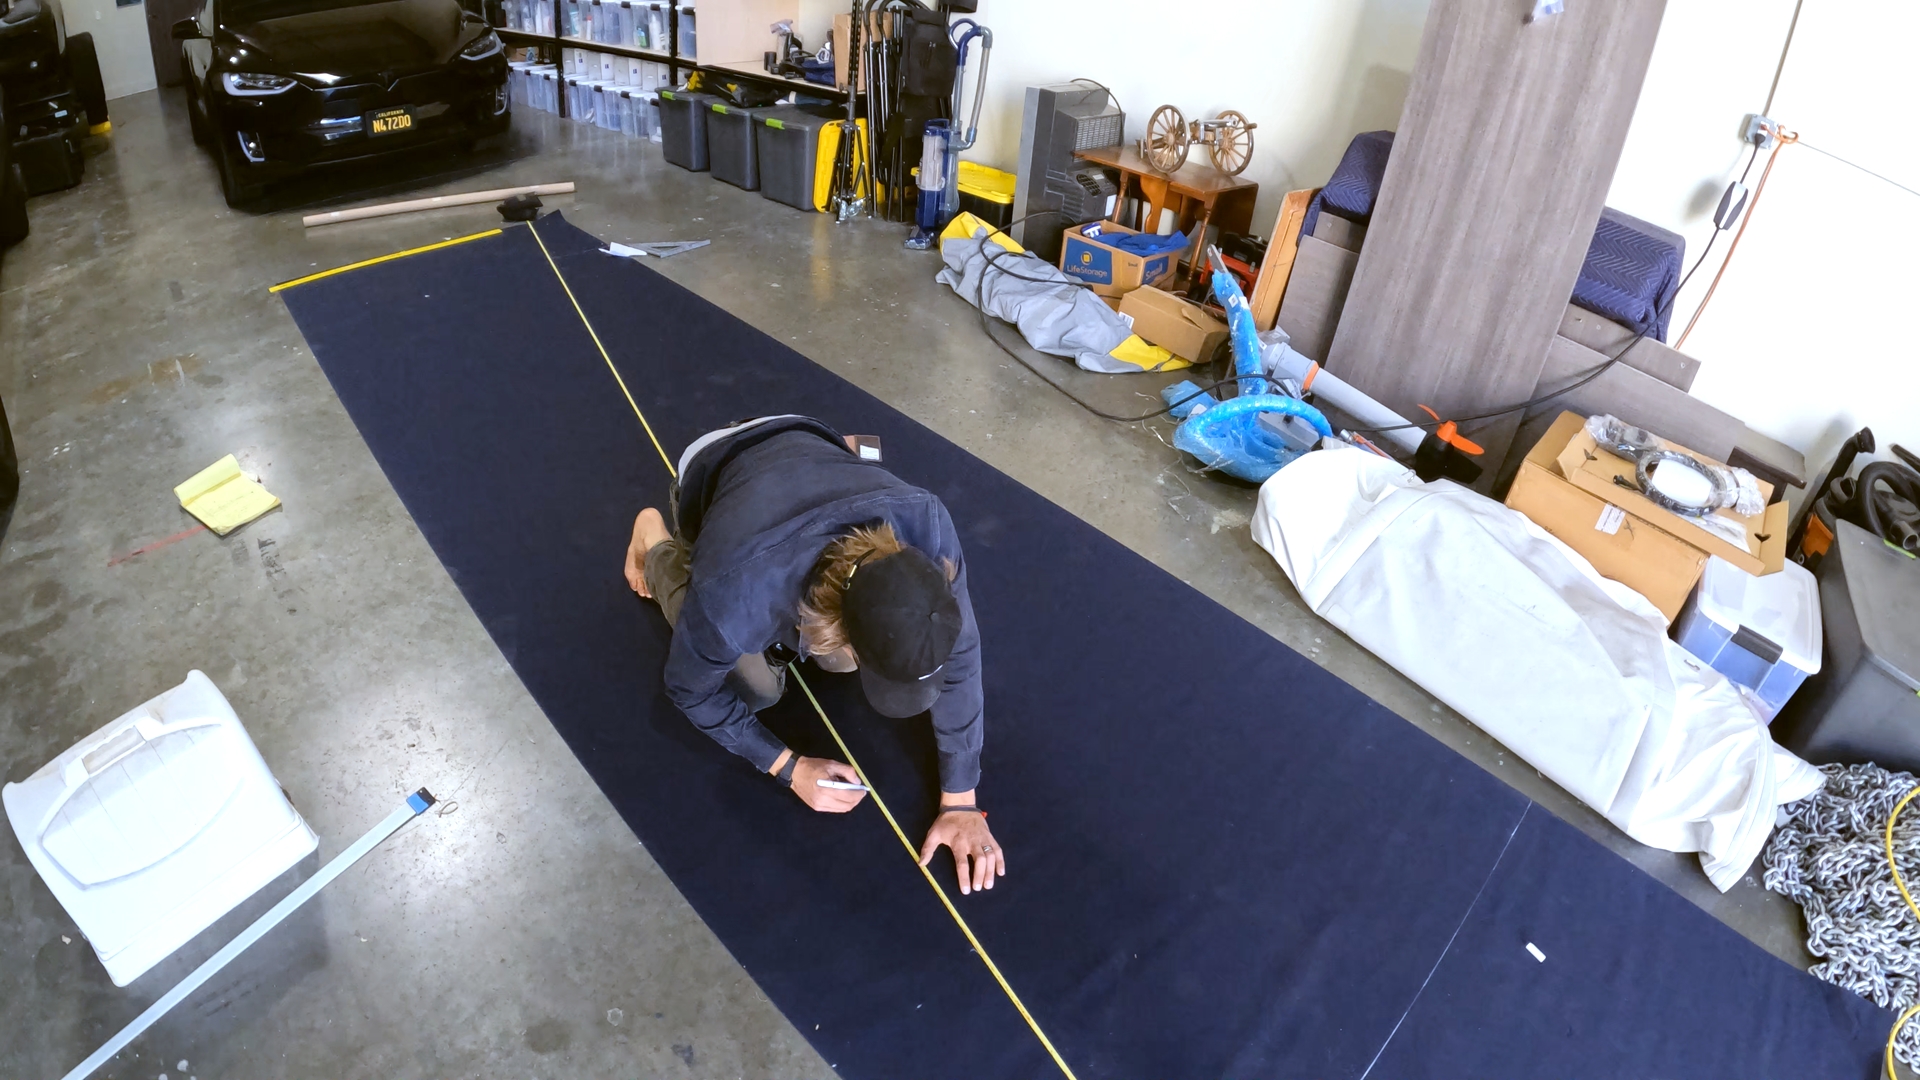
- We had JUST enough material
-
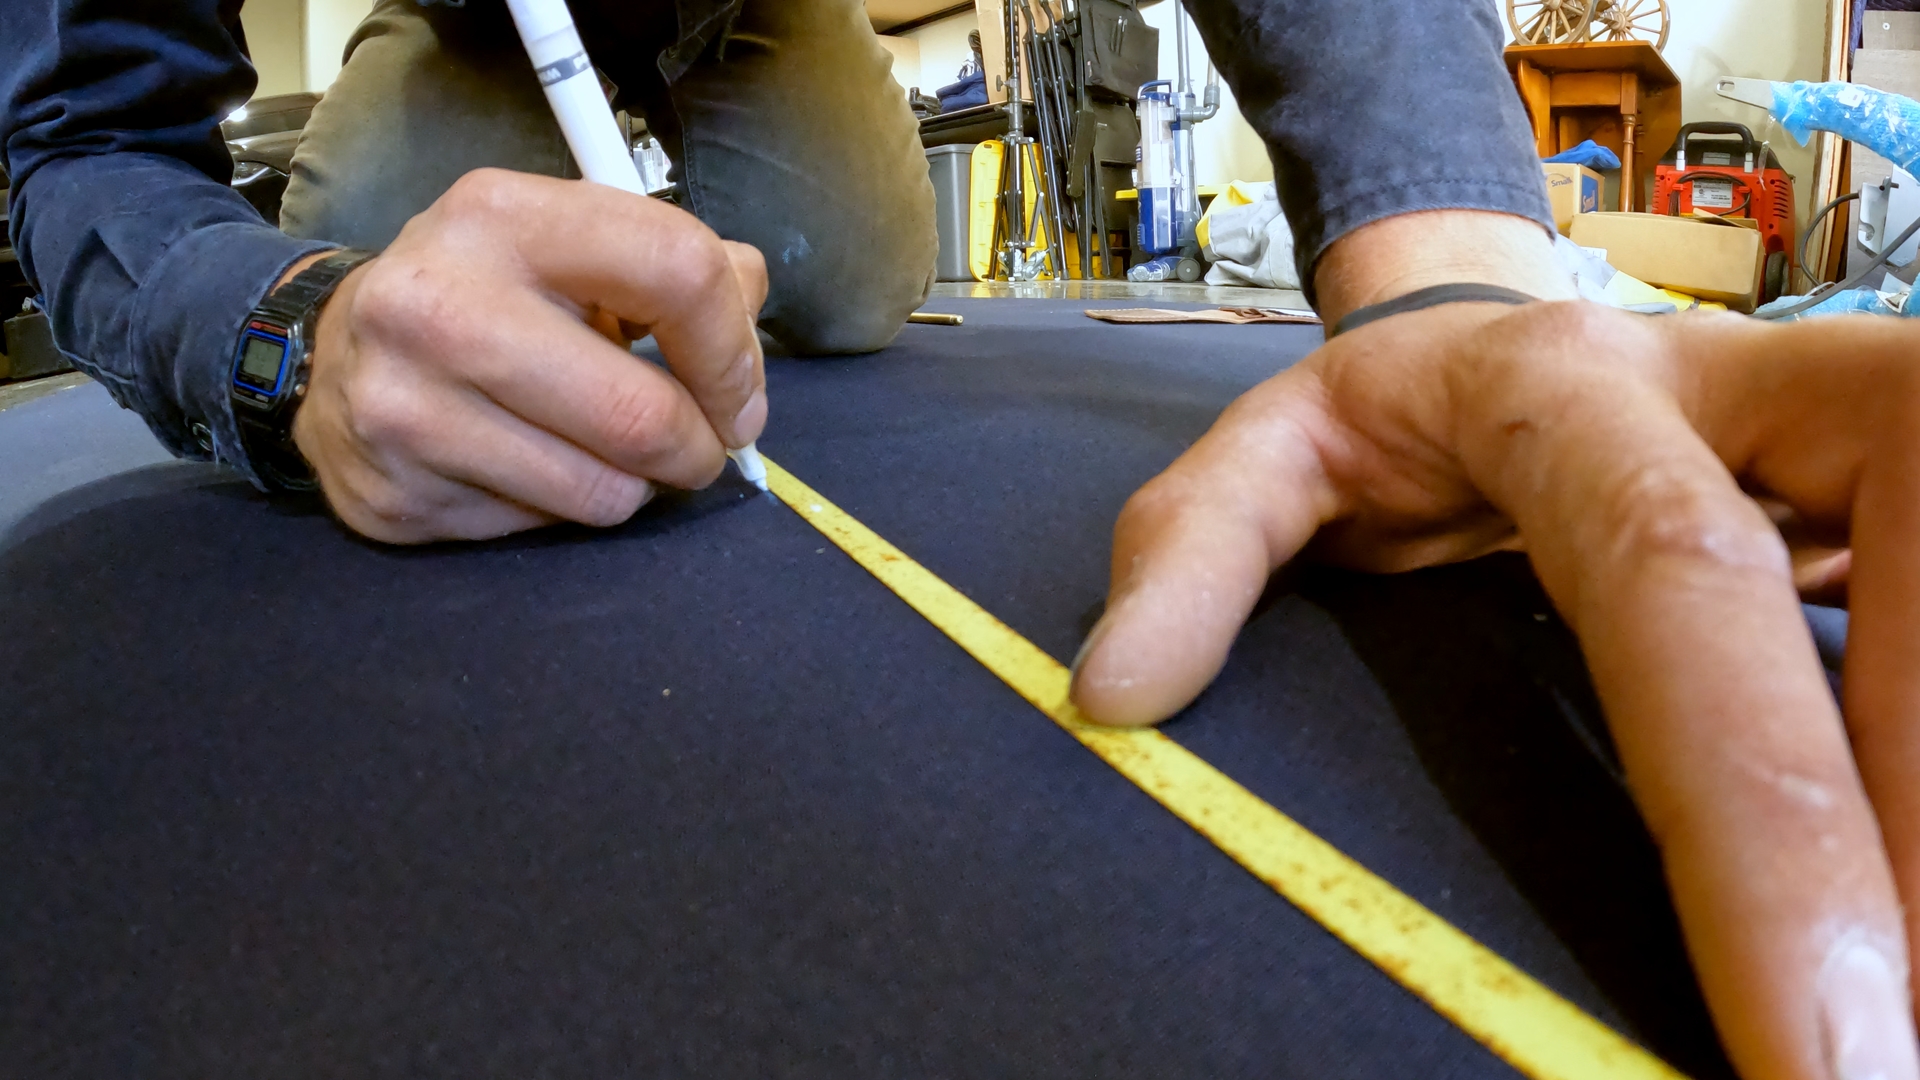
- measure twice cut once
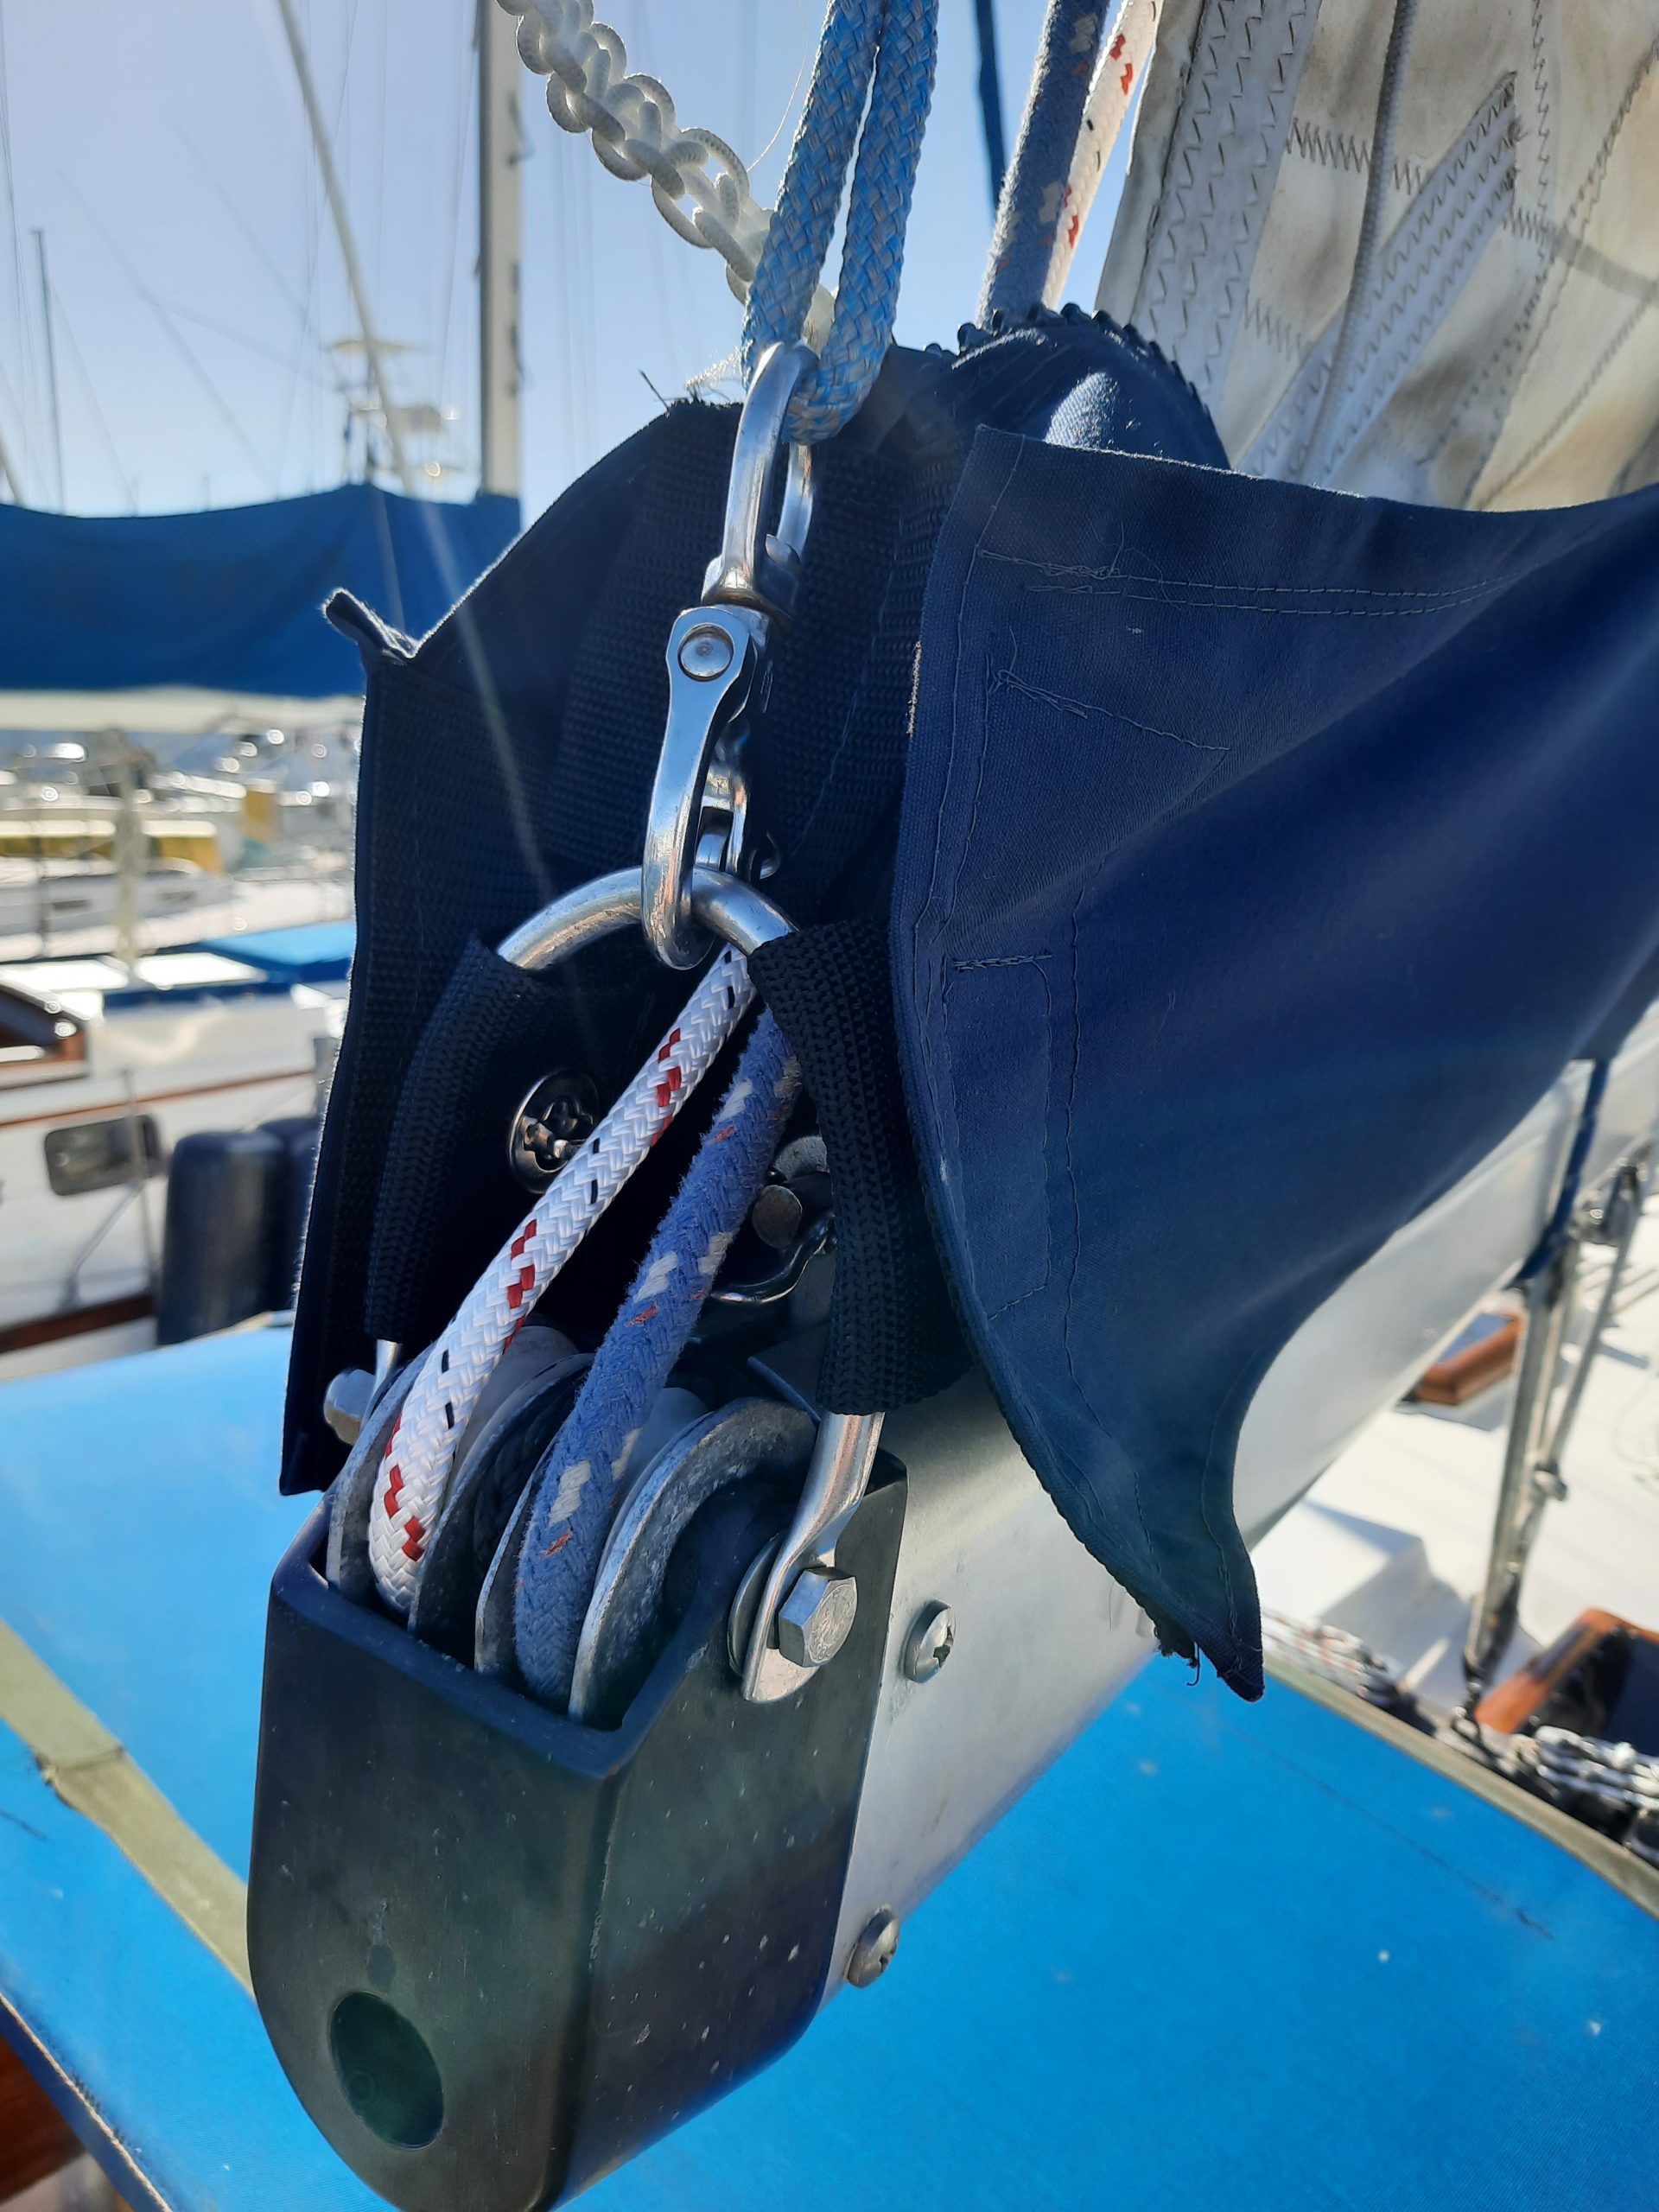
Chris had decided that he wanted to use a triangle-shaped webbing pattern for the four lazy jack attachment points which went on top of the additional chafe material located towards the front (where traditionally sails have a tendency to bulge and cause stress on the pack) and underneath not only the hems, but also the zipper, and the zipper platform. Considering that we didn’t have lazy jacks previously on Avocet, Chris carefully assessed all of the designs around us in the marina and researched our options online before ultimately using Sea Castle’s design as a starting point and improving upon it. Using two 12’’ x 3’’ wide pieces of webbing and one 6’’ long piece of 1’’ webbing we made a sturdy attachment for the jacks. With a hot knife, he pierced through the Sunbrella where the webbing would intersect the top of the pack, then secured the three pieces with basting tape. With all four attachment points stuck together via tape, Chris began bringing our design to life using Sailrite Lifetime Thread.
-
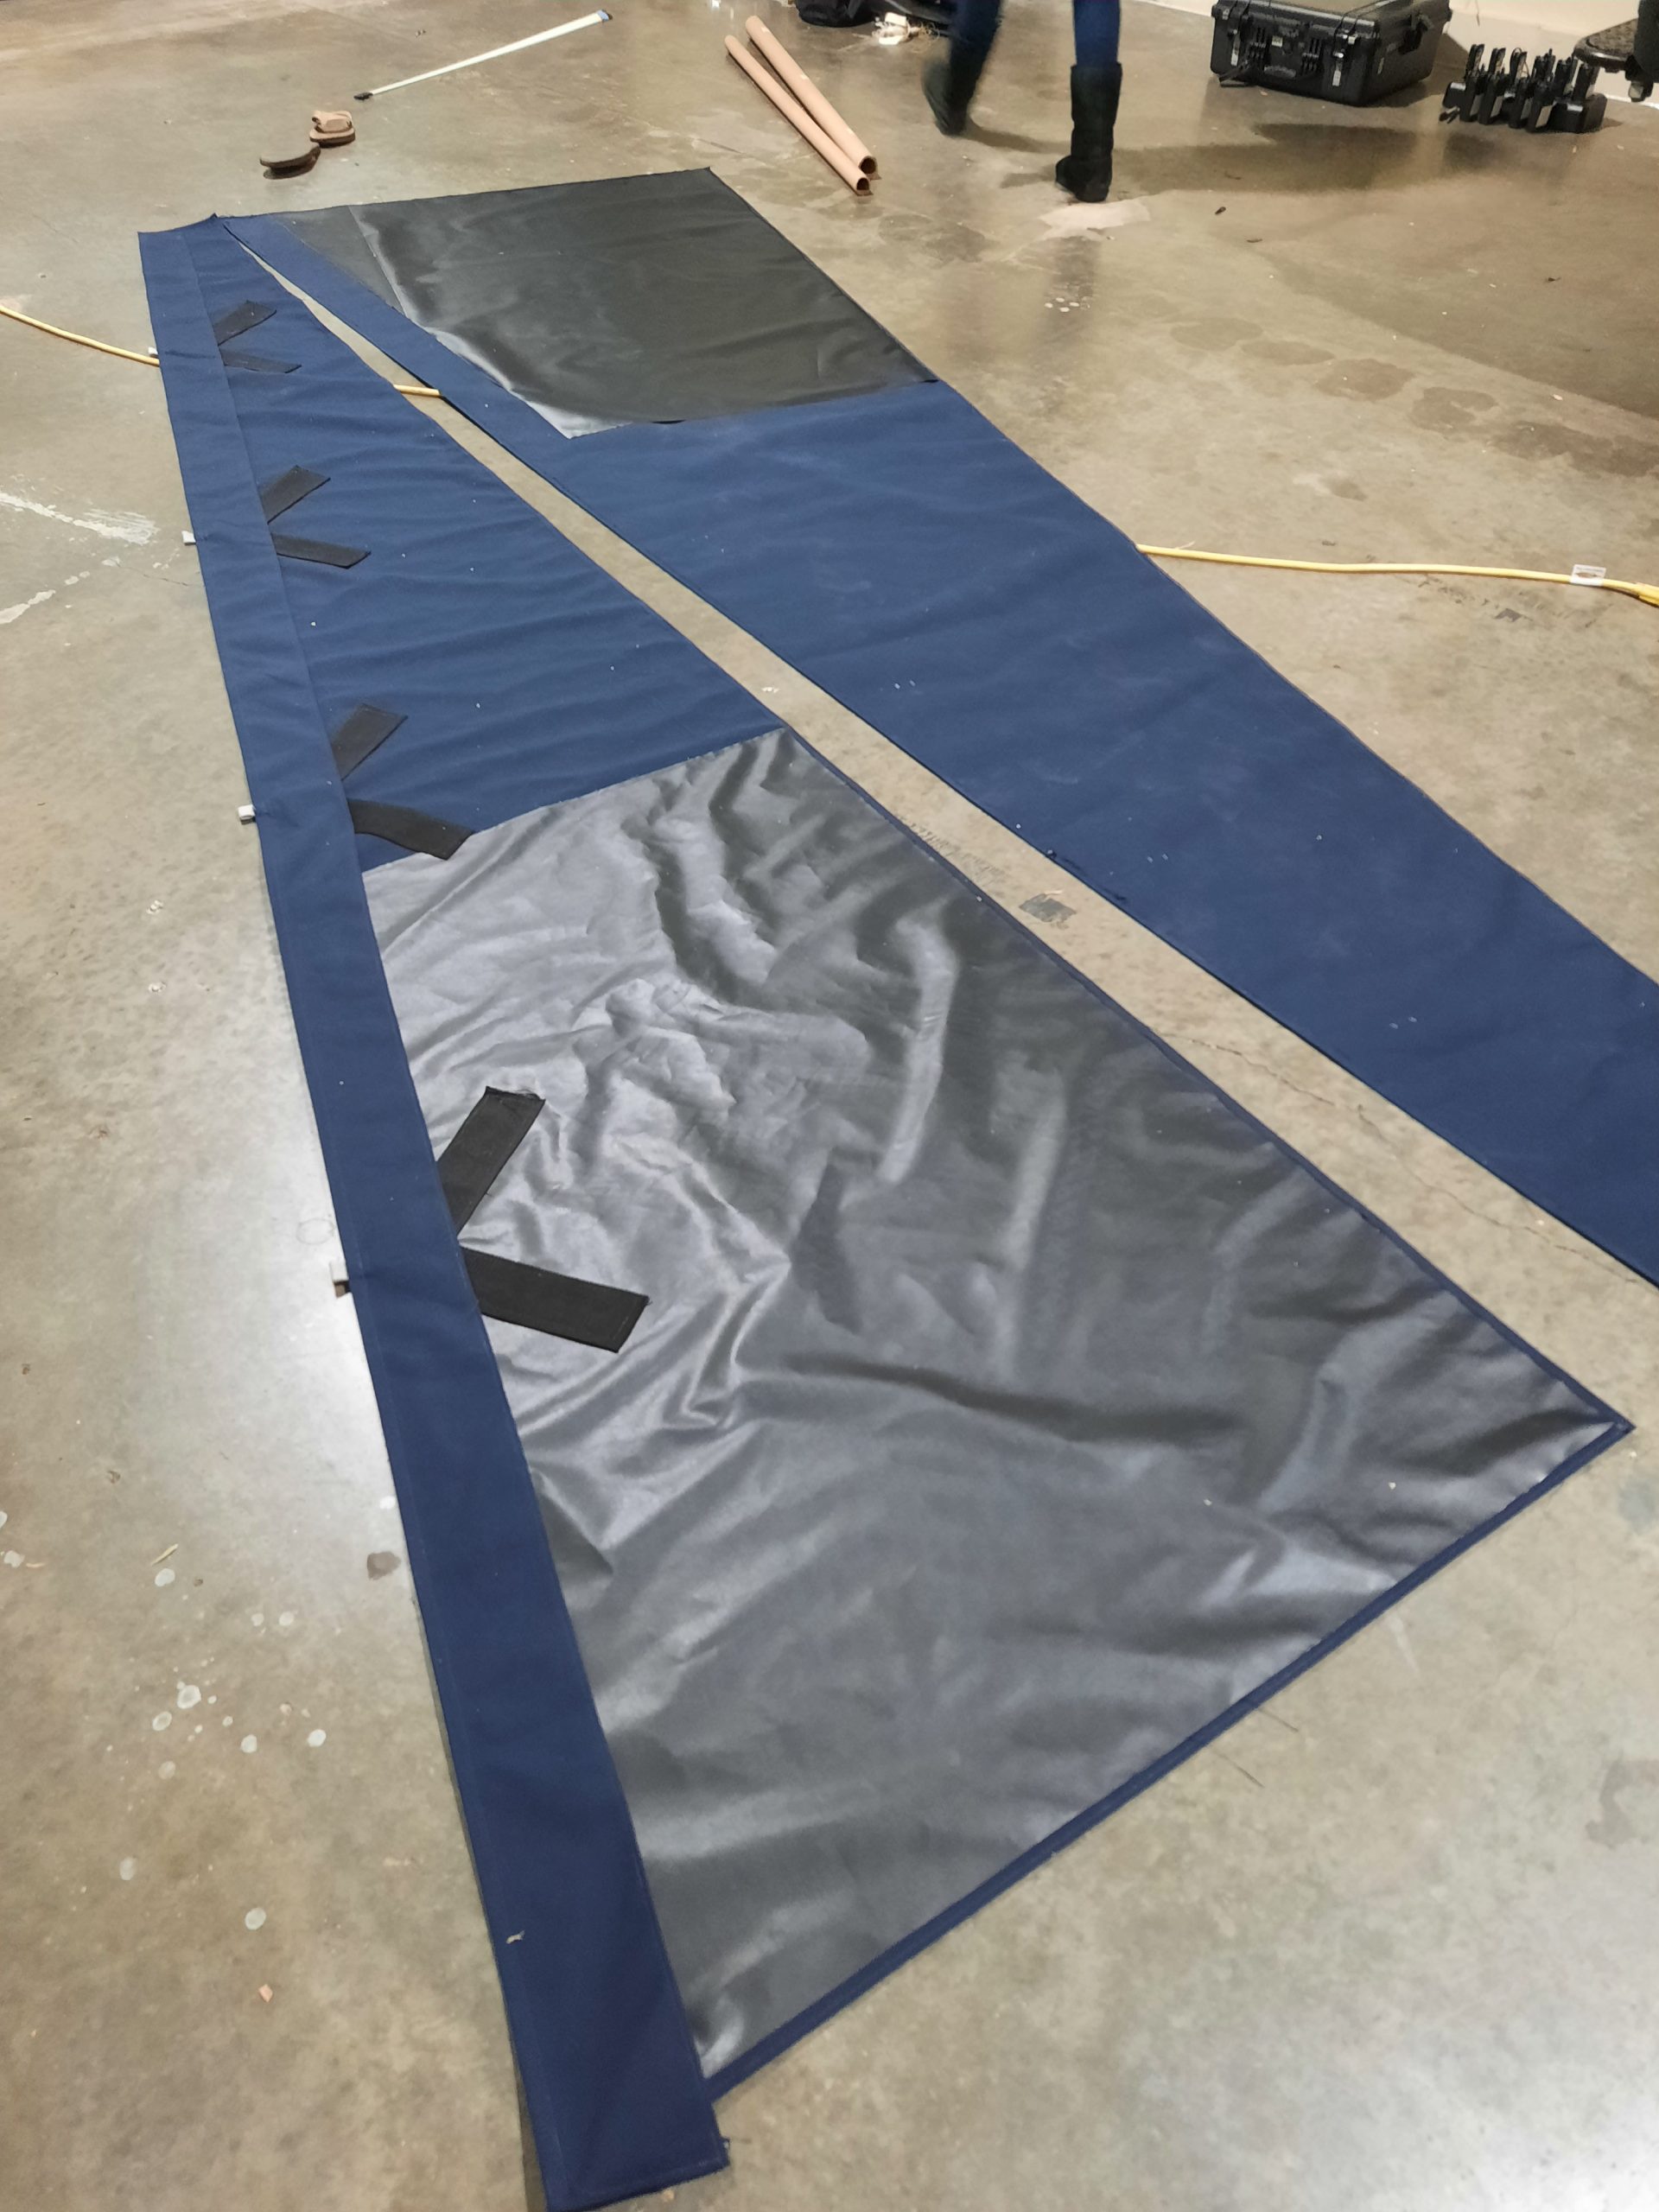
- The interior look at our stack pack. The black material is the chafe protectant, with the robust webbing that anchors the lazy jack attachment points
-
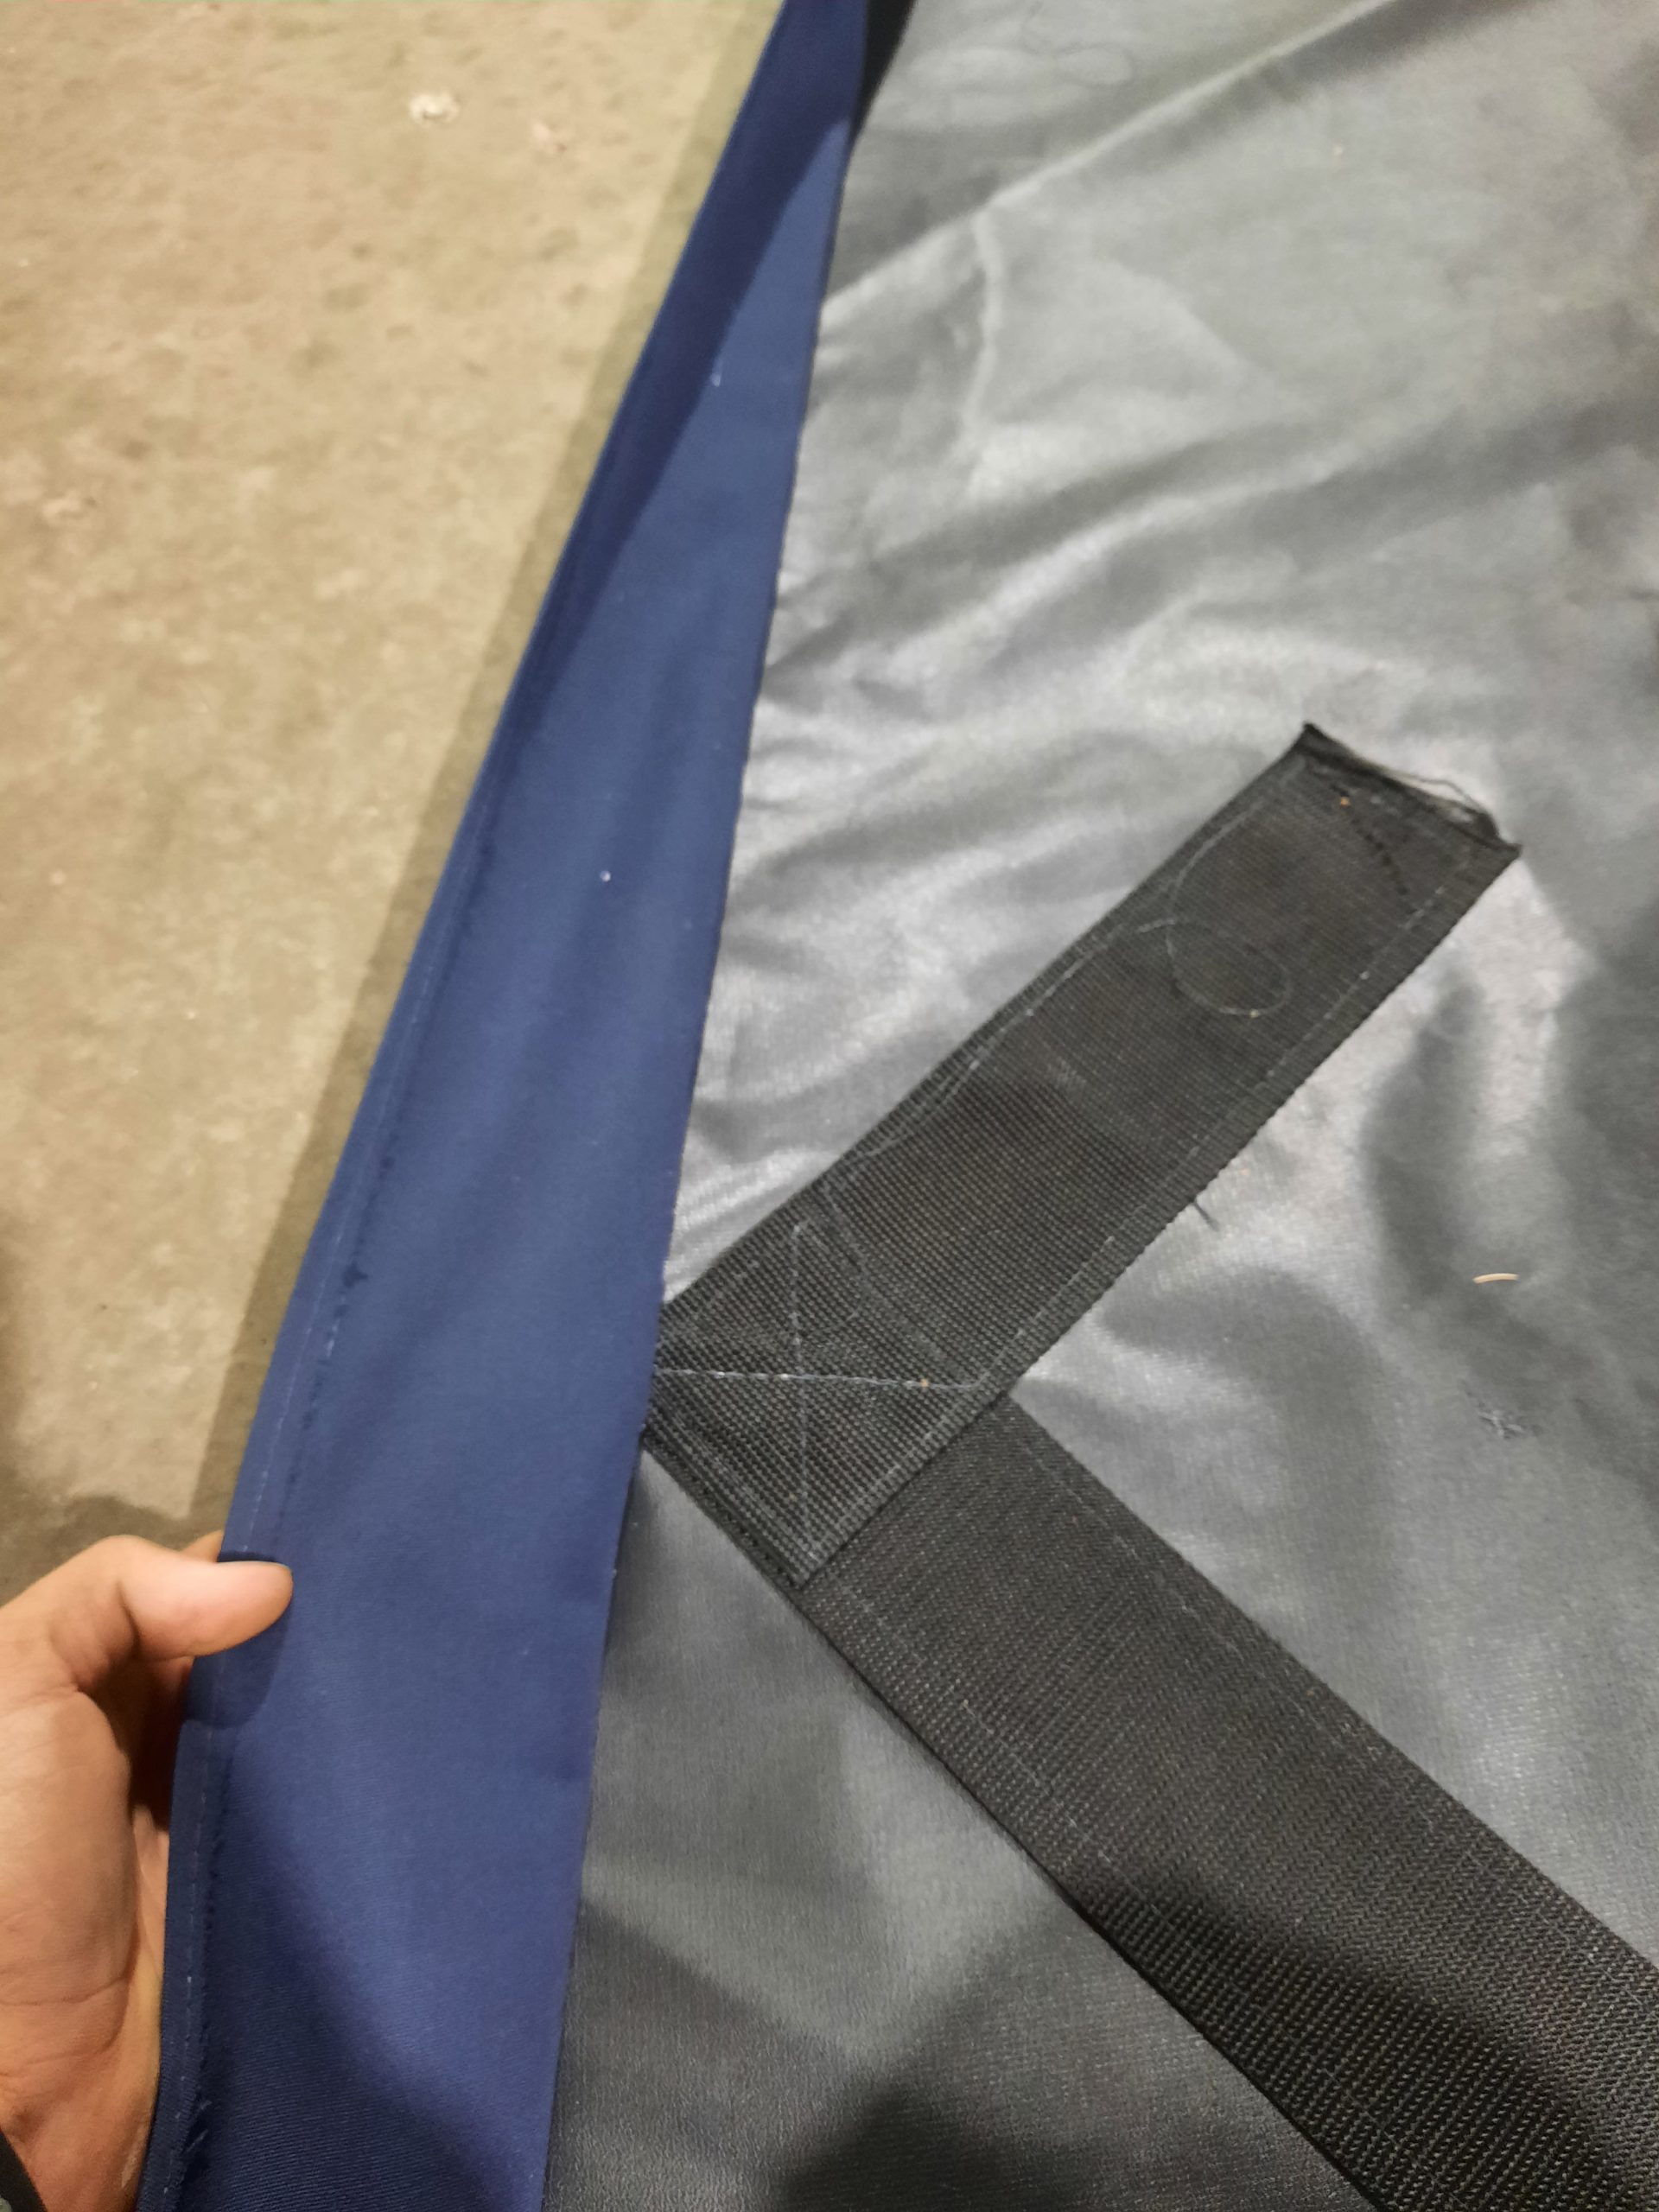
- Close look at the V shaped webbing
-
- Lazy Jack attachment point that intersects the materials
Basting tape was the real MVP of this project allowing us to create very straight and consistent seams.
With the webbing and chafe guard in place, the next step was to sew in the “zipper track” which is the flap that goes horizontally over the top of the sail when zippered closed. This usually is around 6-8’’ wide when closed and gives the pack some room inside for when the sail is flaked. I ended up making a 4’’ flap on either side with a 1’’ top seam to help hide this track and zipper from view when down on the boat. After sewing in these multiple hems, it was finally time to install our zipper. Our dear friends aboard SV ValHowell are very talented with their sewing machine, so when they recommended we purchase the biggest zipper possible we took their word for it, even though it cost a pretty penny. The zipper was a #15 YKK which is an absolute monster in comparison to the everyday industrial zipper, but it works like a charm and adds another level of robustness to the pack’s structure. Utilizing the basting tape once more we secured the two sides on the zipper flap, sewed it in place then used two 1’’ wide pieces of webbing at the front of the stackpack on both terminating ends of the zipper as well as one 2’’ wide piece of webbing at the beginning of the zipper track to keep the two ends together.

At this point all that needed to be done was sew the bottom fasteners onto the bottom edge of the pack, this is where the stackpack would be attached to the boom into the boom’s intregul track (Avocet has a loose footed main). Chris made all 10 fasteners using 1’’ webbing and twist locks that were sewn approximately 1.5’ apart. With the initial 10 in place, Chris decided it would be best to add the rear and front fasteners after the pack had been physically fit on the boat to maximize the fitment on the boom and mast.
-
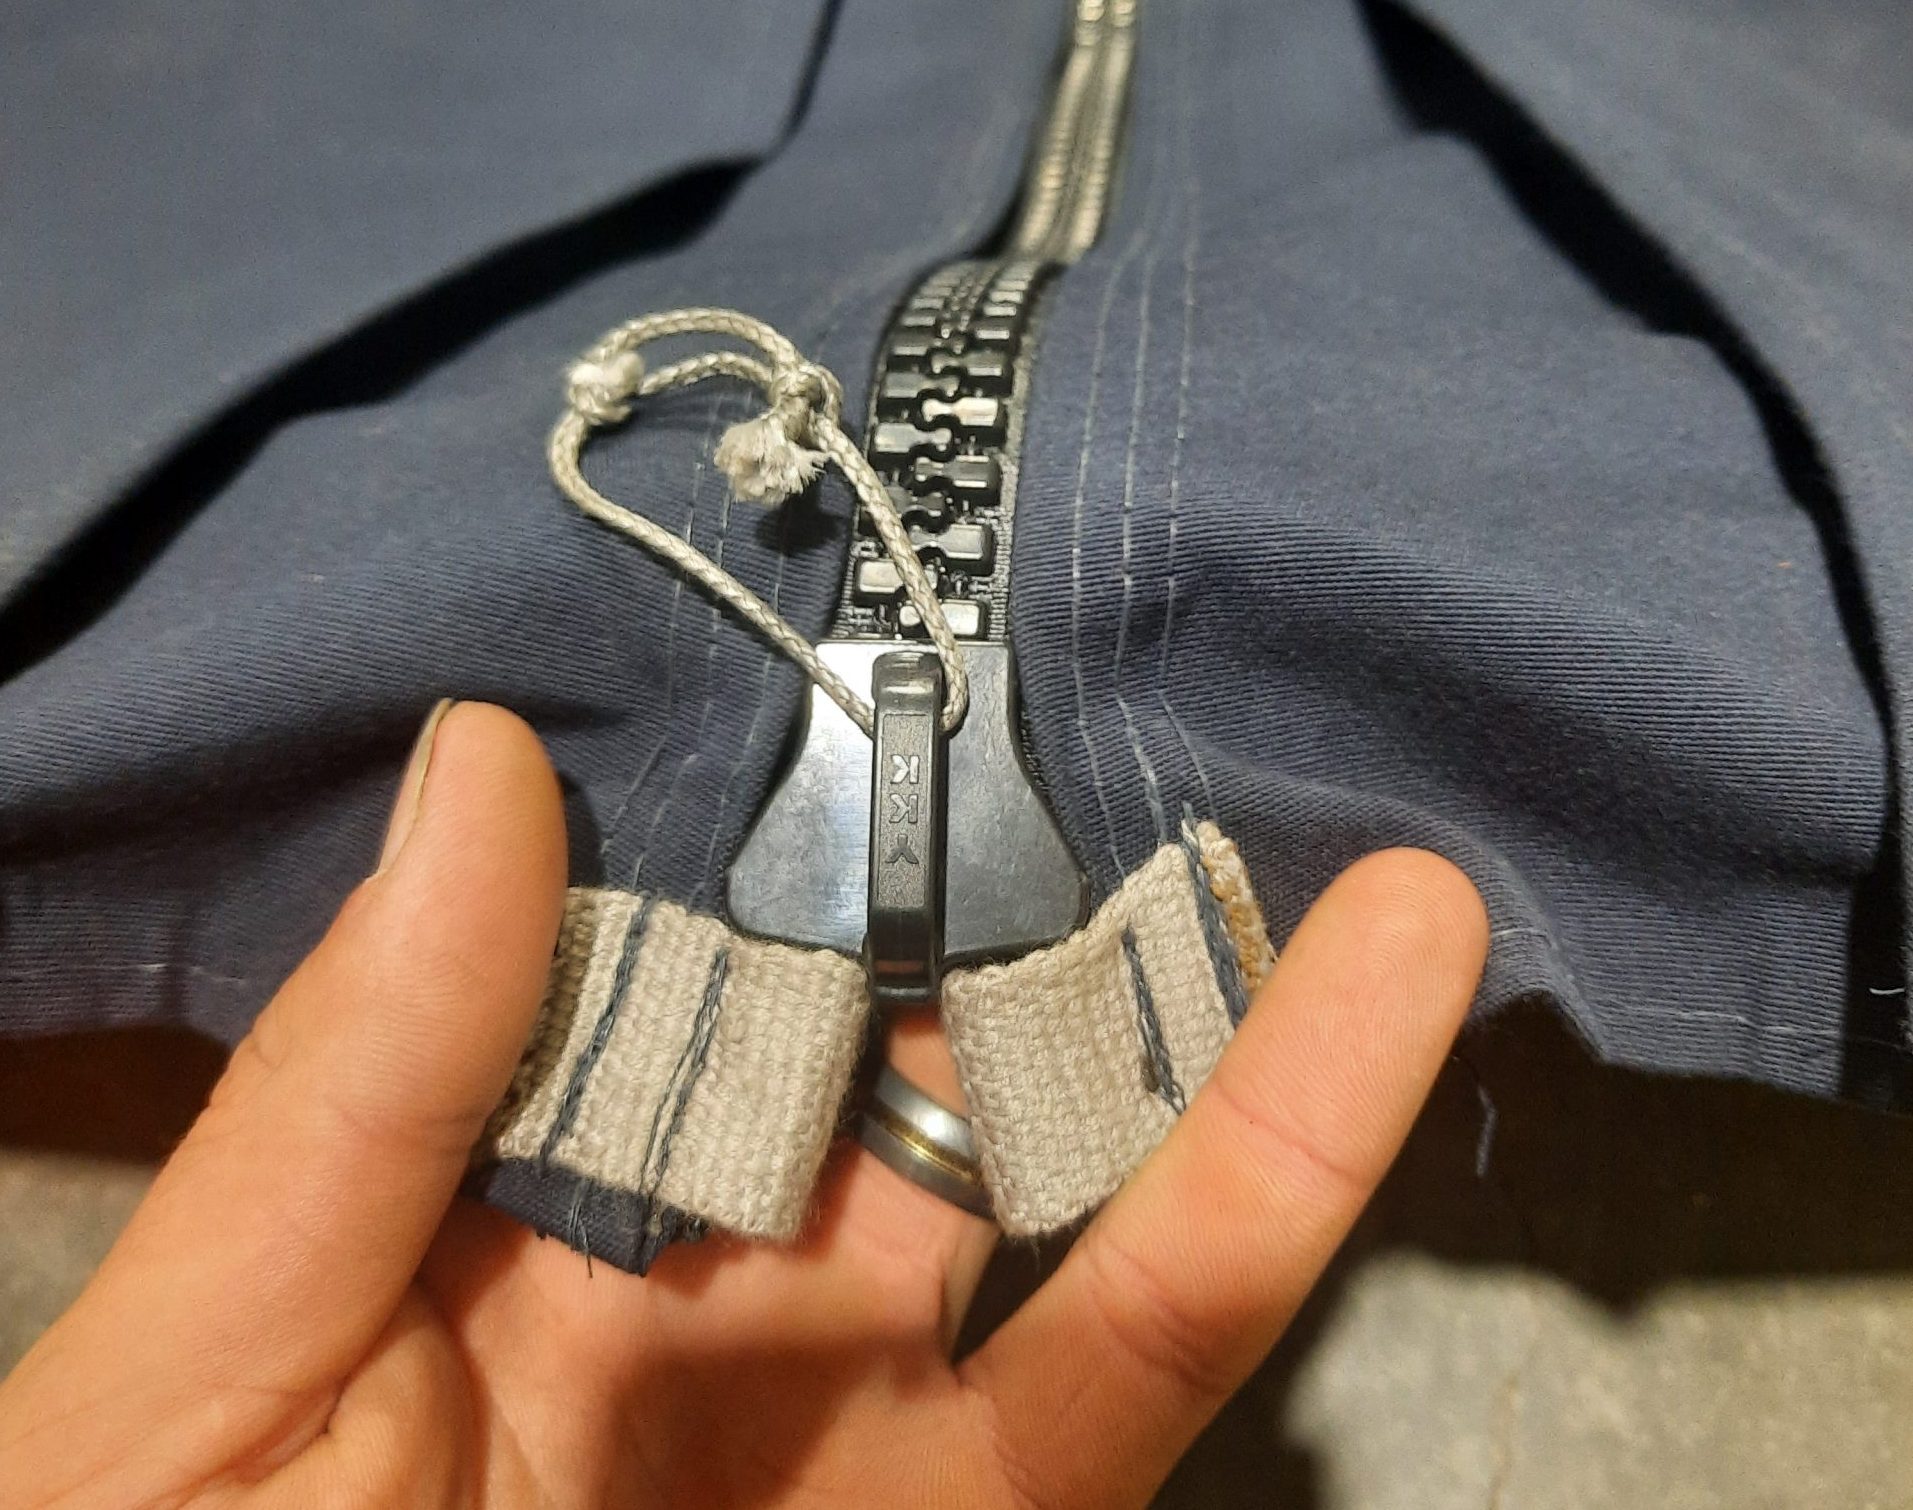
- Close up of our Zipper
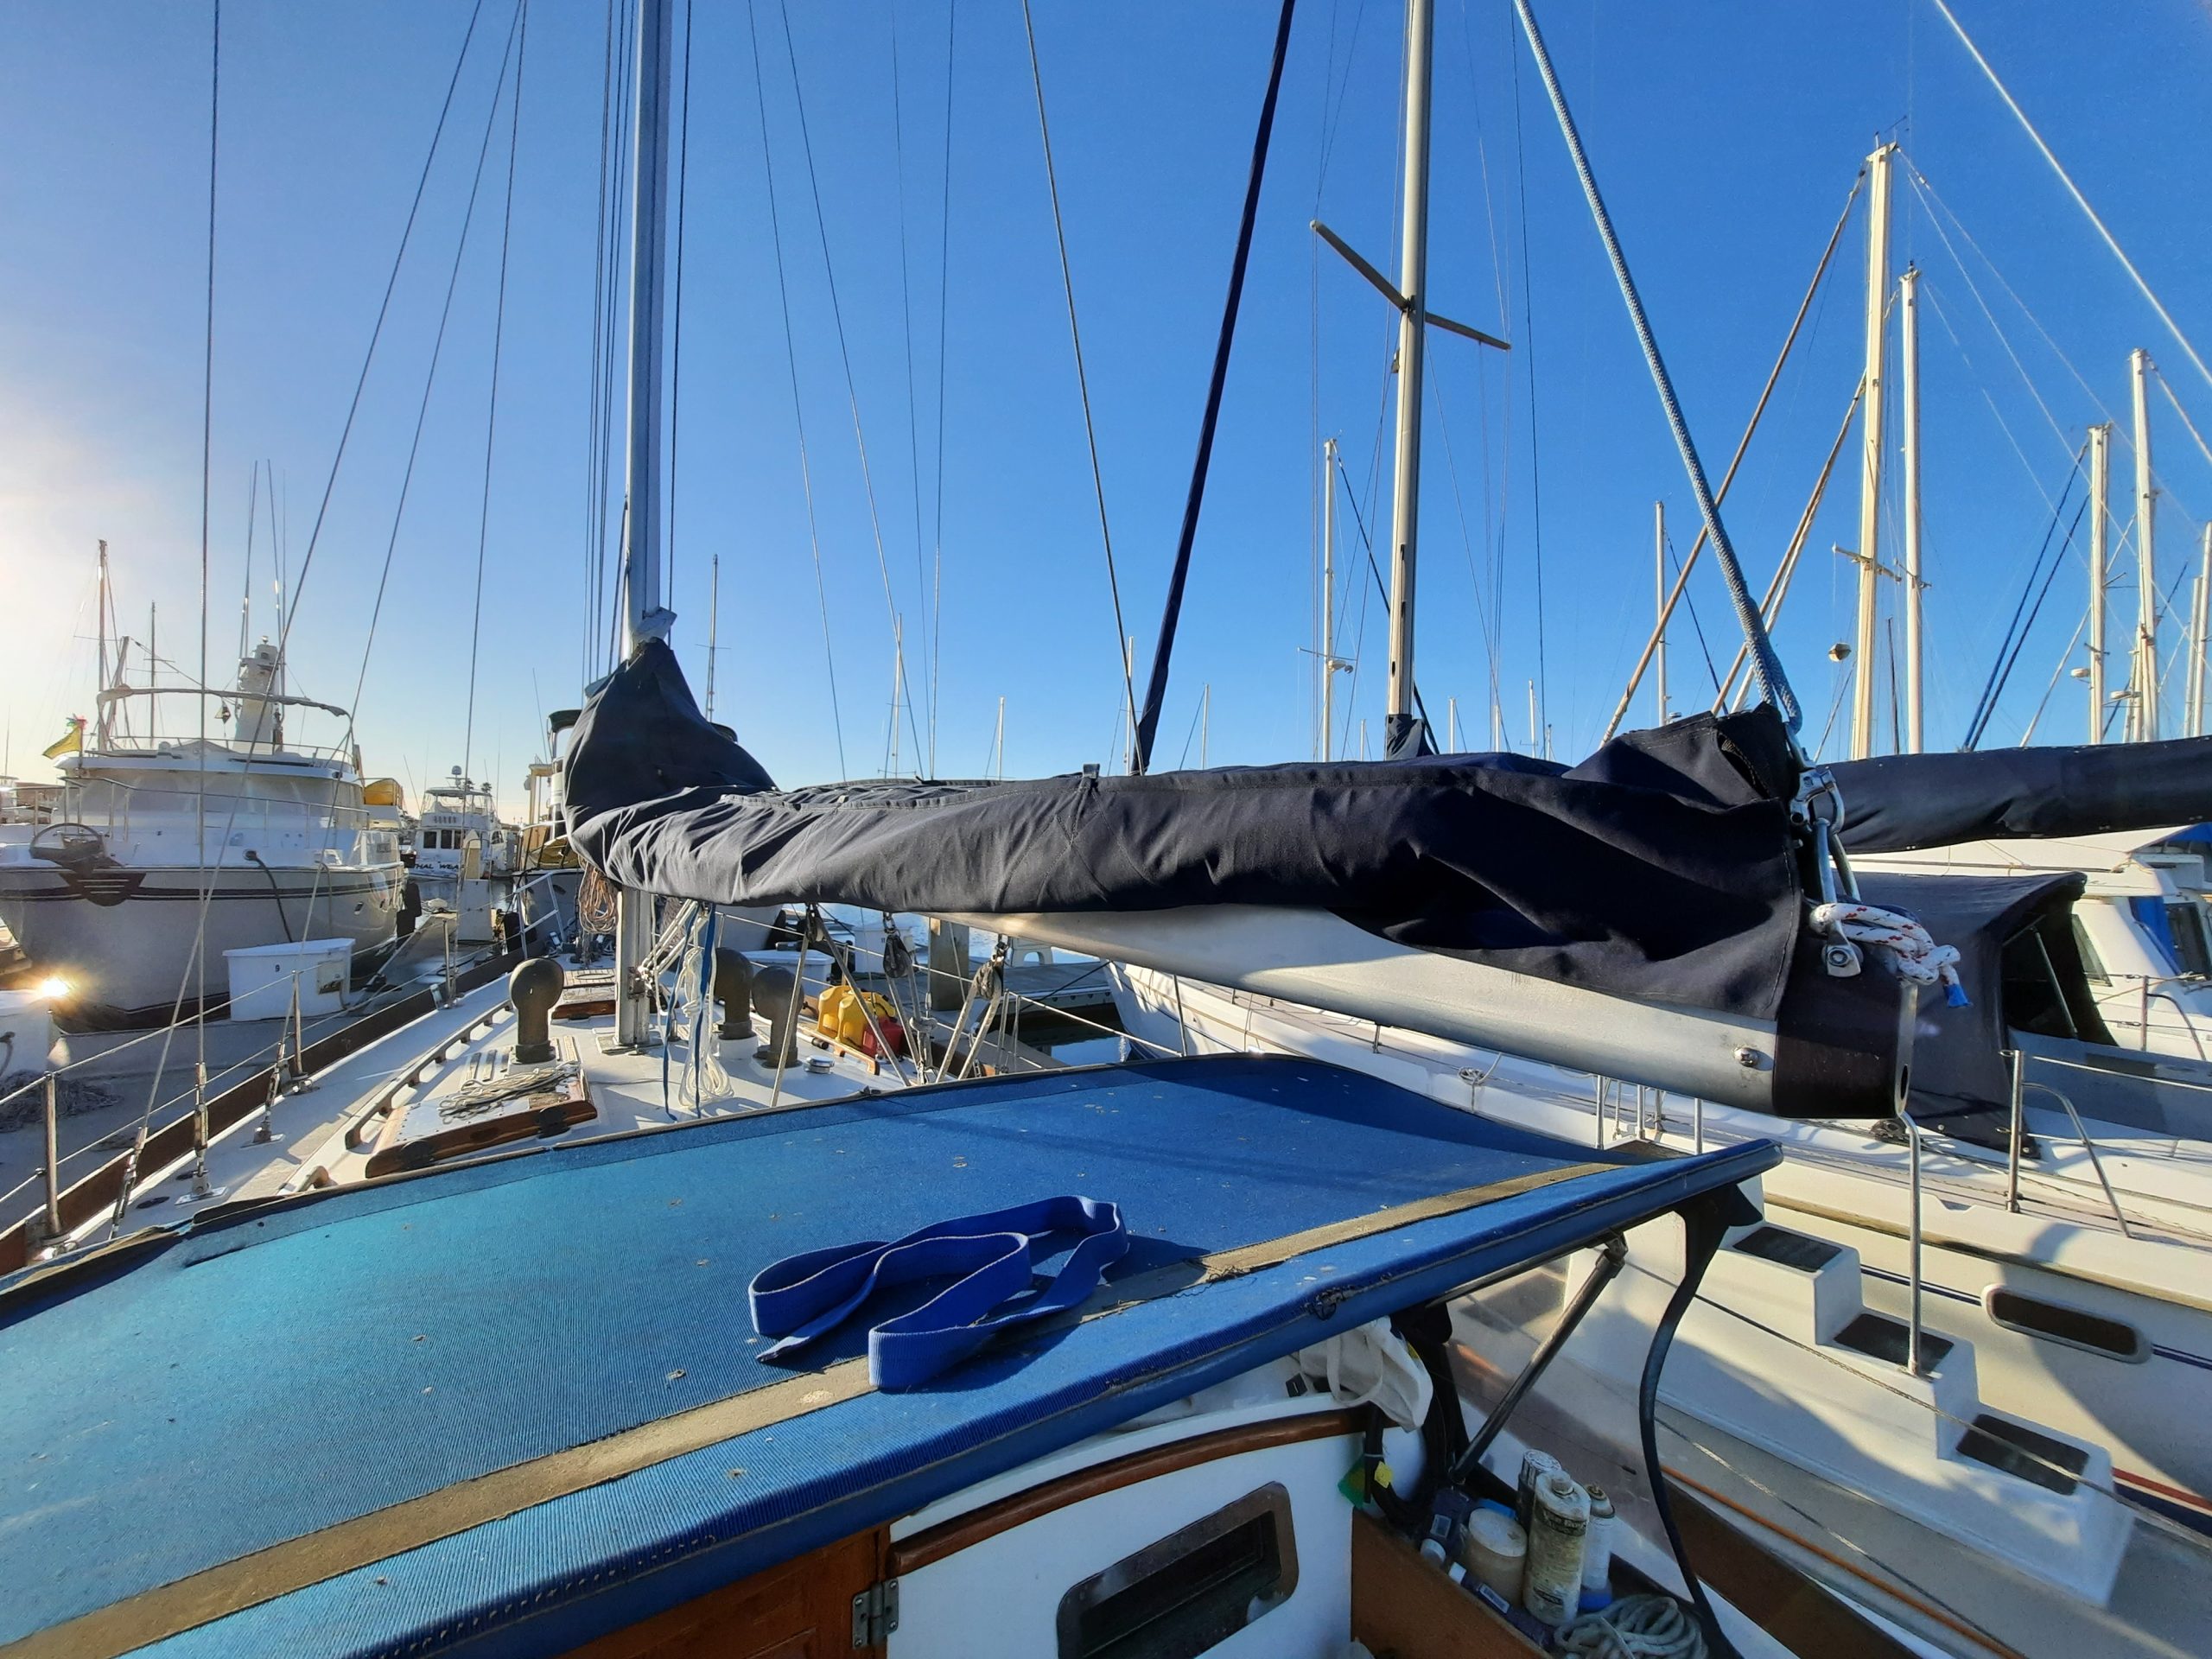
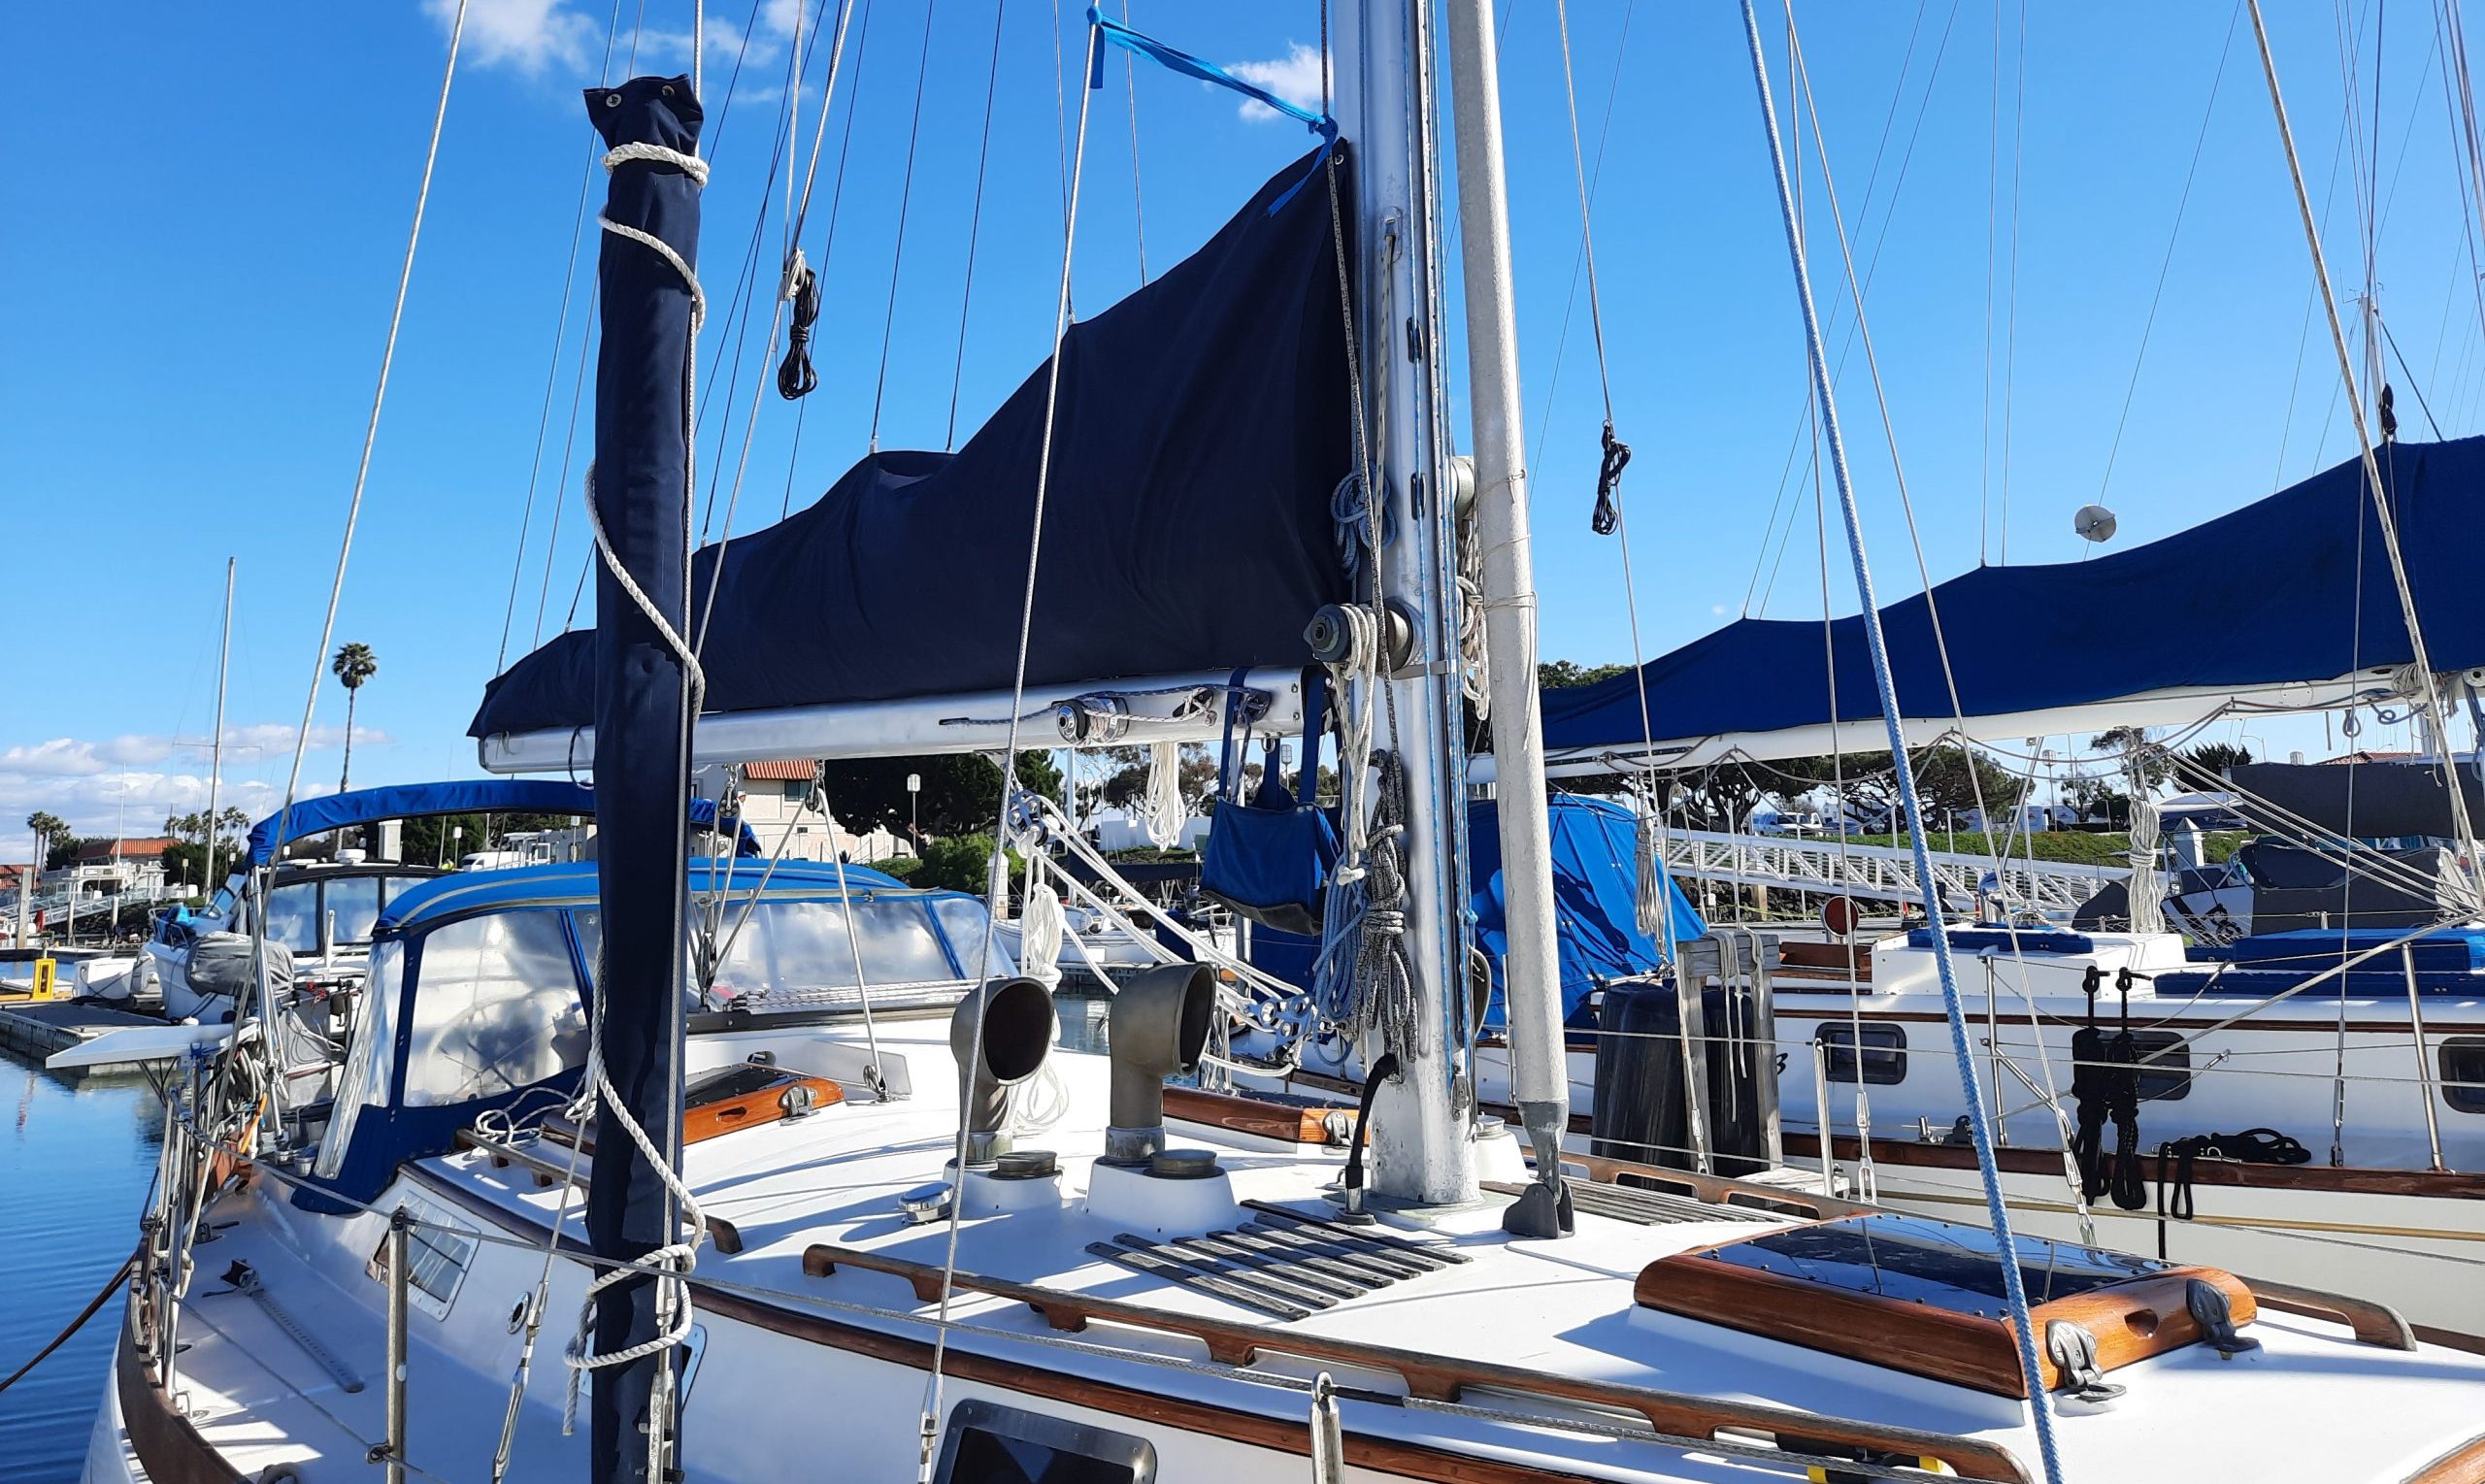
Two days later it was time to put our work to the test. For the initial test fit, we removed the sail from atop the boom and nervously slid the stackpack into place. We tugged at each end of the pack to properly adjust the canvas to cover the sail – it was a near perfect fit! Of course, there were a few things that needed to be added, but more importantly, there was nothing that we had to redo or remove.
After fashioning some temporary lazy jacks Chris was able to adjust the stackpack roughly where we wanted it, to sew in the webbing and twist locks on the aft end, where the pack attaches to the topping lift bale. We immediately noticed that the sail was exposed a bit between the boom and the mast. On the Sea Castle, there is a separate piece of canvas that gets draped over the front of the pack and mast to cover the exposed sail when it’s not in use. Although we are all for maximum UV protection, we didn’t want to have to remove an additional thing to go sailing so looked around for other ideas, which is when we found the golden ticket. On our dock, there is a gorgeous Blue Jacket that is immaculate in every way. To protect it’s sail, they have a well-made stackpack that features a front c-shaped piece of canvas to cover the sail that is sewed onto the front edge of the stackpack, and then just clasped onto the mast, which doesn’t require you to remove or adjust anything when you are ready to go sailing – brilliant!
-
- Check out that zipper!
-
- Pack fitted (no lazy jacks)
-
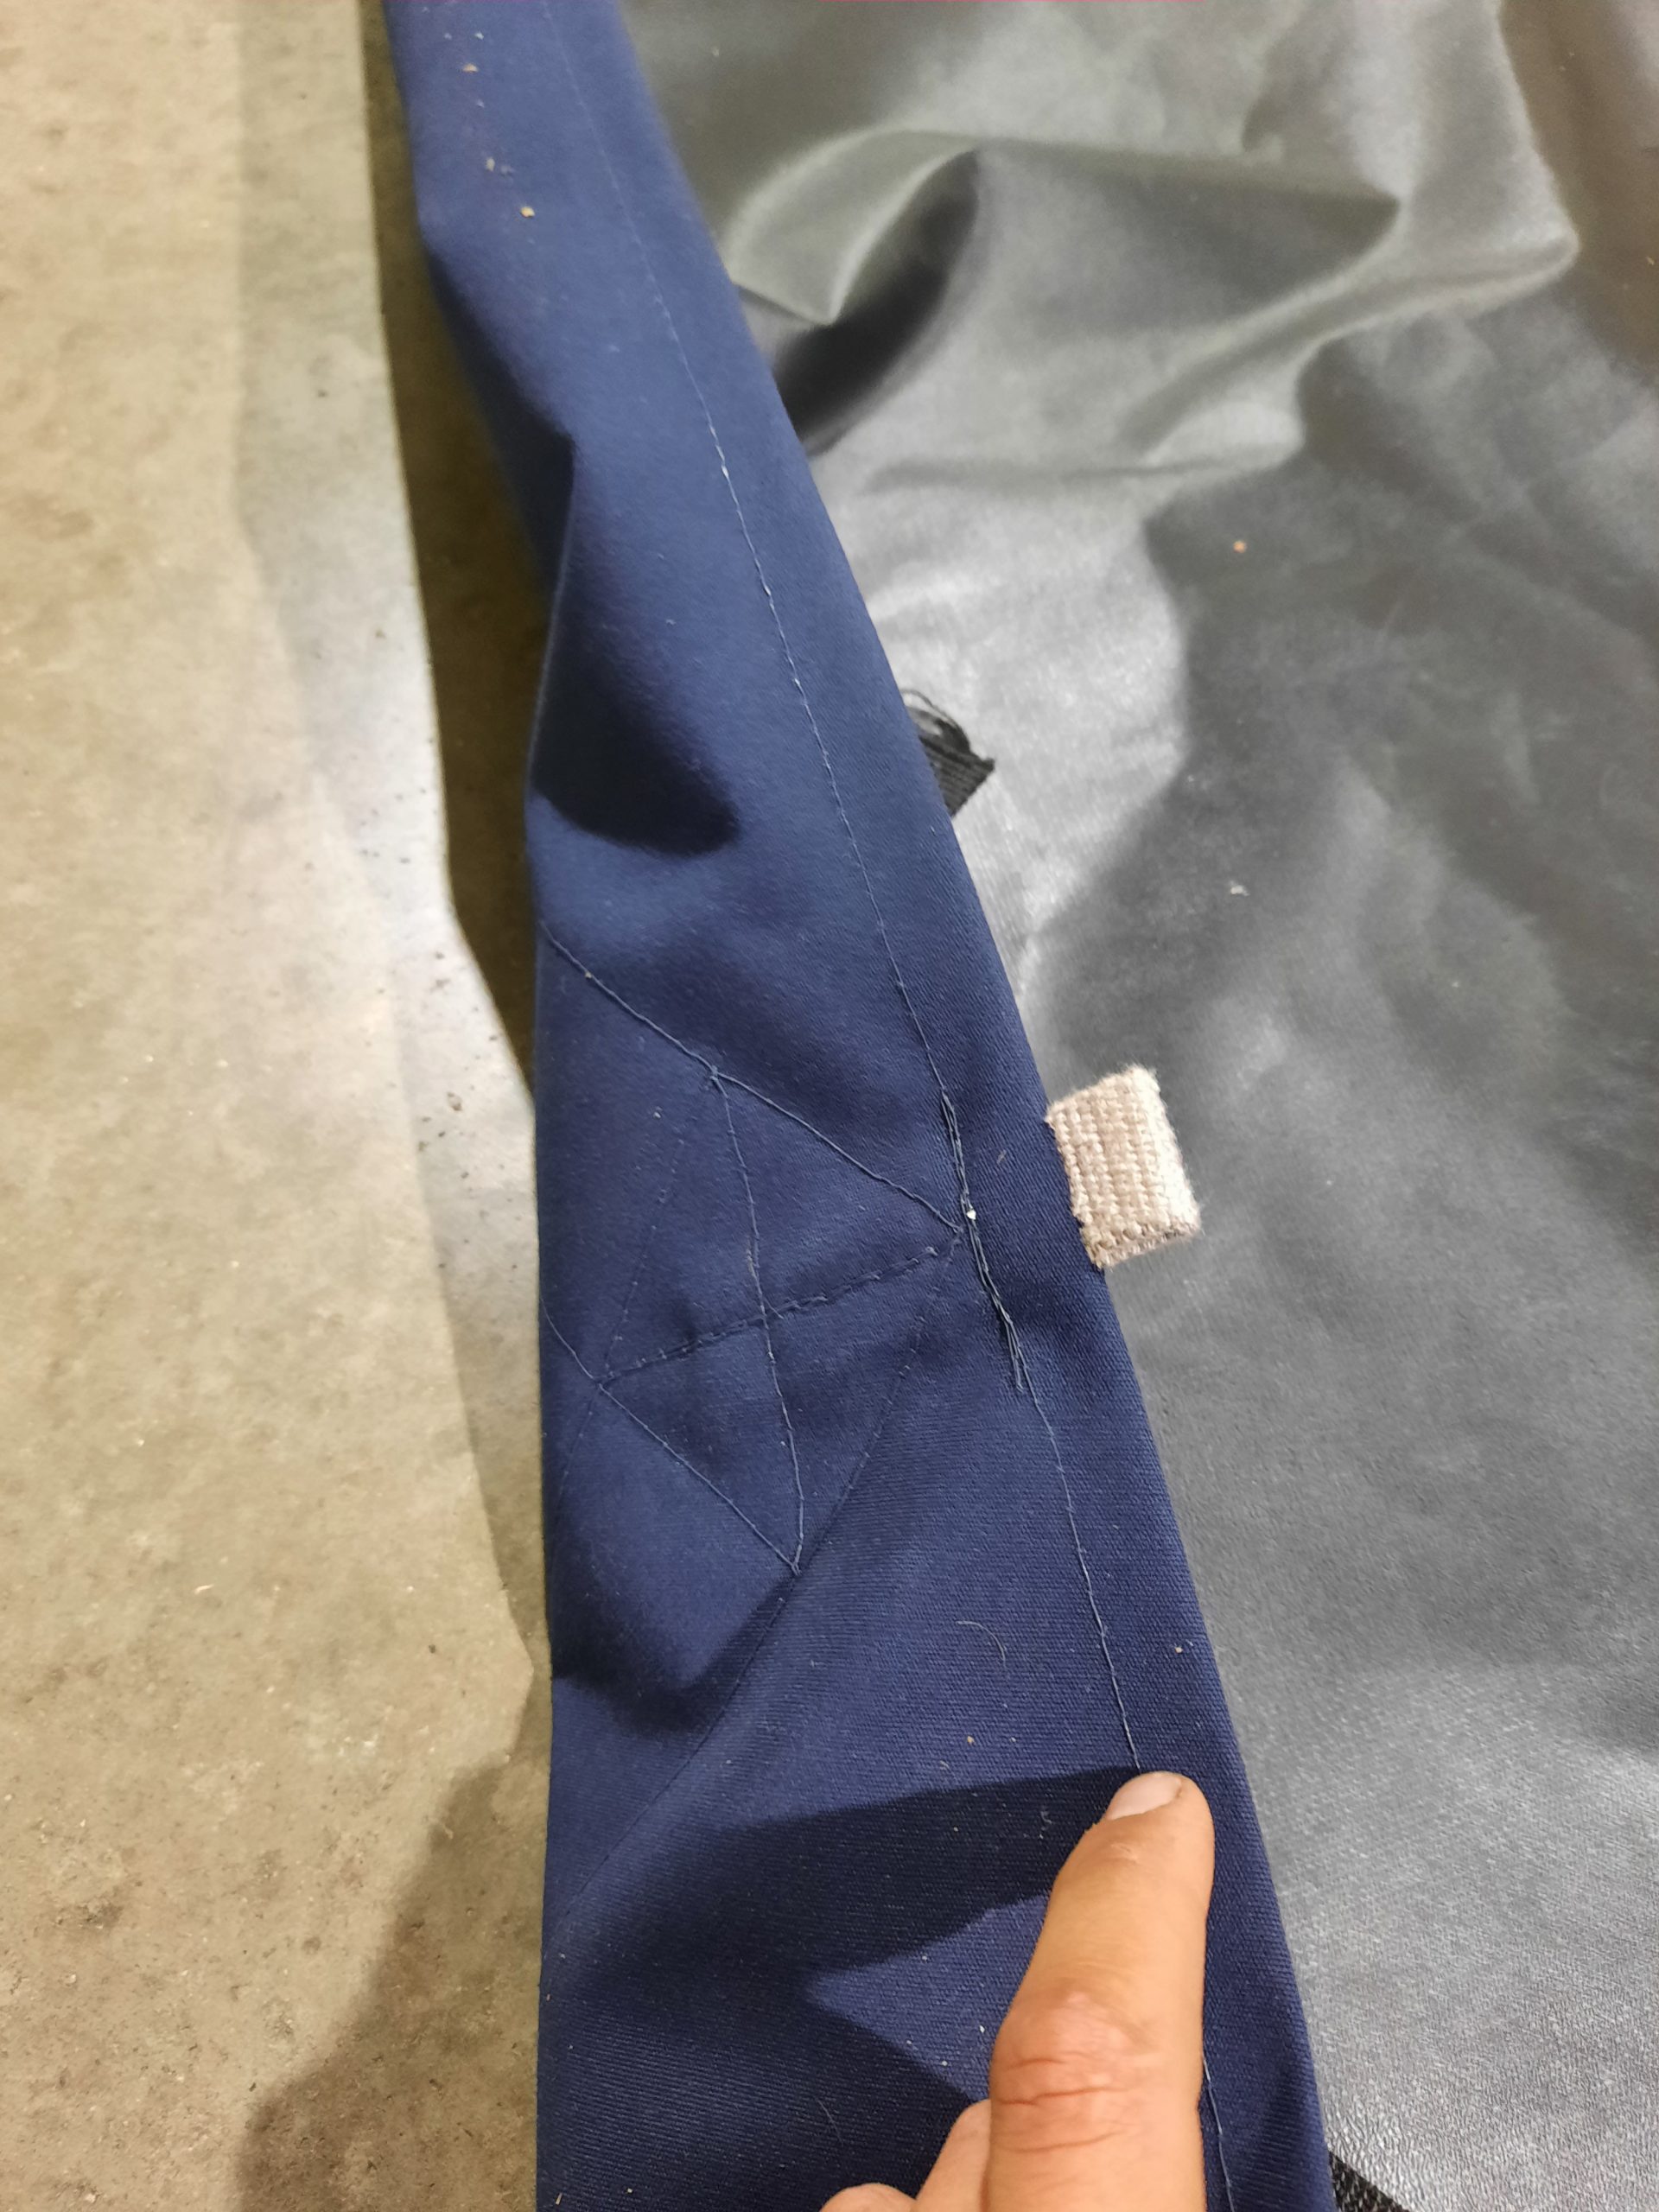
- A close up of how the pack attaches to the back of the boom using webbing and twist locks
With a new addition in mind, Chris removed the pack from Avocet and used the last 2’ scrap of sunbrella we had left to create the little wing-like additions. Once cut, they were basted onto the pack and sewn in place along with a long 1’’ wide piece of webbing to act as a strap to hold the stackpack close to the mast on the bottom edge without needing to drill any fasteners into the mast itself. At the top of the pack we installed two twist-locks to keep the pack close to the mast and prevent sunlight from bleeding onto the mainsail tack. This design will twist with the motion of the boom with no resistance allowing us to trim our sail without chafe.
-
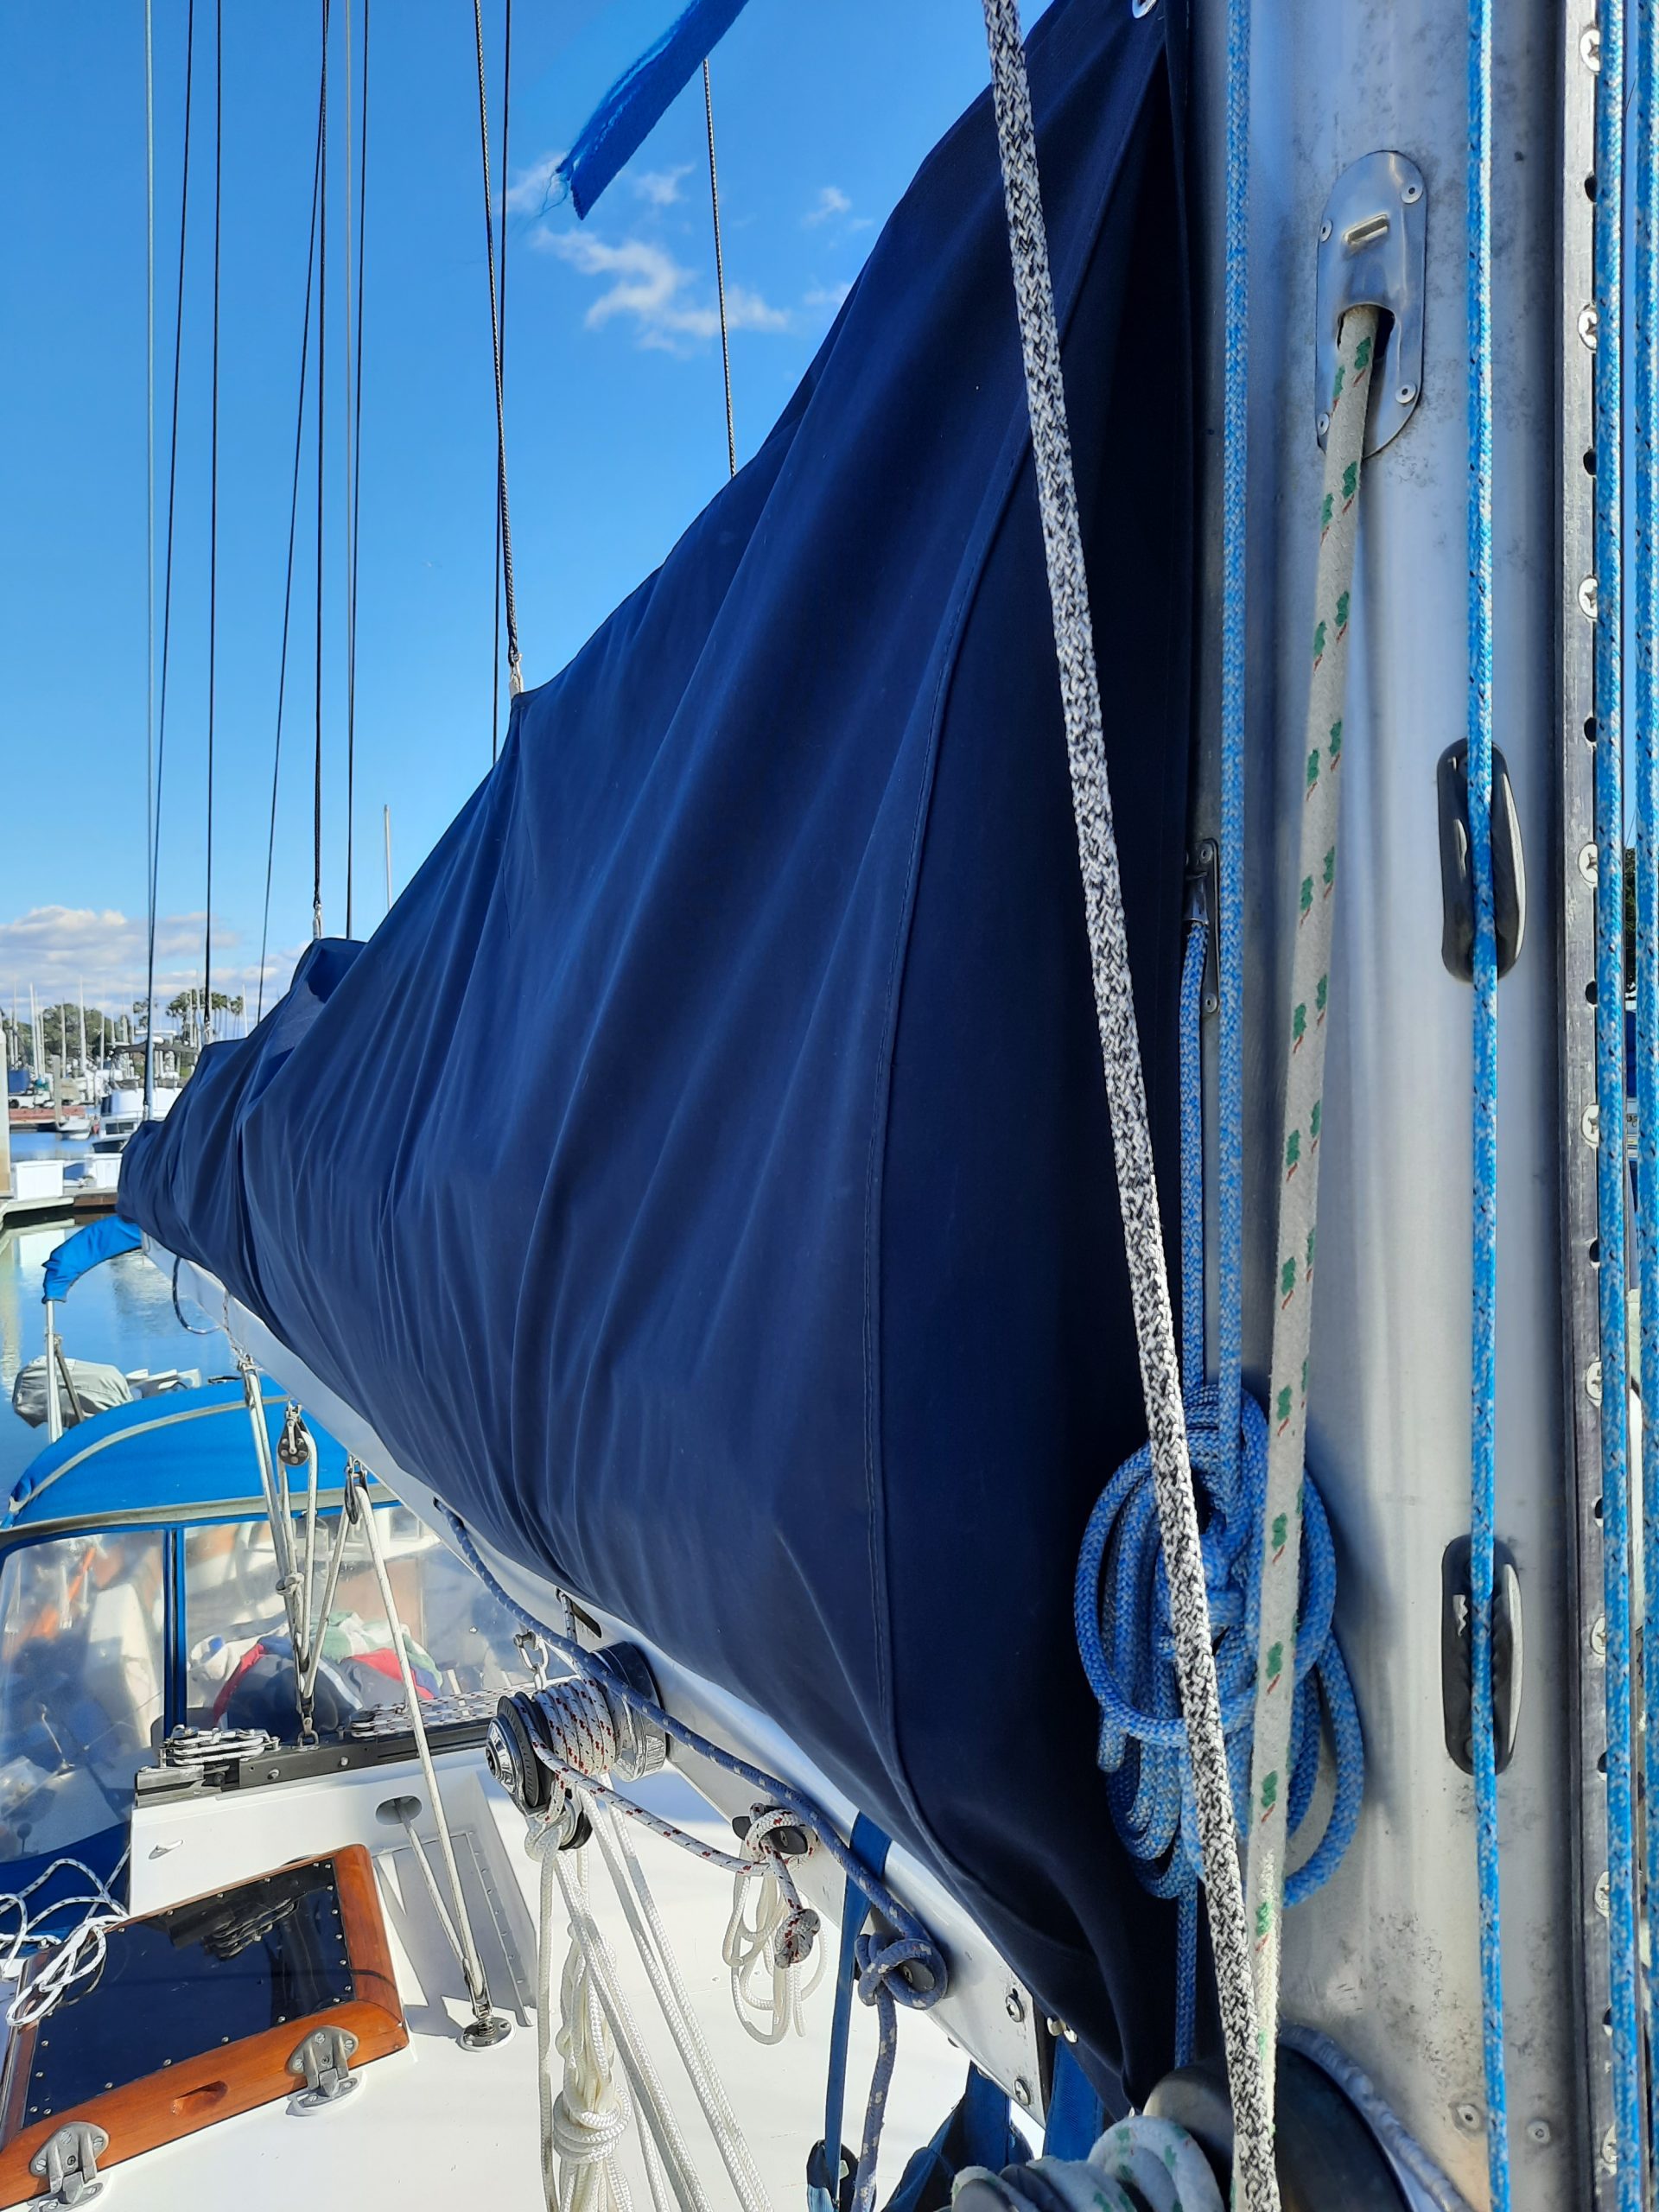
- Close up of the front addition
-
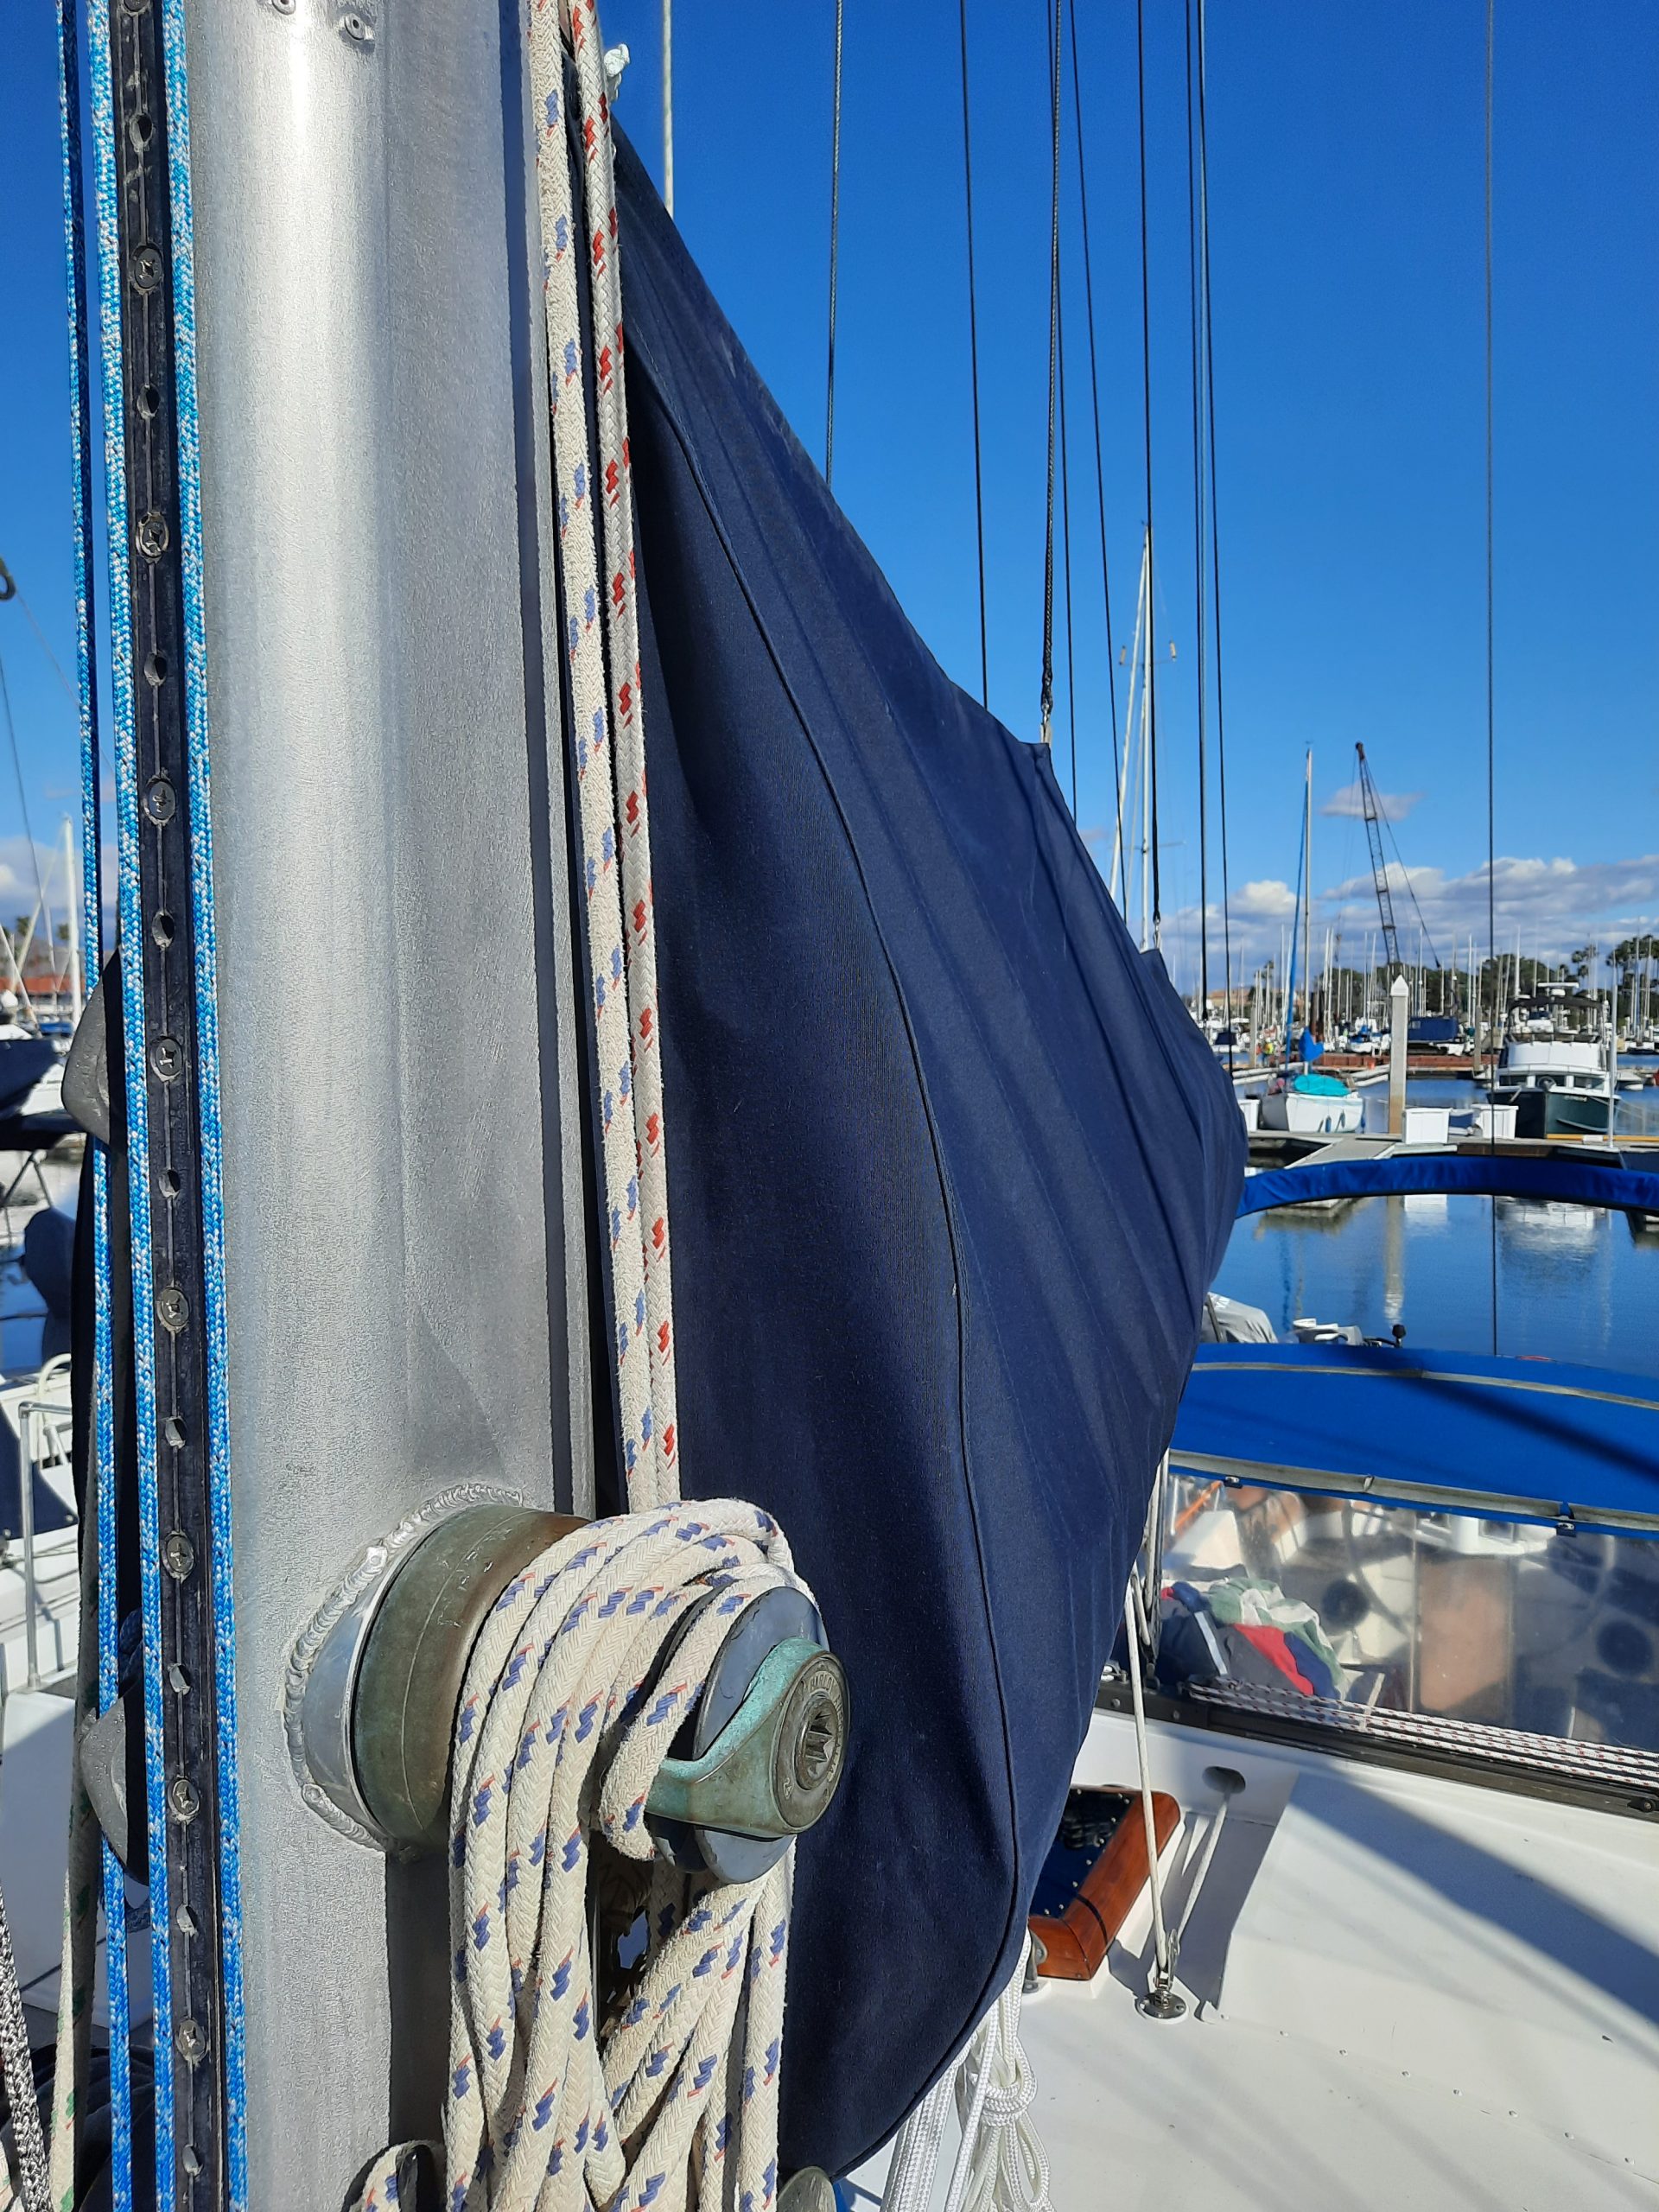
- Close up on the port side
At this point the stack pack was complete and all that was left to do was create and install the lazy jacks. For the materials, we chose to use 3/16’’ 12 strand dyneema, and low friction rings. Although Chris is usually a huge advocate for the “measure twice, cut once” camp, he fully eyed the measurements and continued to adjust the size of the dyneema, raising and lowering the sail repetitively until he got the proper lazy jack design that worked.
When our mast was in the boatyard, we installed substantial tangs 3/4 from the top of the mast; with 5 rivets holding each 1”x6” tang in place for the lazy jacks to attach to, in lieu of a standard D ring. The height of the lazy jack attachment helps pull the jacks up and not forward. Especially with a 4-point-attachment design like ours, it’s important the forwardmost point is getting tension that is equal to the aftmost; otherwise, the sail will “fall” through the hole with the least resistance when the main is dowsed. Additionally, having a robust mast attachment allows our lazy jacks to be a hand-hold in a seaway that can support the extra weight – of course, this is not an ideal or typical situation to need to prepare for, but it’s better to be safe than sorry if the situation should ever arise.
A note on the low friction rings has to do with their name, low friction. So when the sail is raised and underway, you don’t want a lazy jack block or ring that will cause chafe on the sail.
We stood back and took a look at our work, and were impressed. Chris is a true jack of all trades, and although I was not shocked at his ability to sew a perfect product the first time around I was very proud and happy to have been a part of such an accomplishment. With everything said and done, we ended up spending around $400 on the materials which is about half of what the cheapest loft-made stackpack would be. All of our buttons, twist locks, zippers, chafe protection, webbing, and lifetime thread was purchased from Sailrite.com at a relatively affordable price that was delivered to us promptly.
If you are considering a project like this, we would suggest tensioning the lazy jacks off the back of the mast. It’s common to run the tension line/bitter end to a cleat on the base of the mast but while creating our design using our initial makeshift-lazy jacks a gale rolled through and we noted the jacks slapped the mast creating an obnoxious repetitive sound. With this in mind, we chose to run the tension line to our aftmost lower shroud on a shroud cleat. Many other sailors told me to run it back to the end of the boom, but that would require running a cheek block and cleat on both sides of the boom which would result in at least 12 mounting holes. This also puts the upward force of the tension from the lazy jacks into the boom encouraging the boom to want to lift. Adjusting the lazy jacks is very simple from the shrouds, and while underway and downwind the boom is swung out enough where accessing the cleat might be difficult. We will see how this works for now.
With so many new “things” aboard Avocet we are growing more eager to catch the wind, every day! Unfortunately, Chris and I are still anxiously awaiting the arrival of our furler toggle (that was ordered months ago) which is the final piece needed before we can reattach our brand-new furler and Precision Genoa sail. Until we are able to put all of our hard work to the test, we have been keeping busy with various projects and look forward to sharing them with you very soon! Be sure to follow us on our website and social media so you will be the first to know how our additions are performing.
As always, we wish you fair winds and following seas!
Marissa, Chris, and Cleocat


Thanks for this write up! I am planning to tackle this project in a month or two and your step by step guide will prove very helpful! I might hit you up with questions that arise, if that’s OK?
absolutely you can! On one condition… you vote for us in this contest! https://zealous.co/youngcruisersassociation/opportunity/refit-of-the-year-23/results/submissions
Hello!
Nice job on the stack pack and well written.
Please tell me how much Sunbrella you used for this. I am stocking-up for my own project.
Many thanks…
SV Carly D.