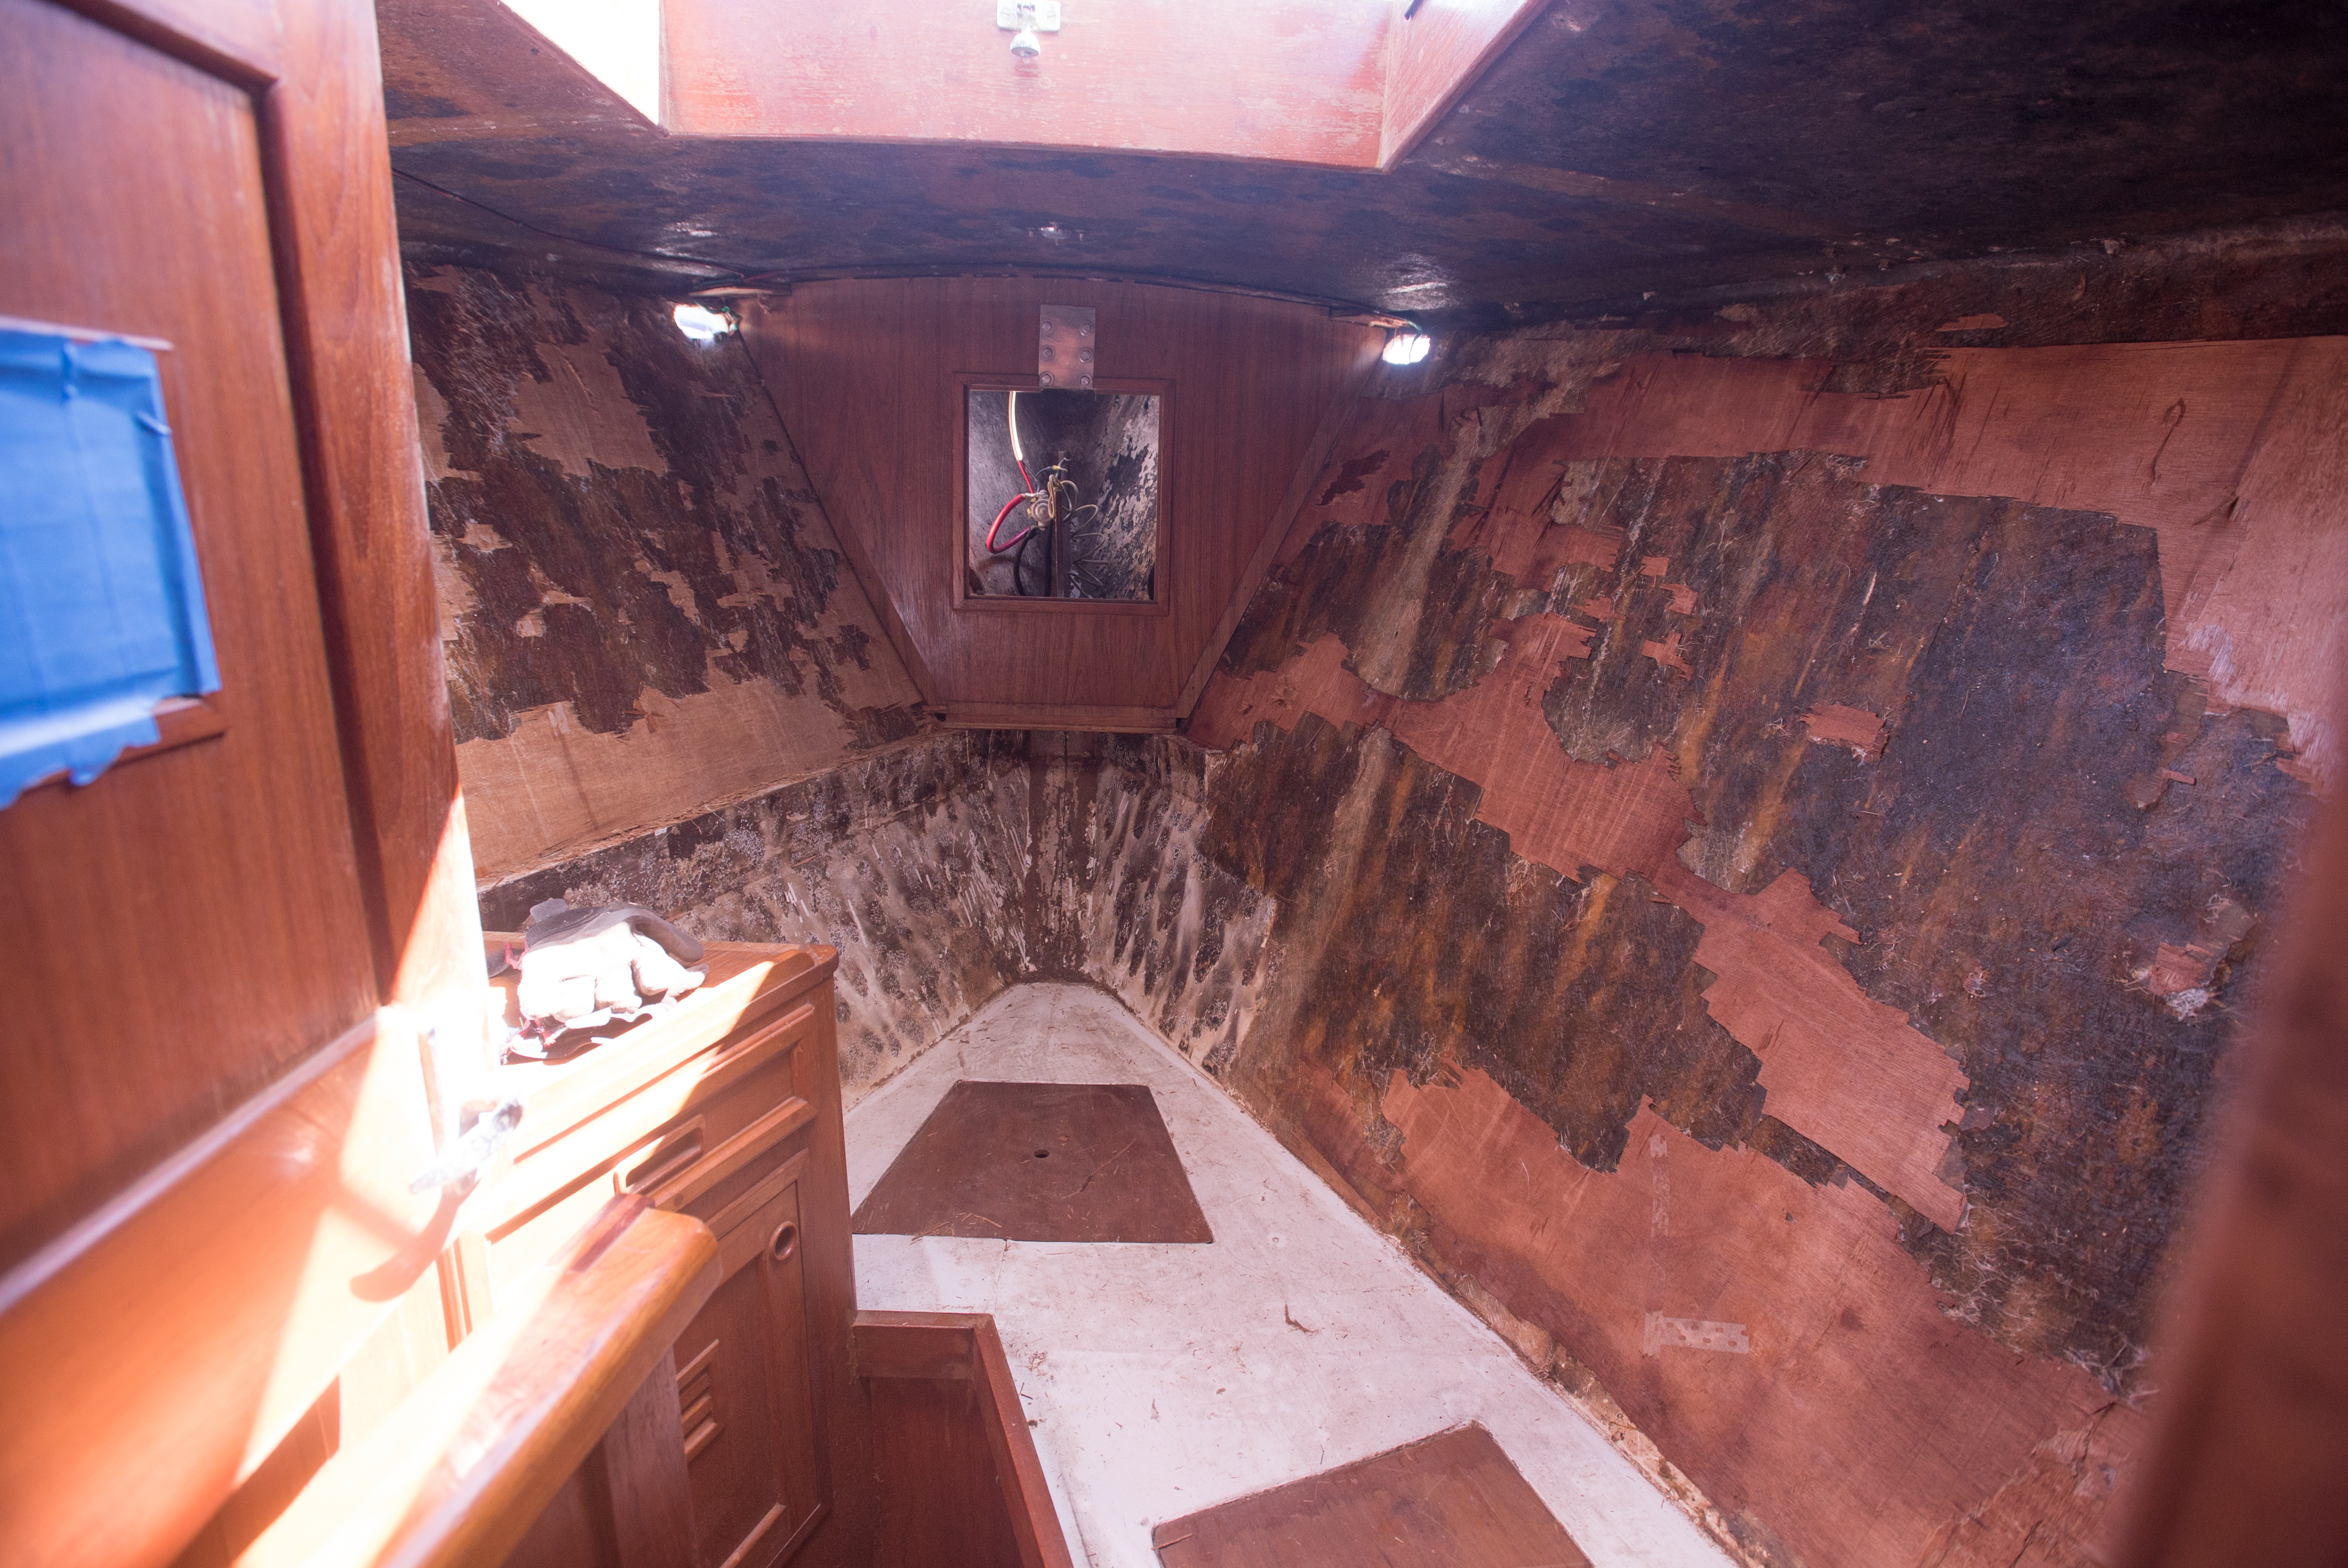
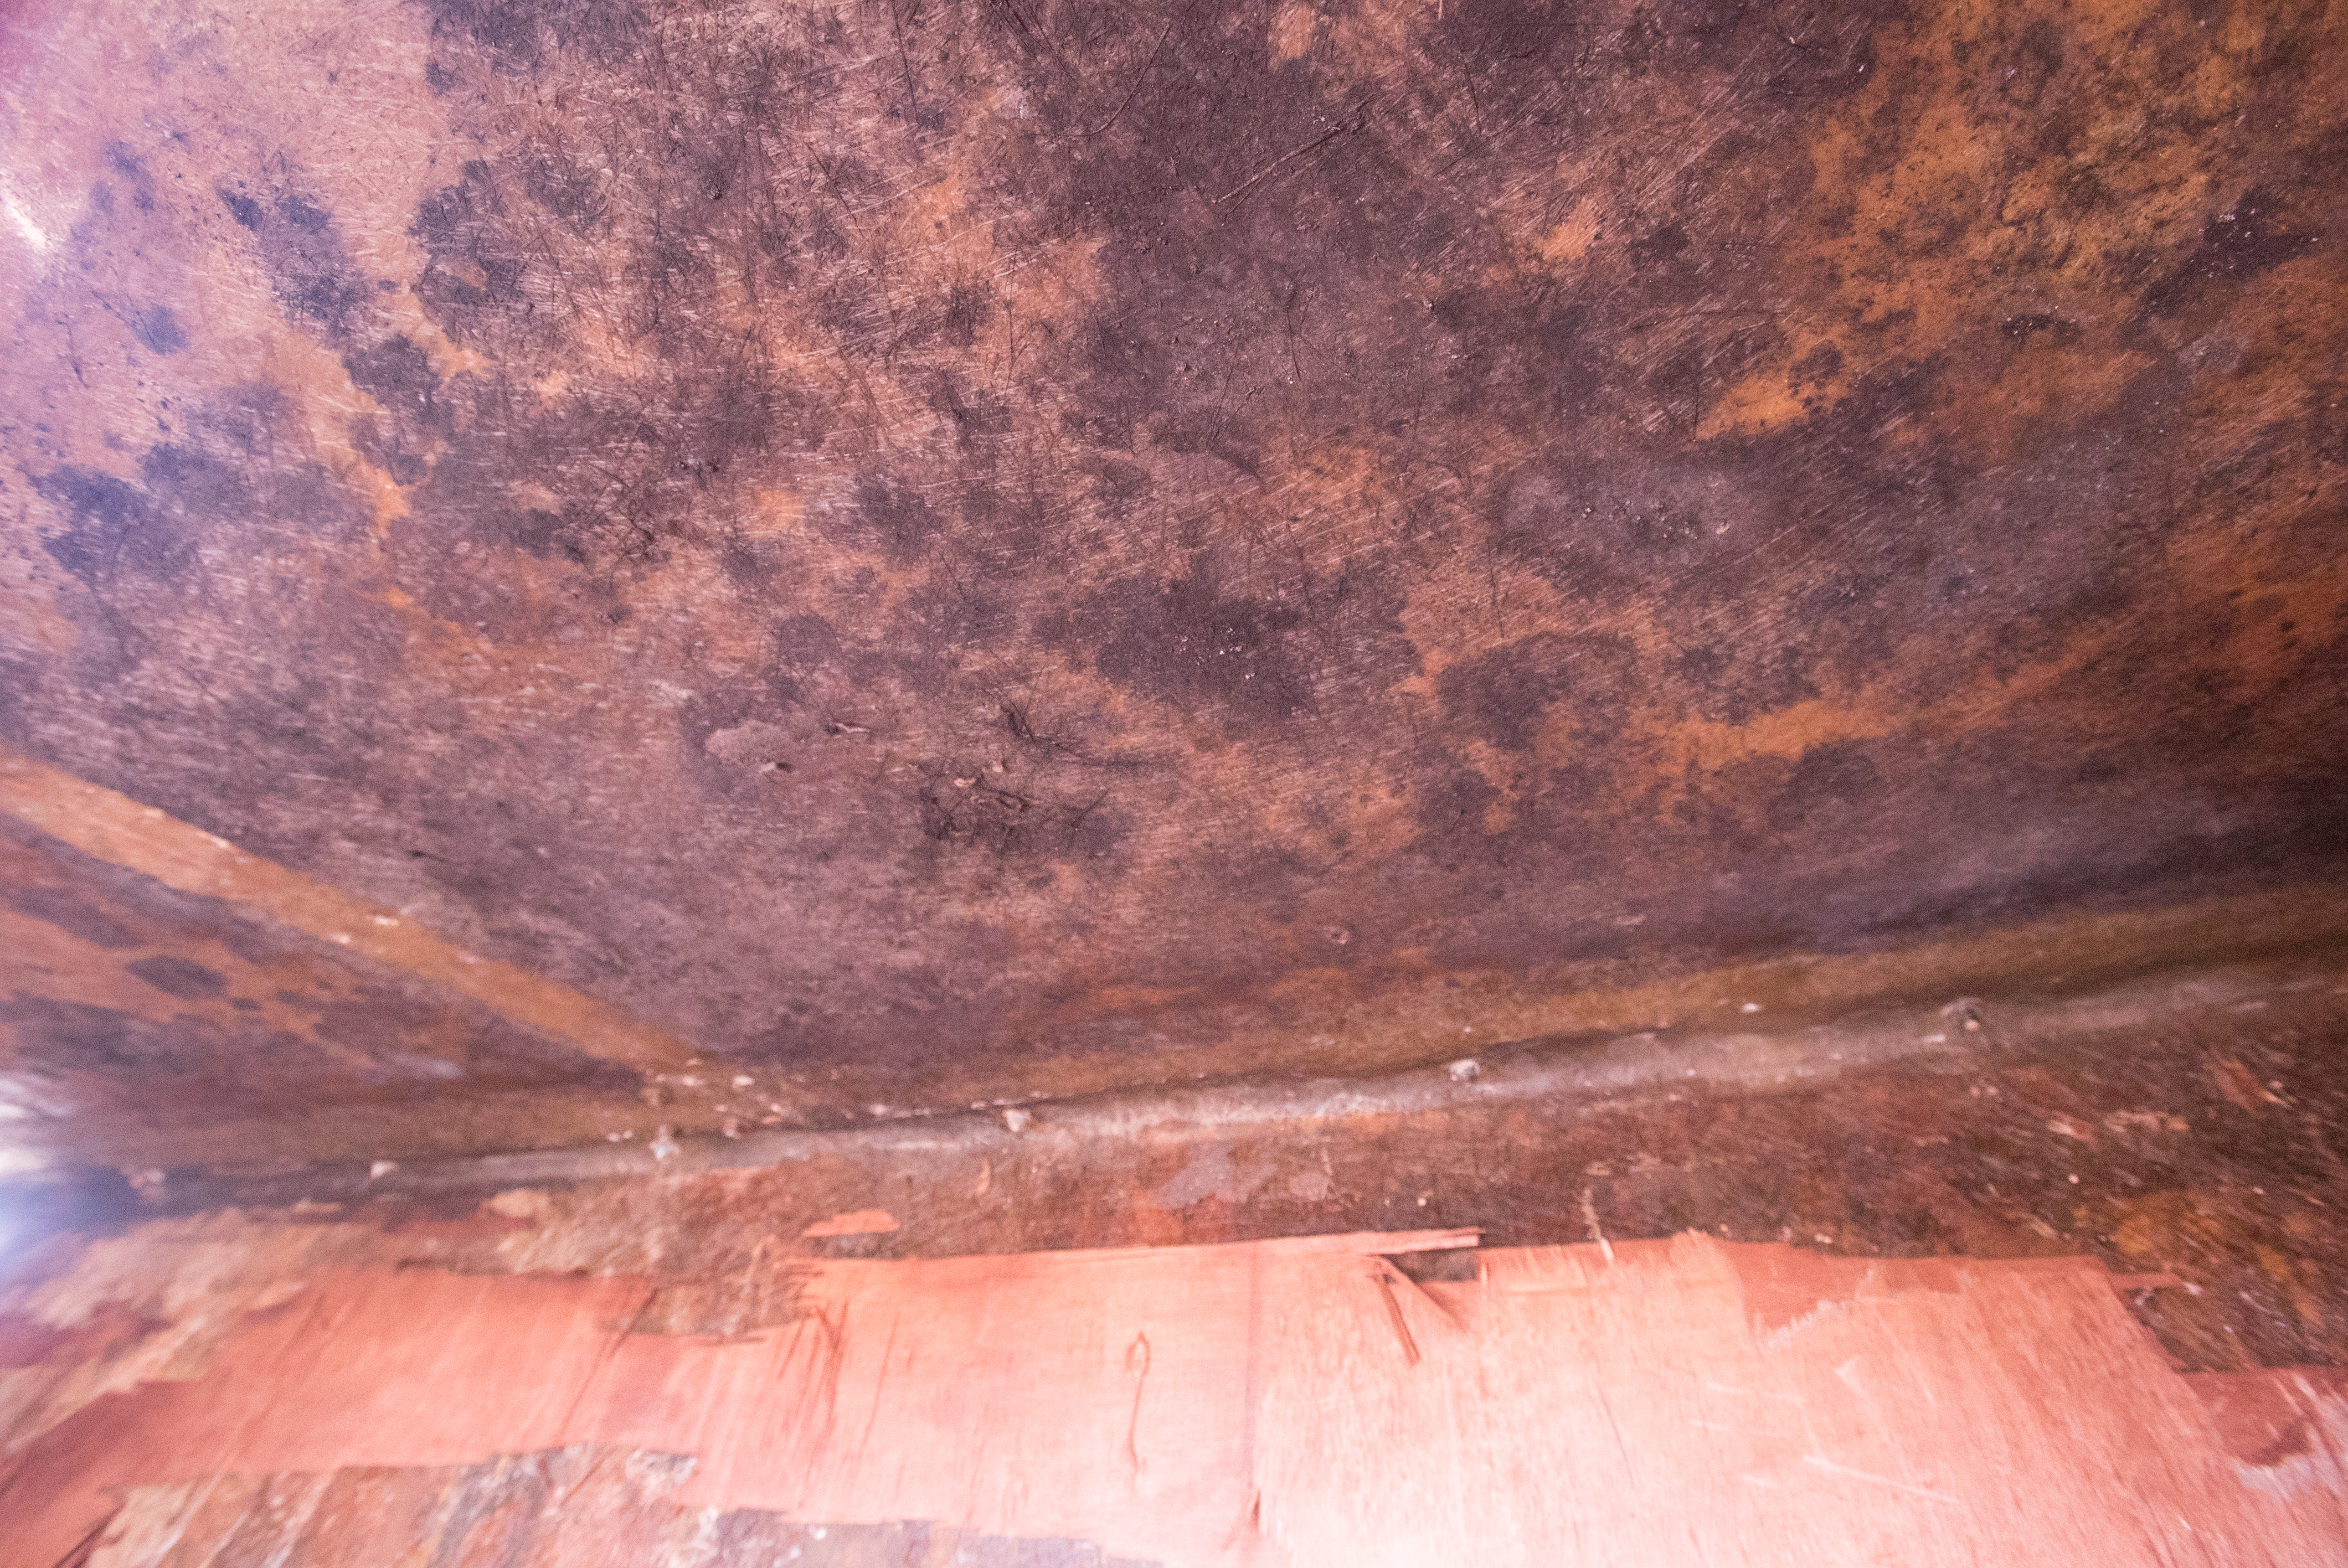
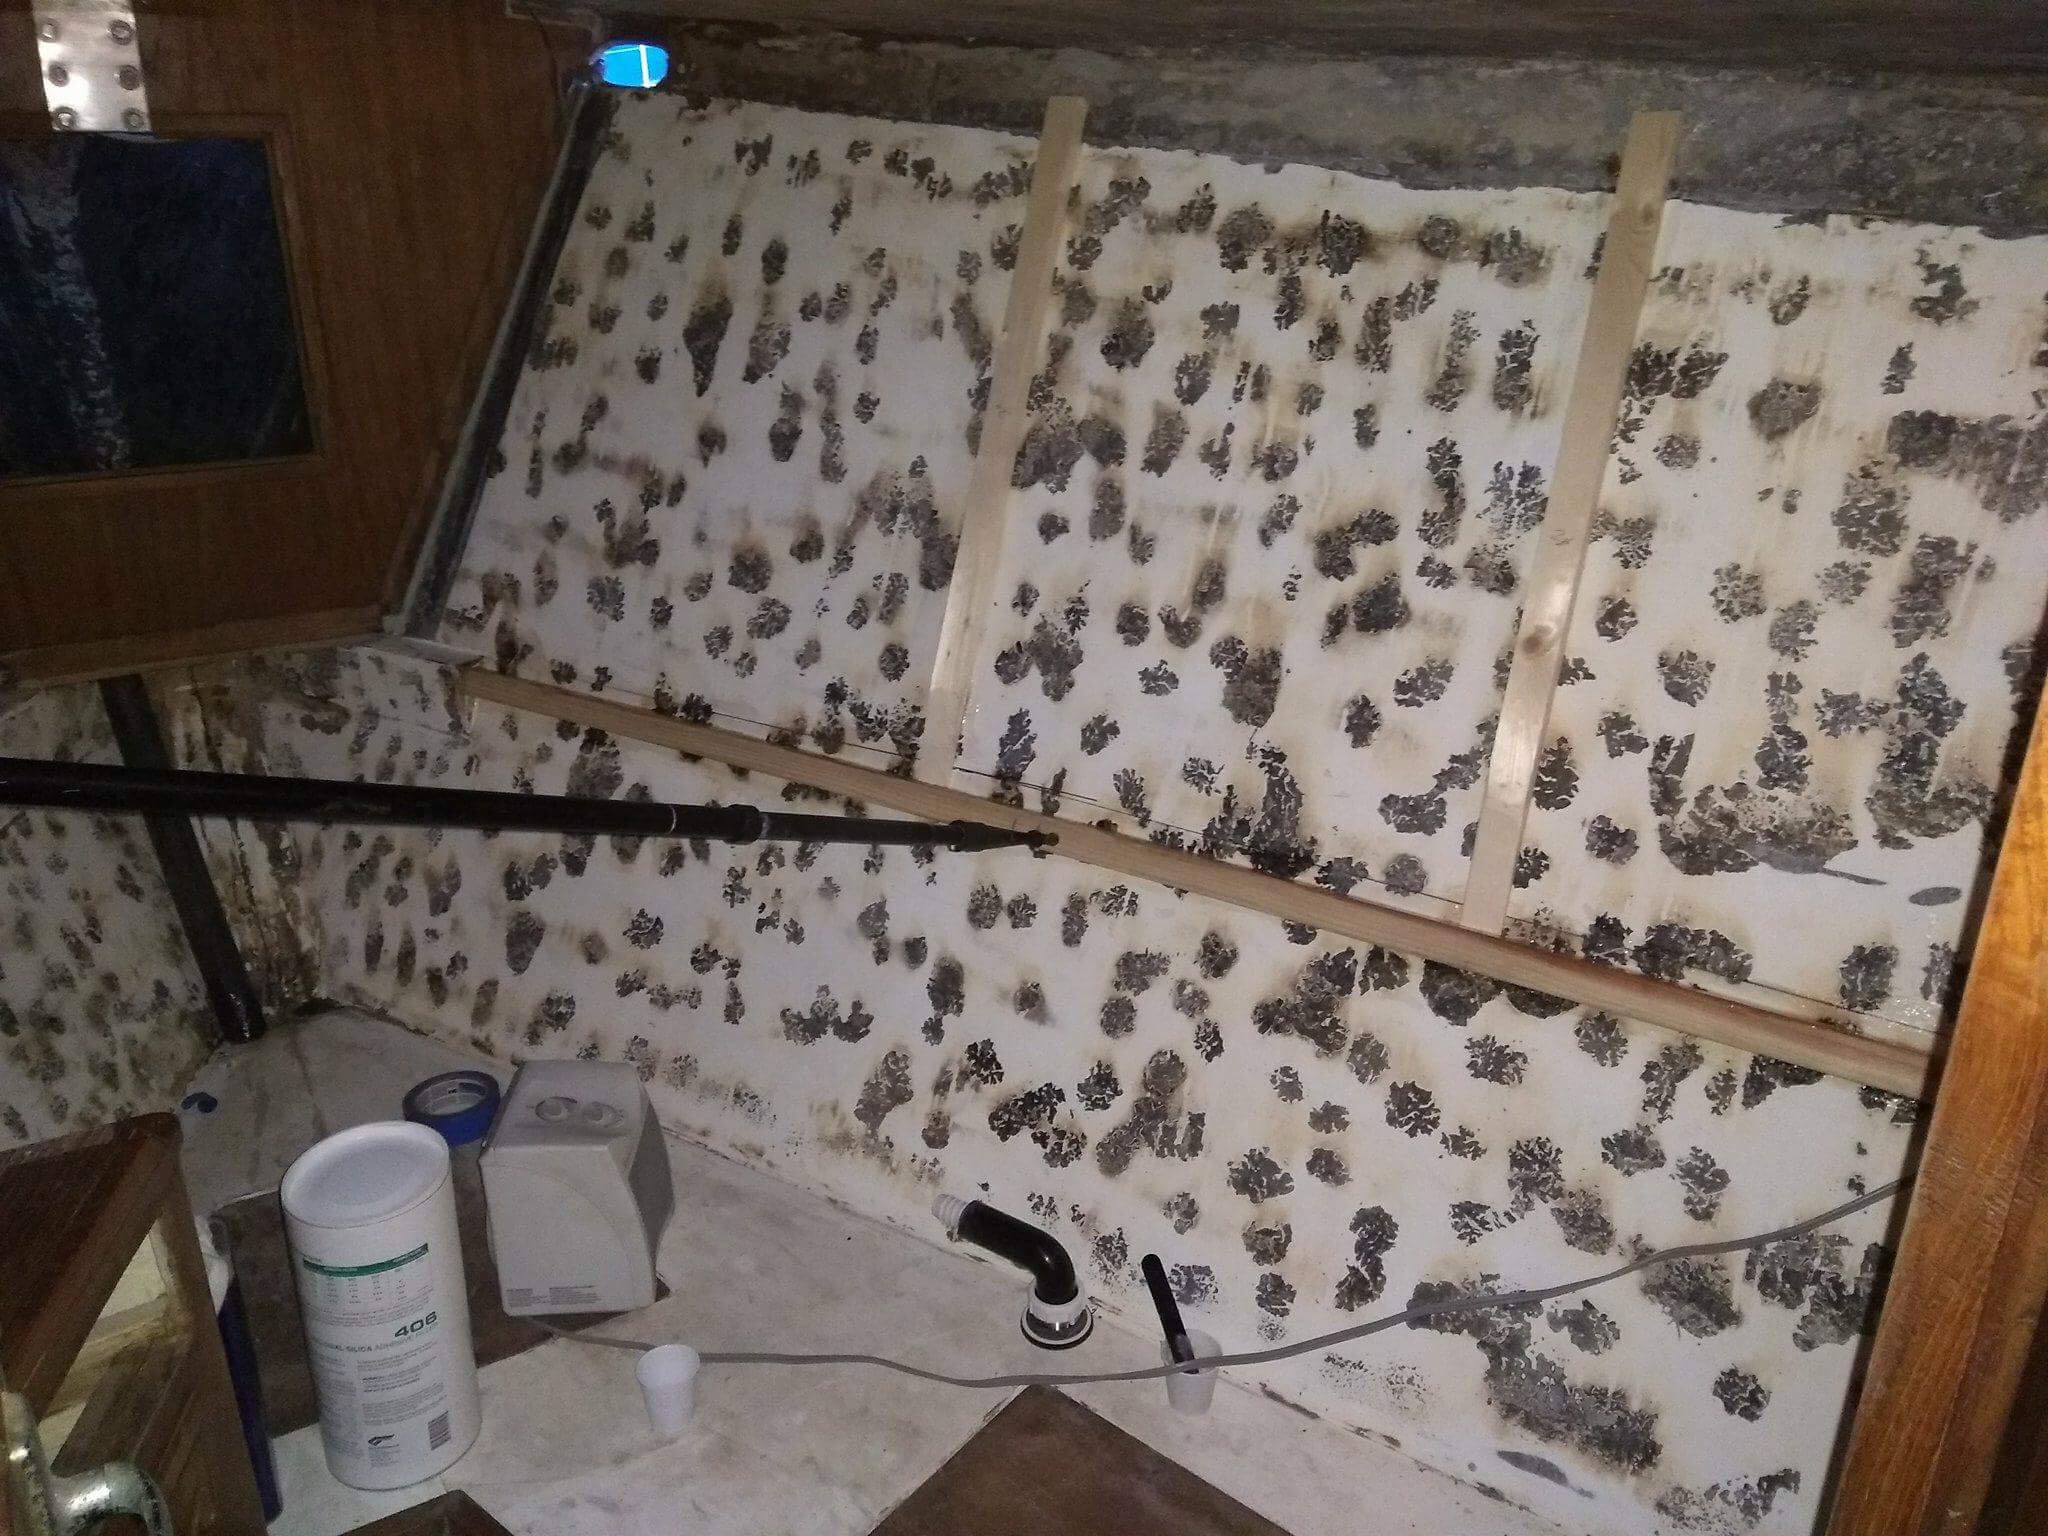
When we bought Avocet back in March, we knew that the first big project would have to be restoring the V-berth. The V berth had been used as a sail, anchor, fender, dive gear, and miscellaneous storage area so there were lots of wet things sitting in a small space creating a very mildew-e atmosphere. However, this was not really the biggest issue. The biggest problem was that the anchor locker had no real drain which meant that all of the seawater that was naturally brought in with the chain (which is quite a lot) went straight into the woodwork. The waters path was either into the side veneer panels or into the lower lockers where it was stopped by two bulkheads which ultimately led to around 12 inches water being ultimately stagnant underneath the floor boards before finally making its way to the bilge. Not a great system Cheoy Lee.
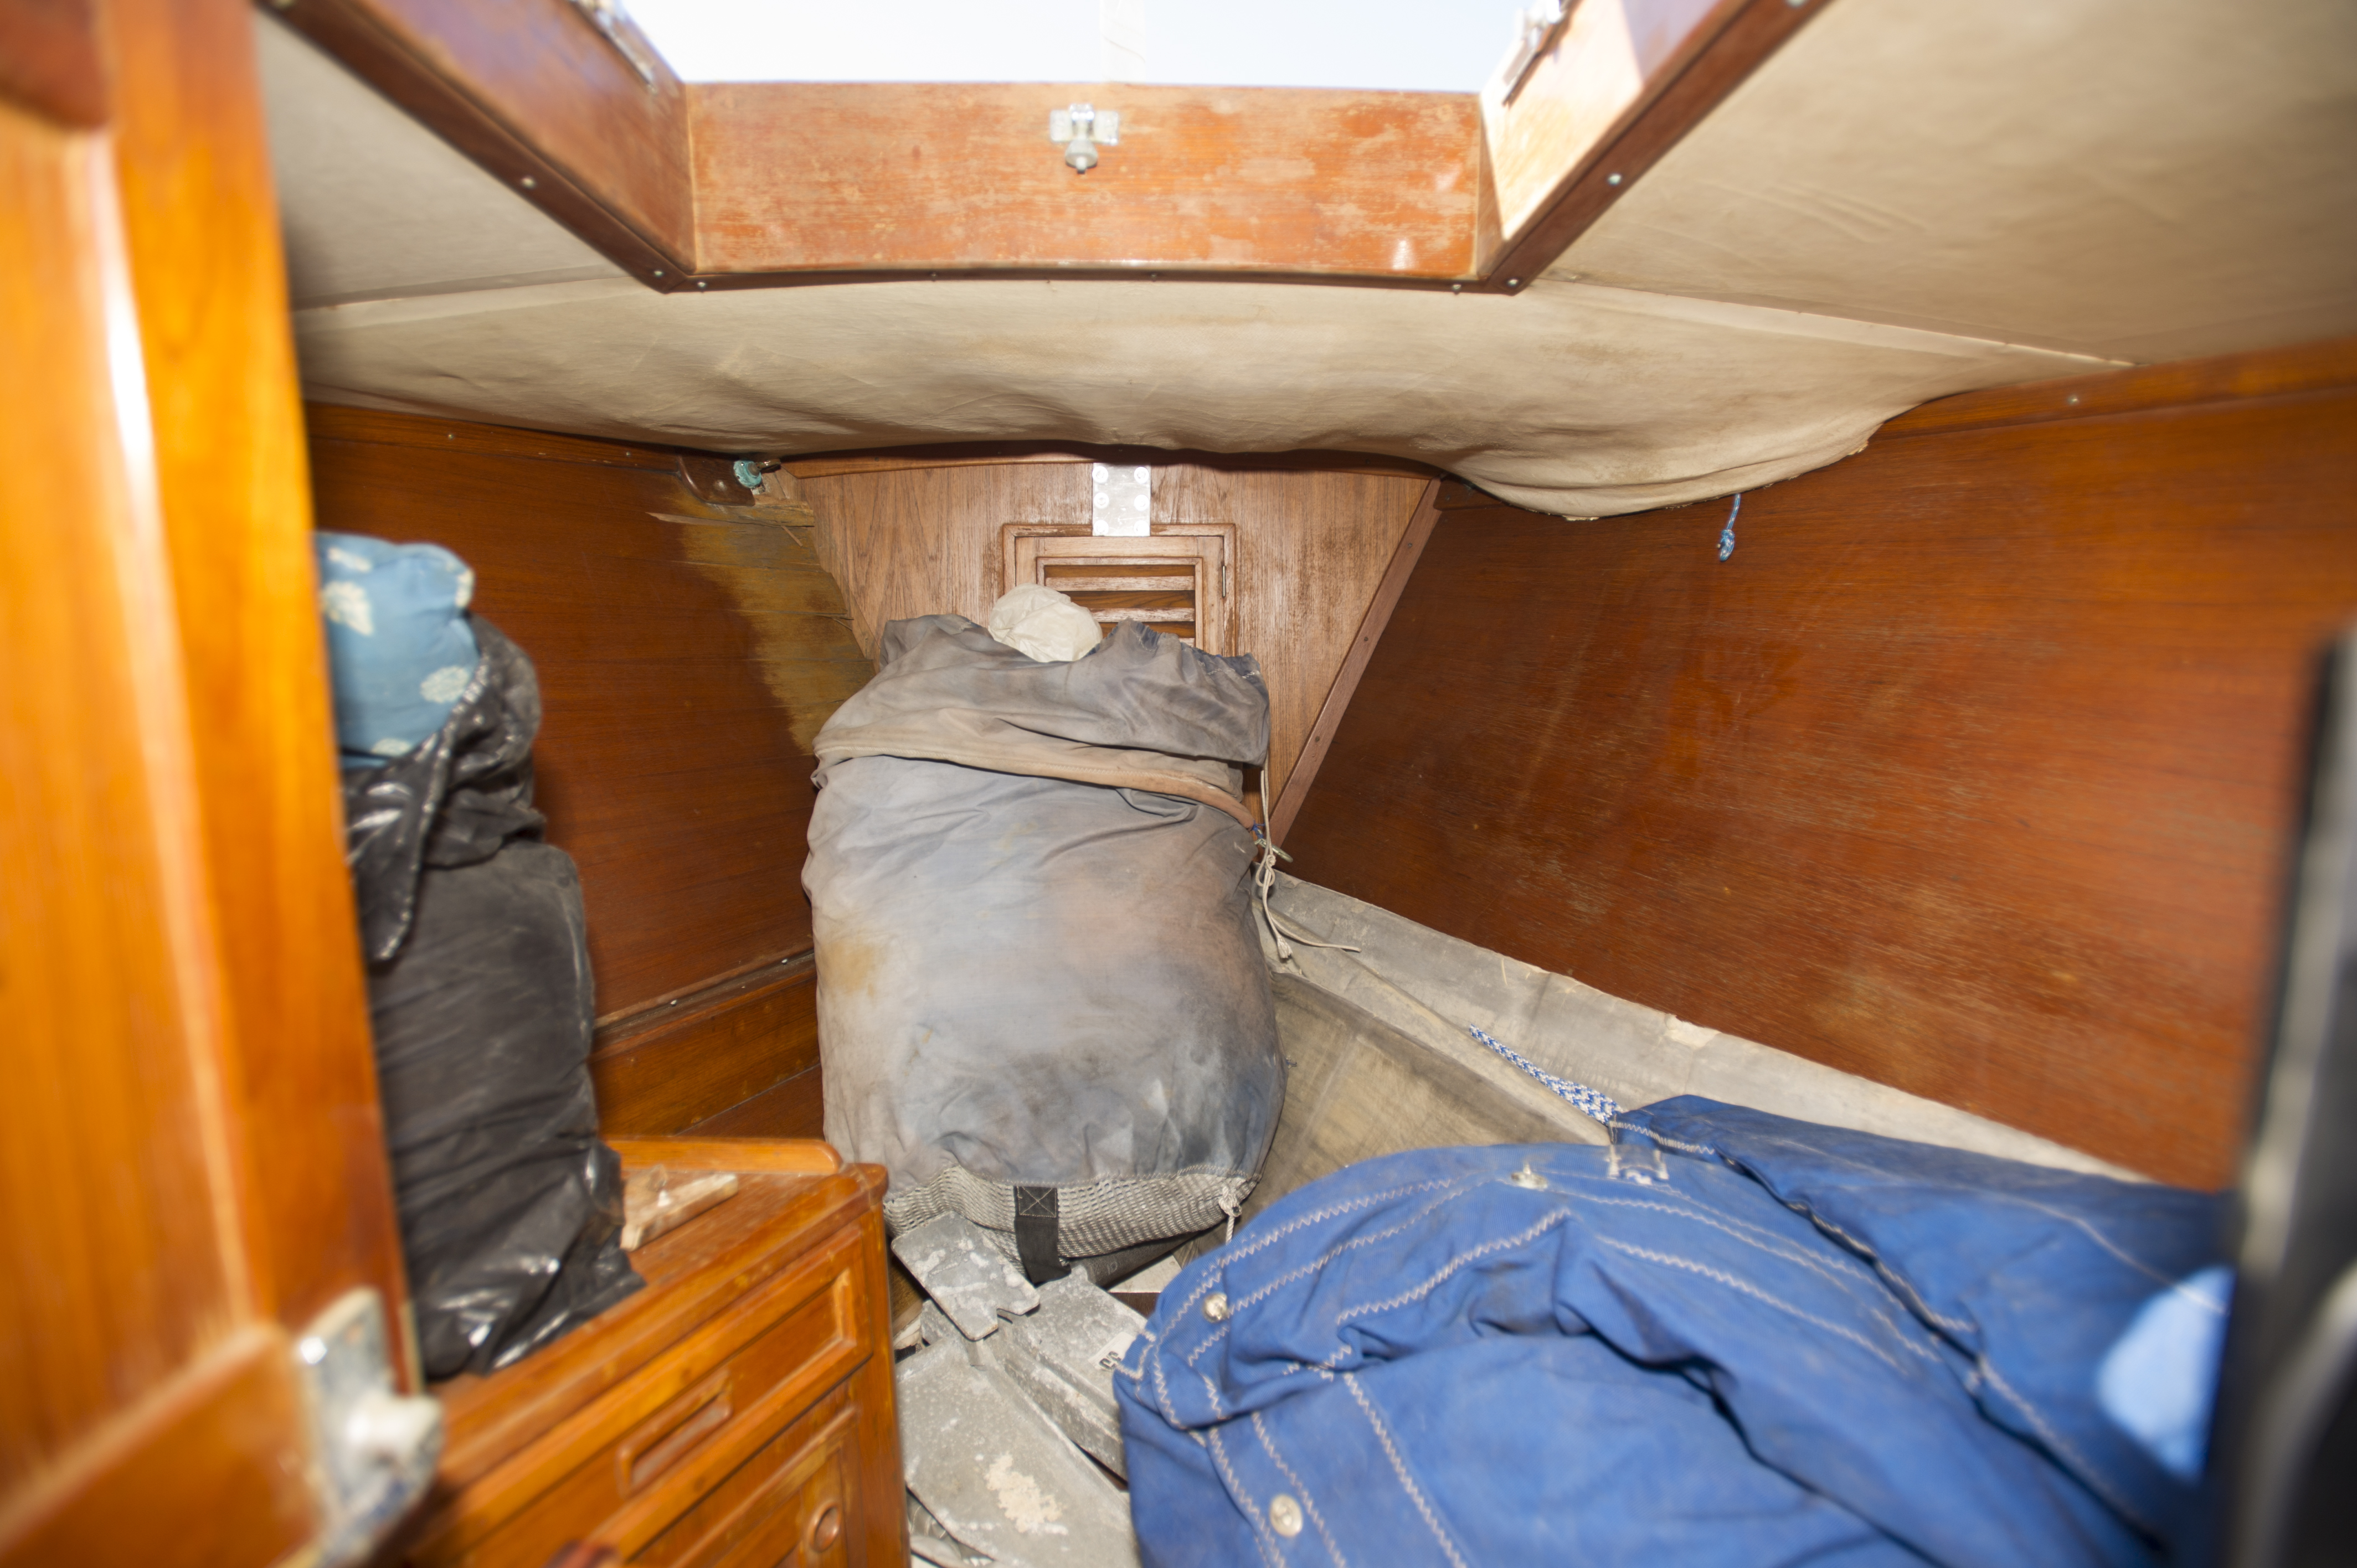
This is how our V-berth was packed when we first got Avocet, you can tell it was used for wet storage…
V-berth
Water damage galore!
The Process
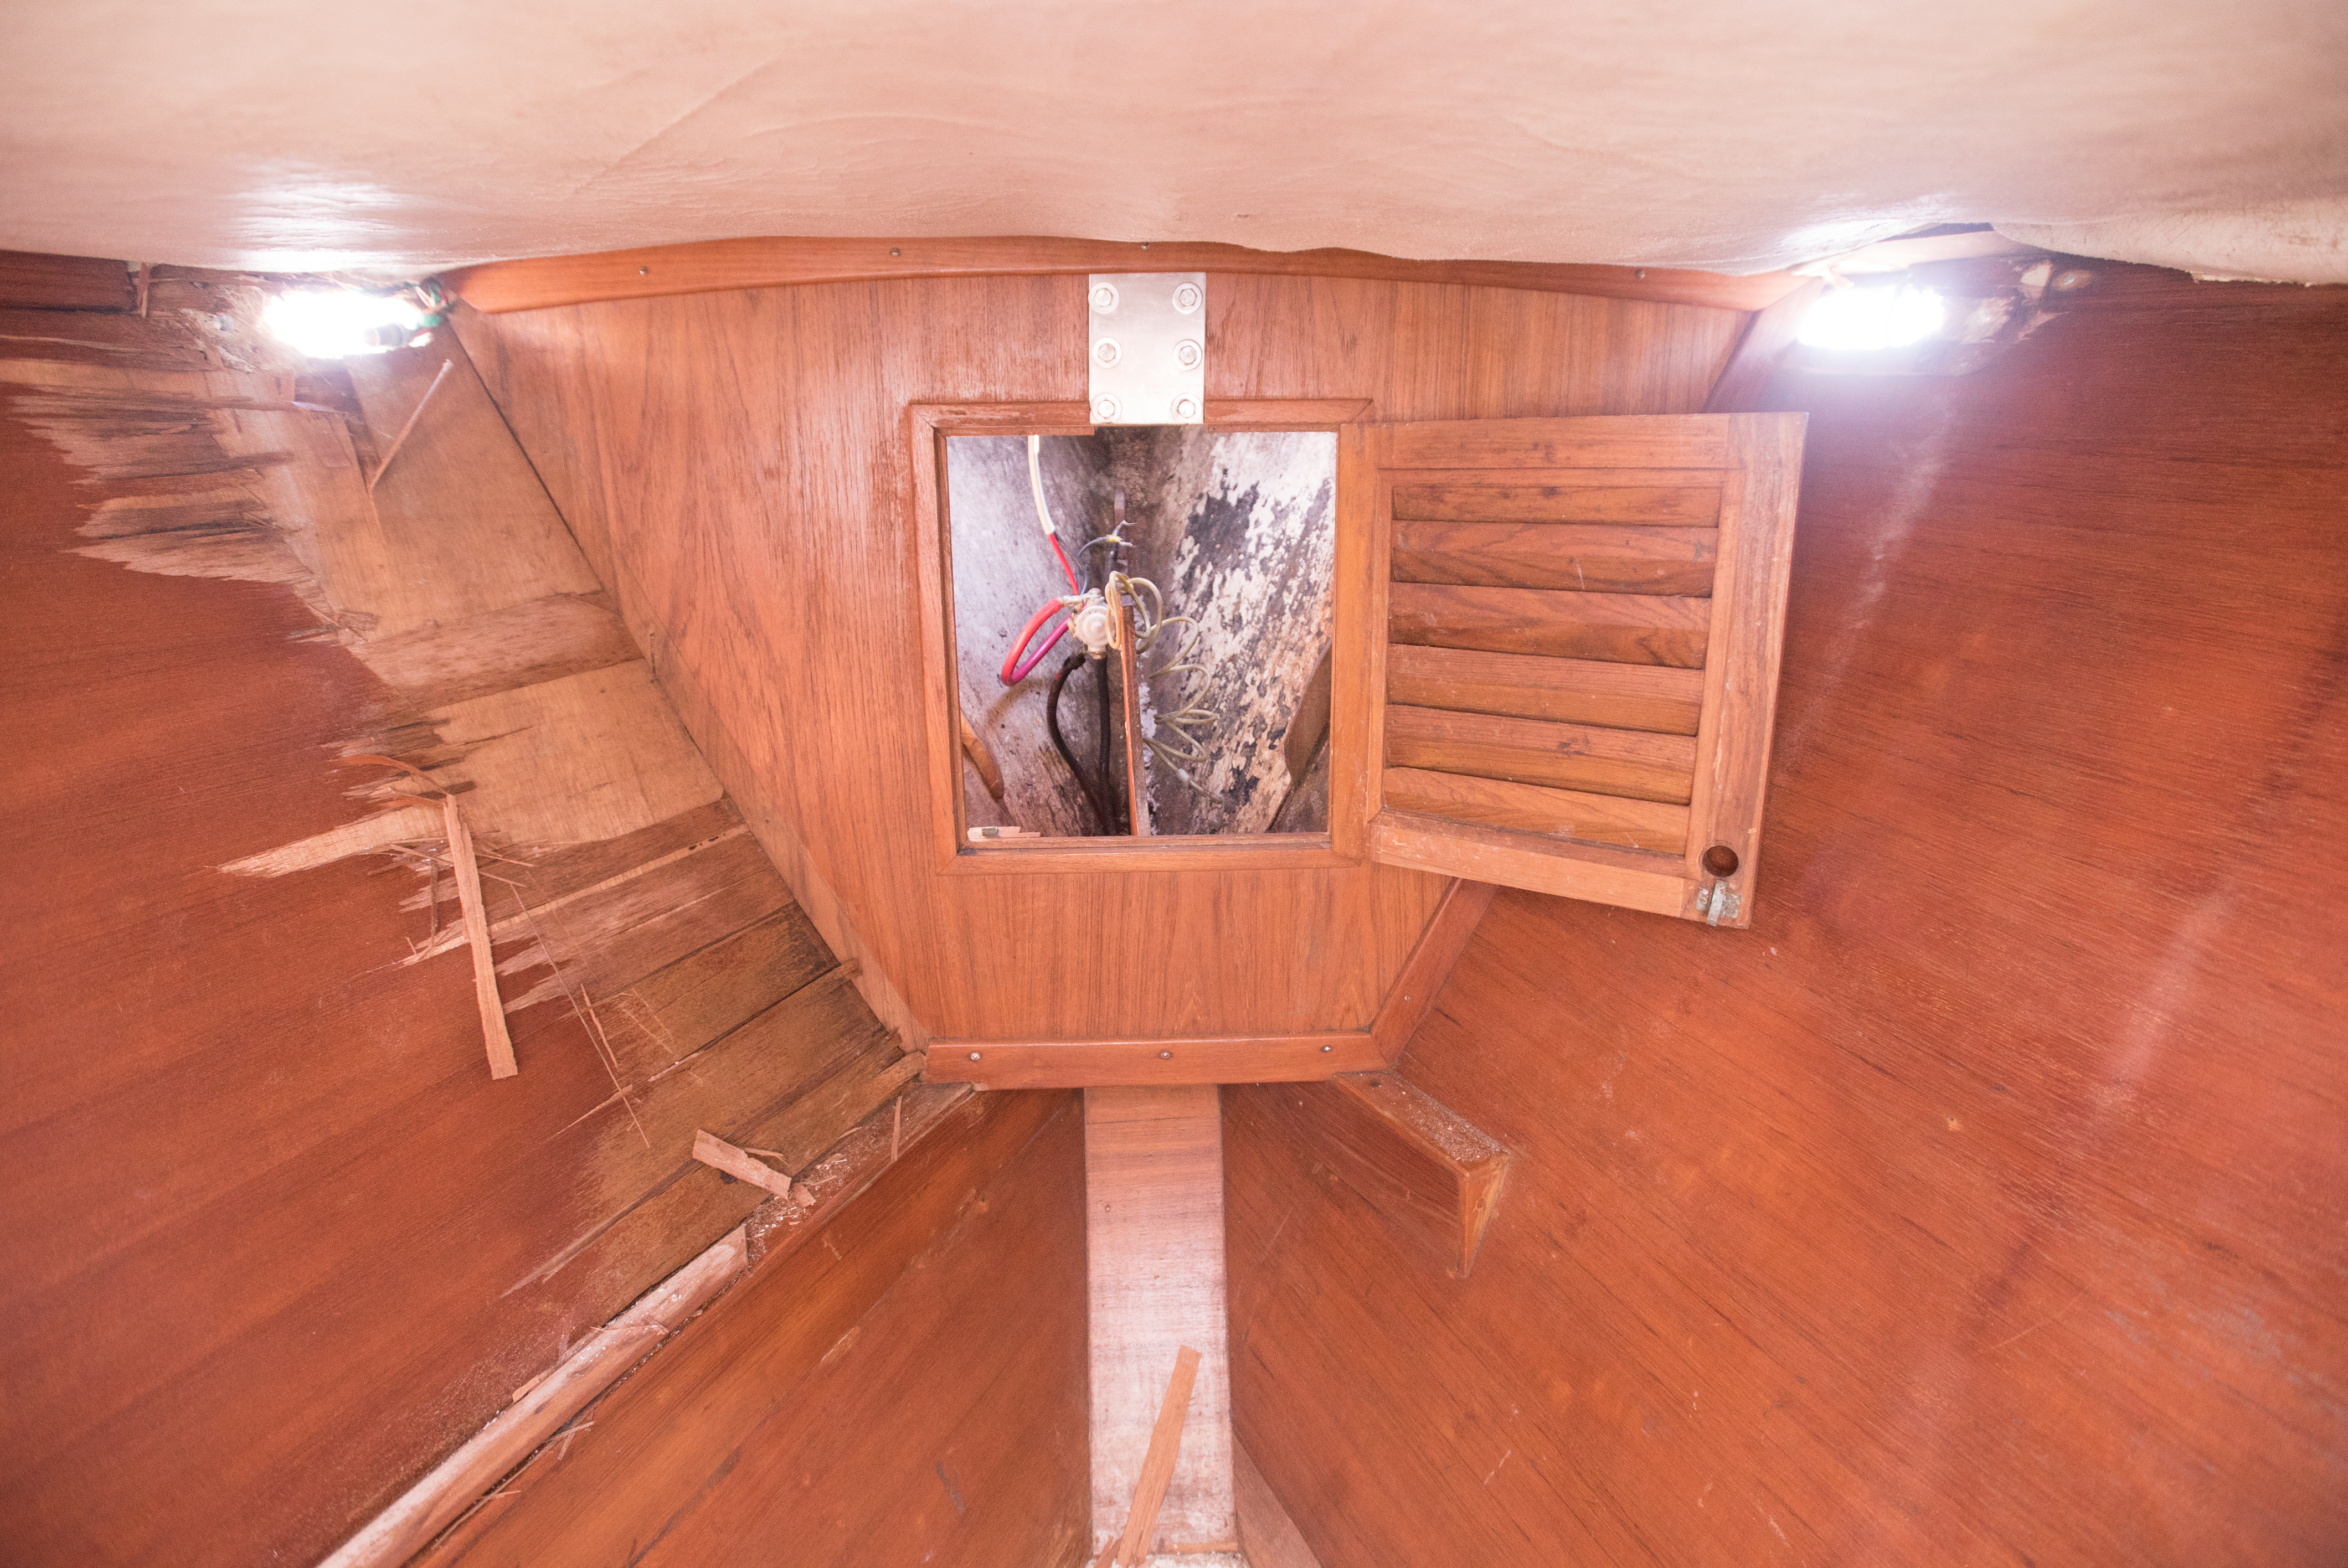
The first step was to rip the teak veneer off the walls as they were epoxied onto a liner, not the hull itself. Using chisels, crowbars, wedges, elbow grease, and with help from my brother Jon, we got it all off. After ripping the veneer, the resin/epoxy that was used to attach the veneer simply peeled off the liner giving me a pretty easy shot at sanding the walls a little to create a good paint surface.
Bye bye old veneer
.
Almost there
I wanted to do two things for sure on this build: One was to create tongue and groove (T&G) walls and headliners because my mom’s Mason 43 and my brothers HC 33 has T&G everywhere, and I love the look. Initially, I dabbled with the idea of getting a particle board 4×8 sheet from Home Depot with the T&G look, but I know the particle board would never last in a marine atmosphere so finally after much thought, my brother found a really cool old school lumber yard with tons of old wood stock and extremely friendly customer service. The name of this magical lumbar yard is G&S Lumber Supply which is located in Ventura CA. Quick side story: back in the day this lumbar yard had a crew of over 70 people, and unfortunately due to corporations like Lowe’s and Home Depot, they are now down to just two people which is really quite a shame. Jon and I got to know the kind folks at G&S Lumbar Supply and told them about our V berth project. They hooked us up with some fantastic T&G red cedar that was absolutely PERFECT! Not only is it T&G, but red cedar is naturally mold as well as rot resistant due to the high saturation of sap in the wood. Plus it smells fantastic. Anyways, we got a few boxes of the cedar (which was from the 70’s) and Jon began the daunting task of cutting each individual board and fastening it to the walls and headliner. Each and every board he went up out of the companion way, cut and shaped on the dock, then back down the companion way, measured and fit in the V, then repeated with another board. I tip my hat to my brother, the finished result is beautiful. SO long story short, I got my wish! T&G baby! It smells and looks so beautiful, I didn’t (and still don’t) see a need to varnish.
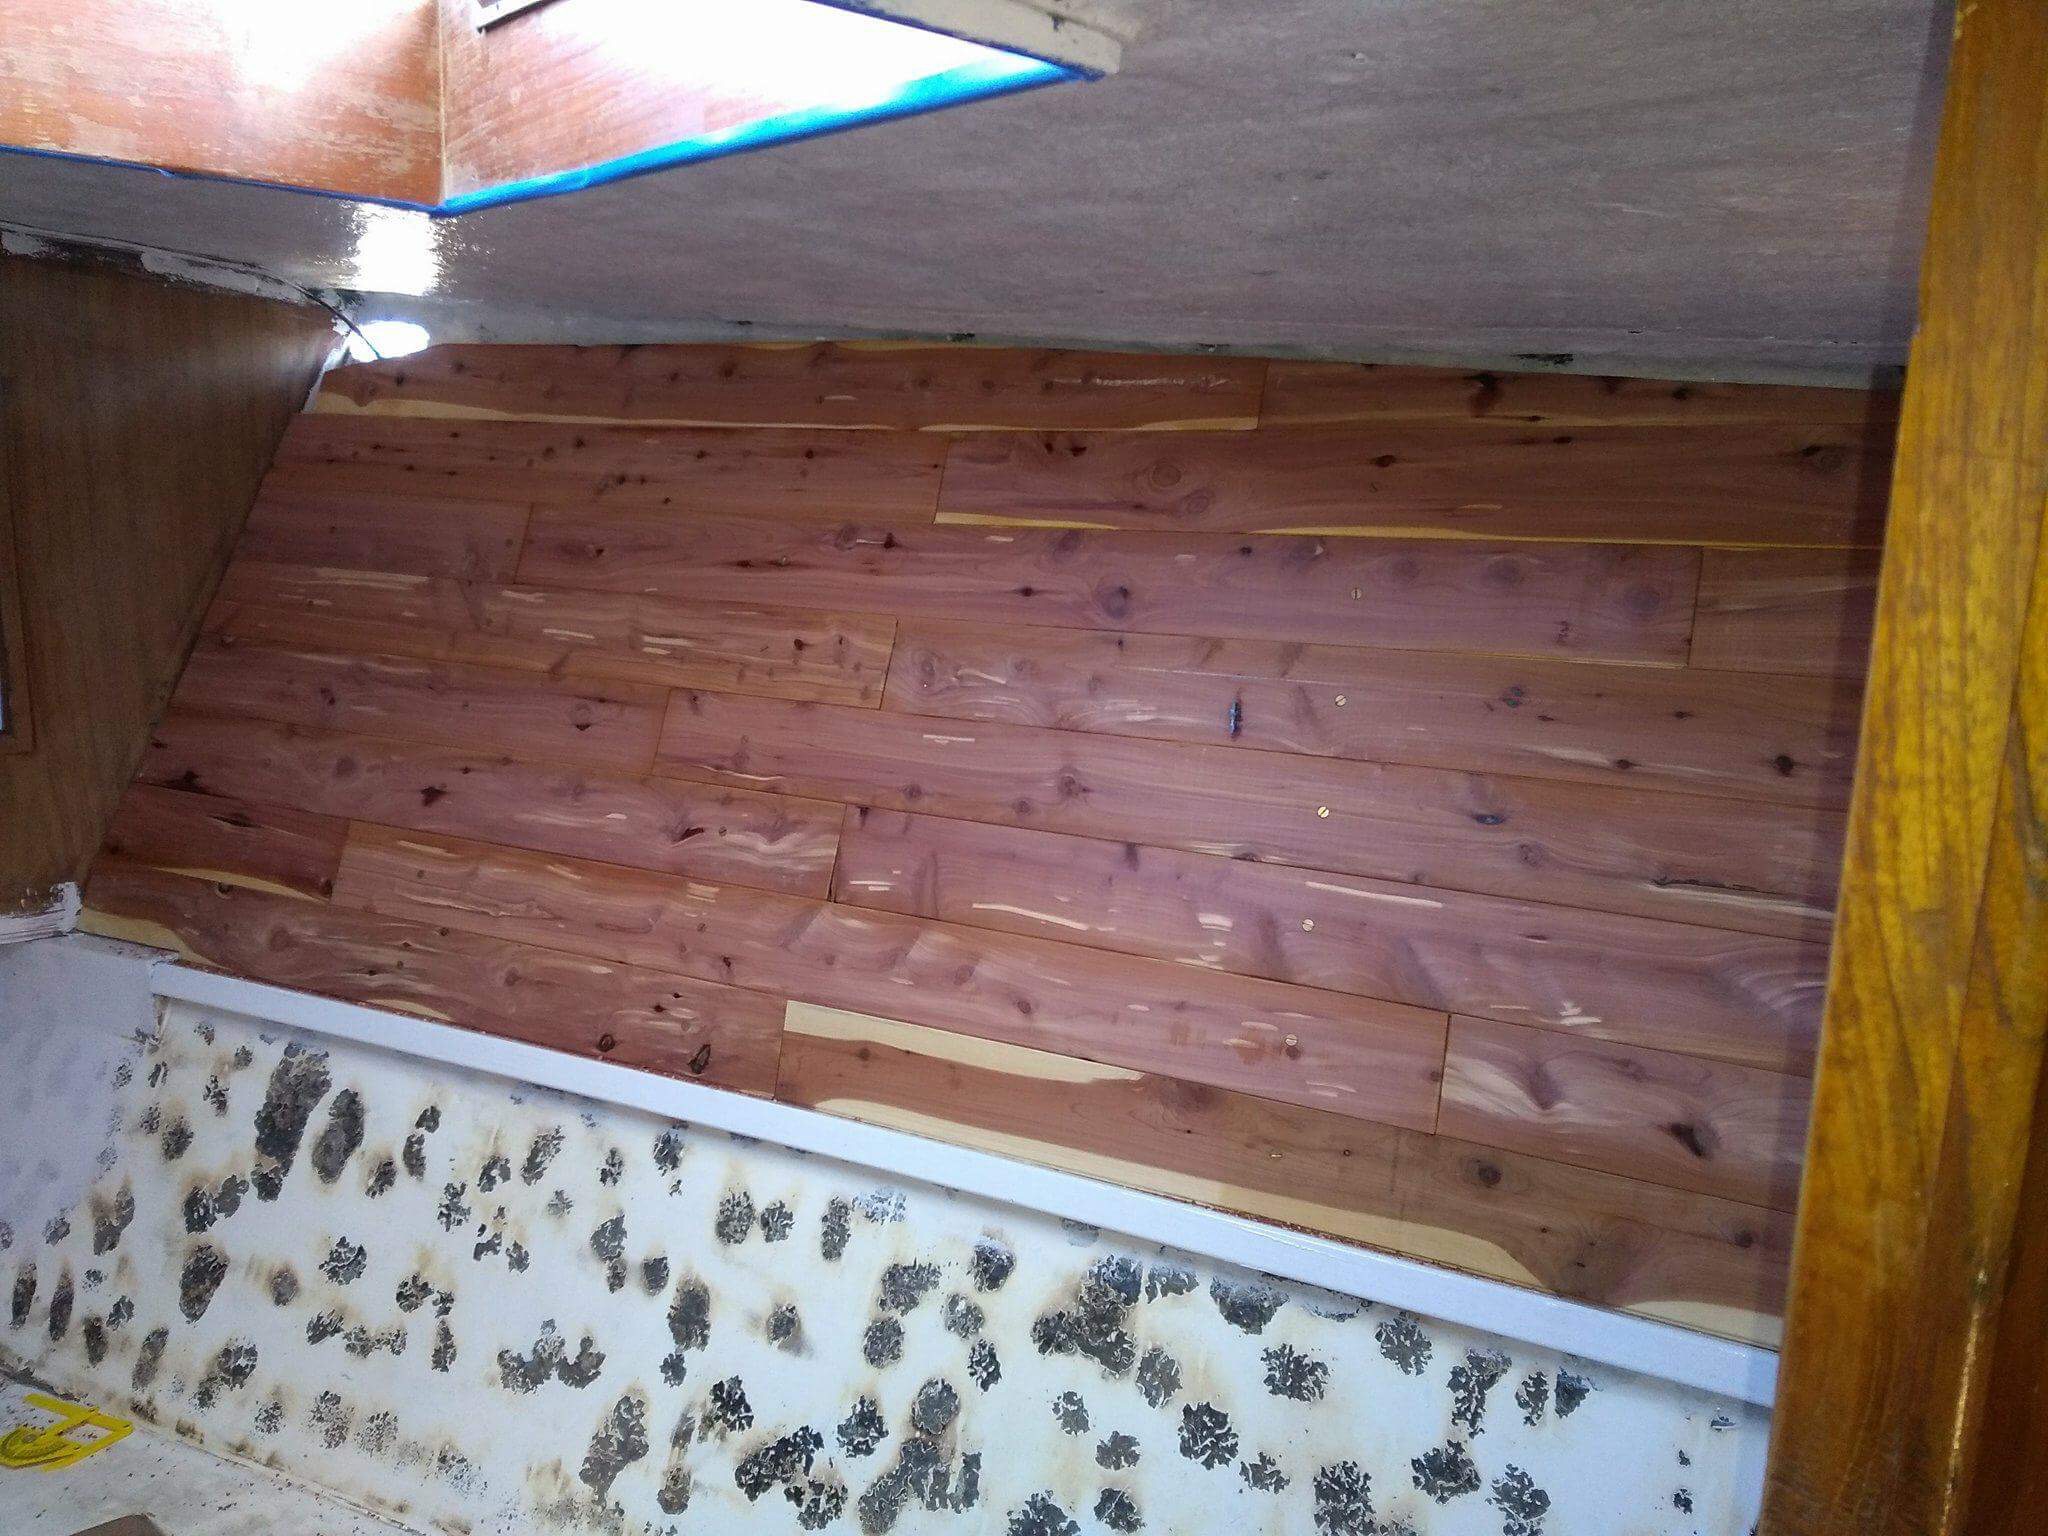
The red cedar was a good call. Beautiful craftsmanship done by my brother!
The second thing that was a must for this refit was that Marissa and I wanted to raise our berth up in the V so it was suitable for a couple, or a very roomy bunk for one. This also gave us a crap load of storage which is great for my video gear, extra wood, guitars, Cleo’s kitty box, and etc. So again, Jon mapped it all out and built a frame and cut the panels to construct the upper level that we so desperately wanted. While Jon worked on the V-Berth I was working on the chain locker.
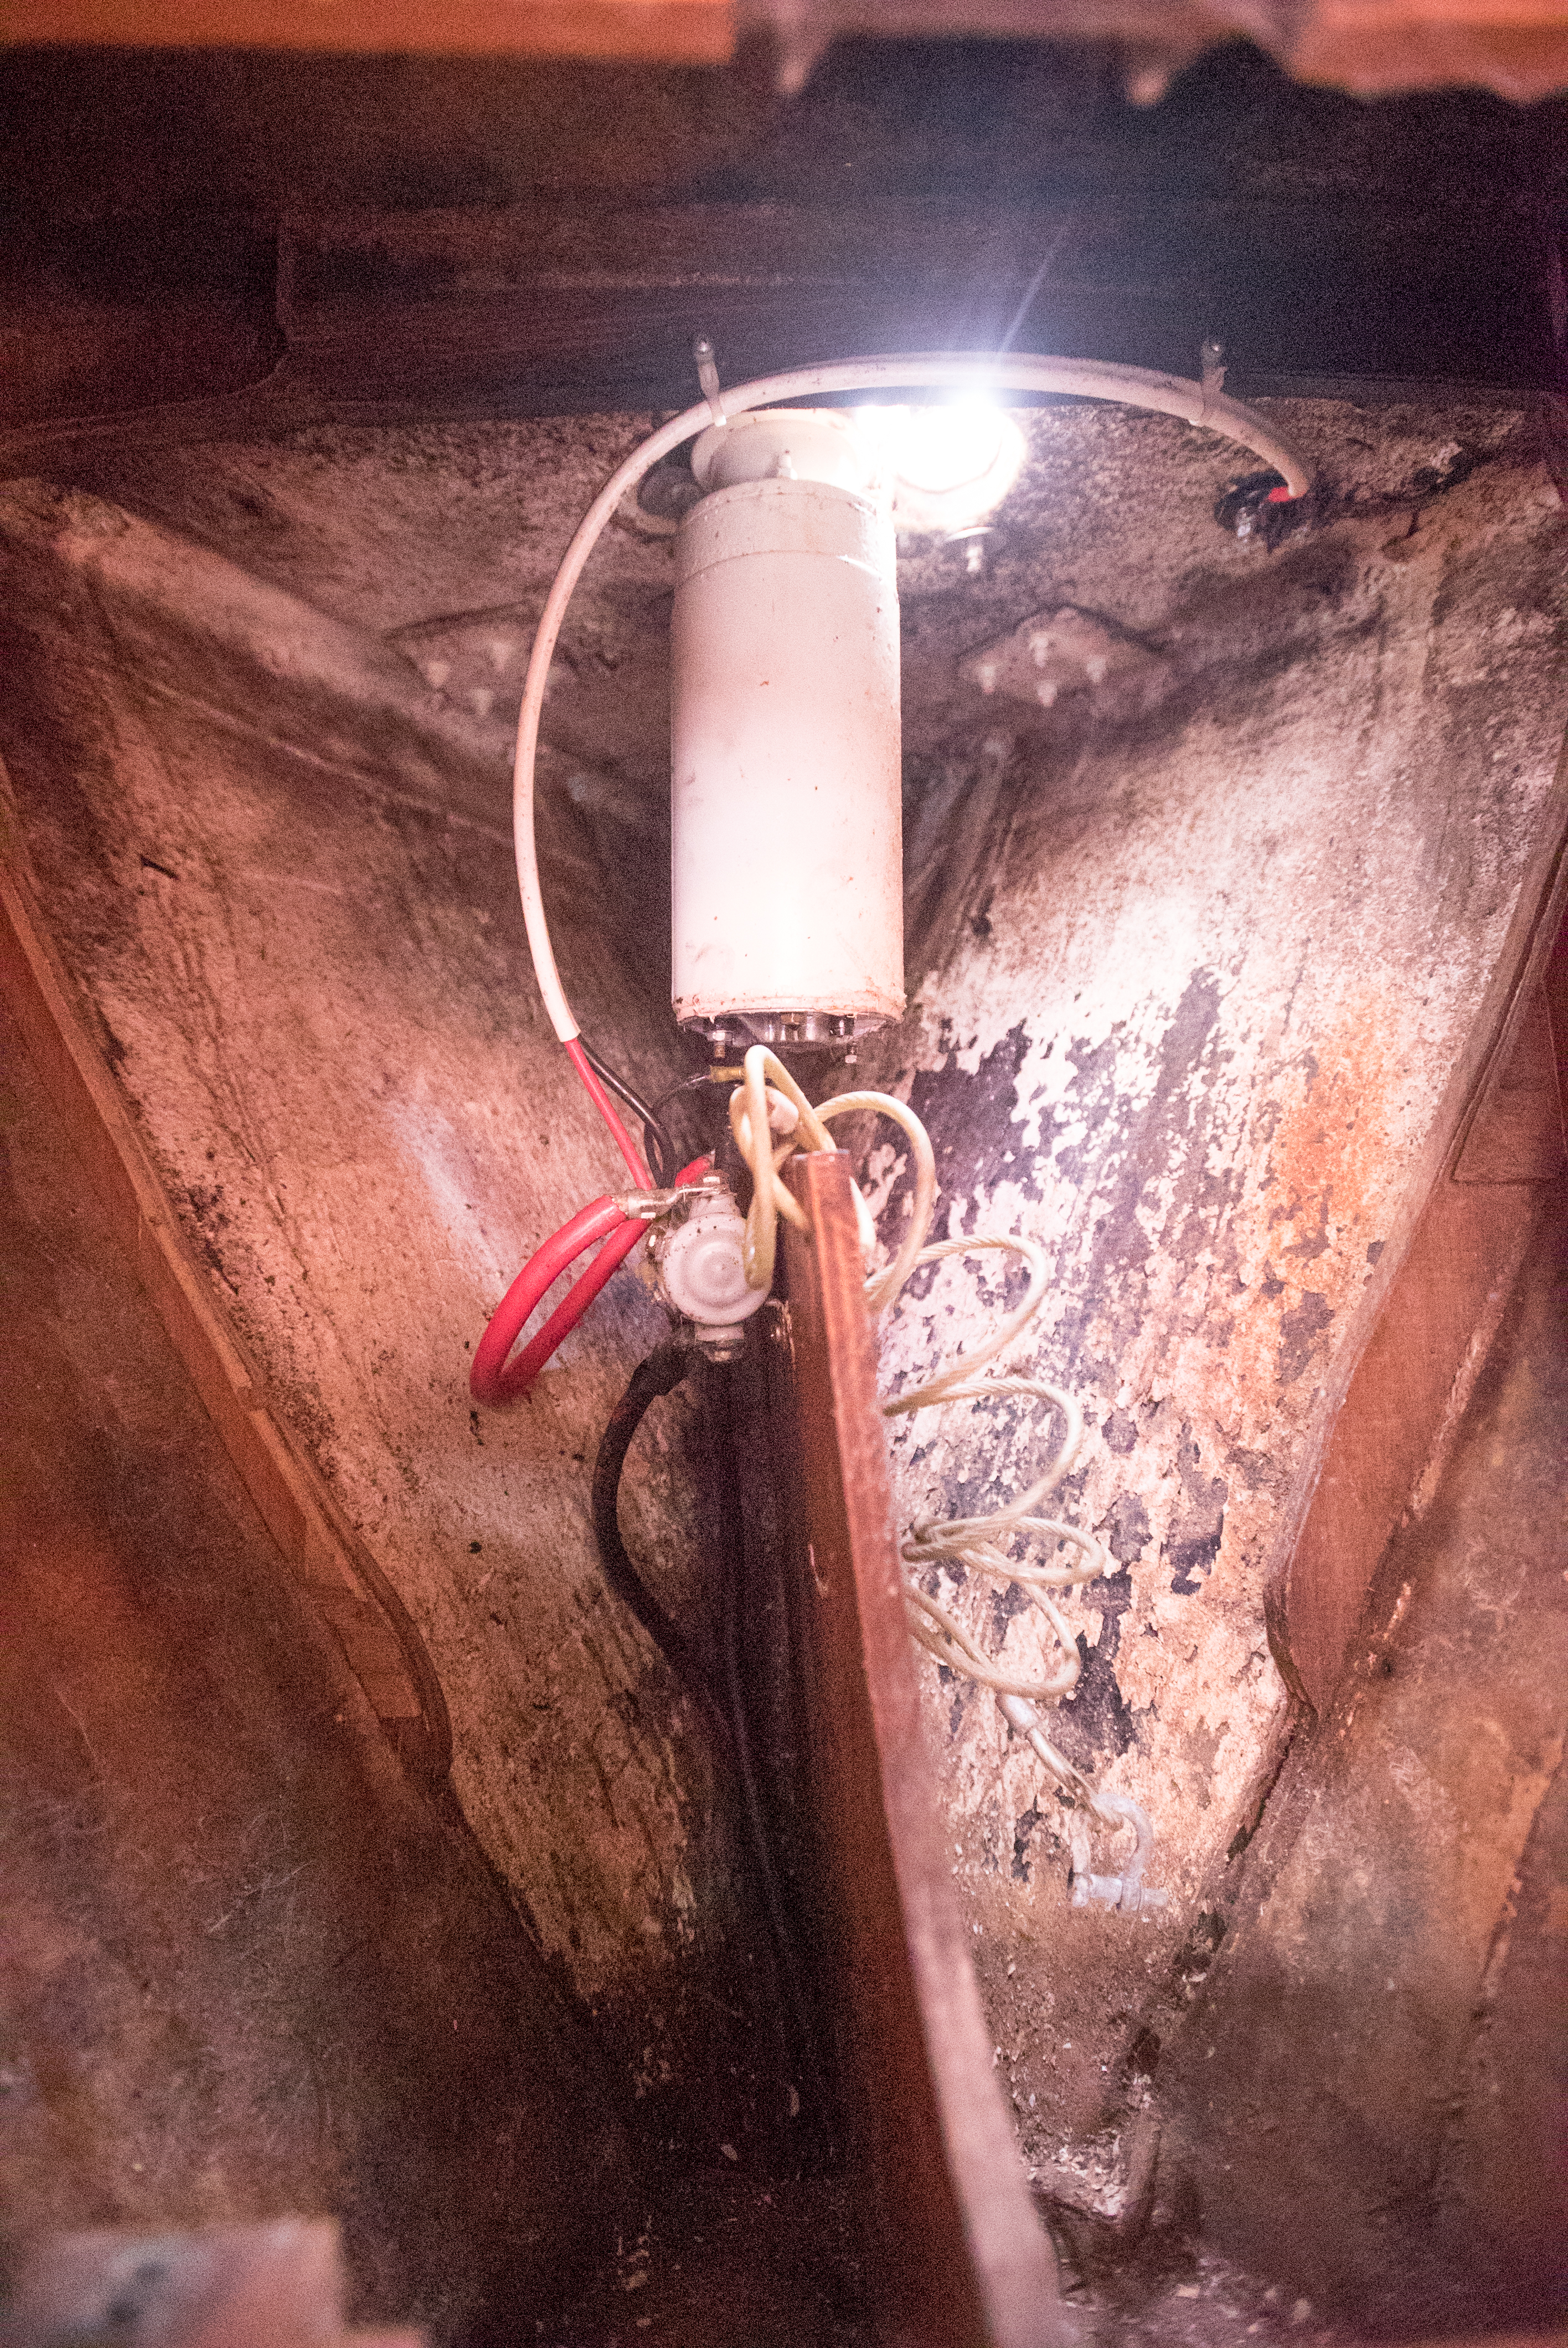
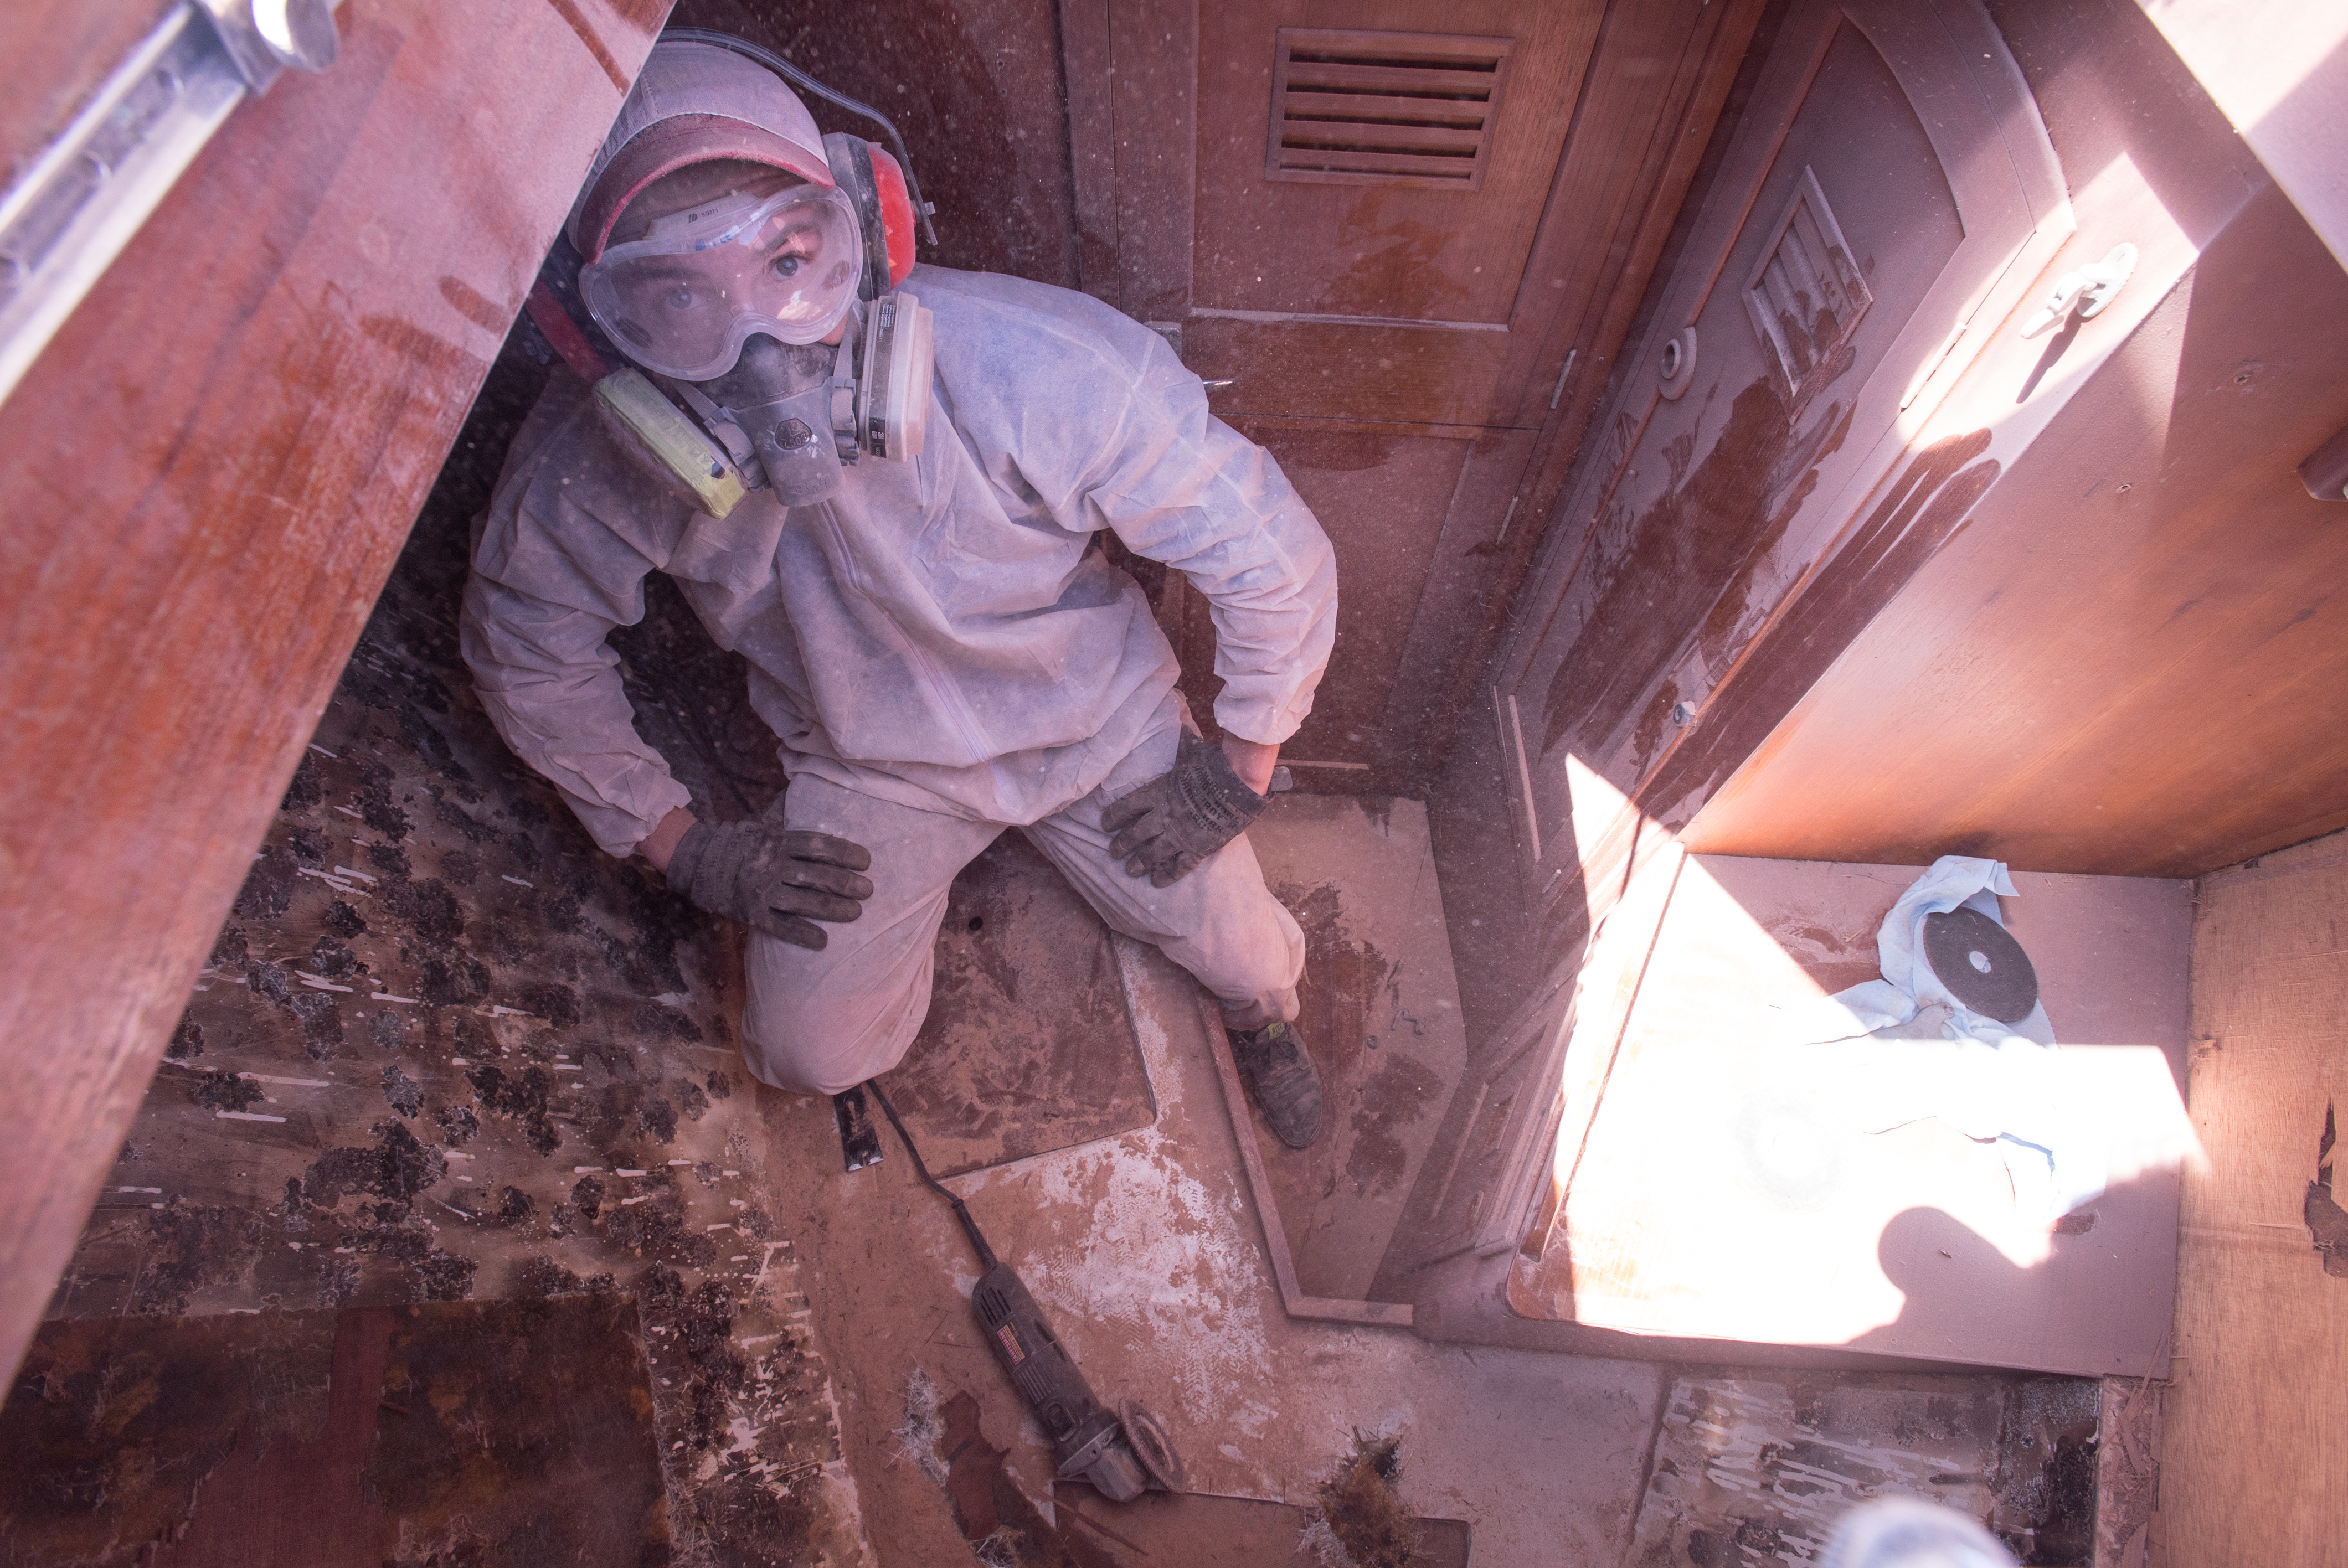
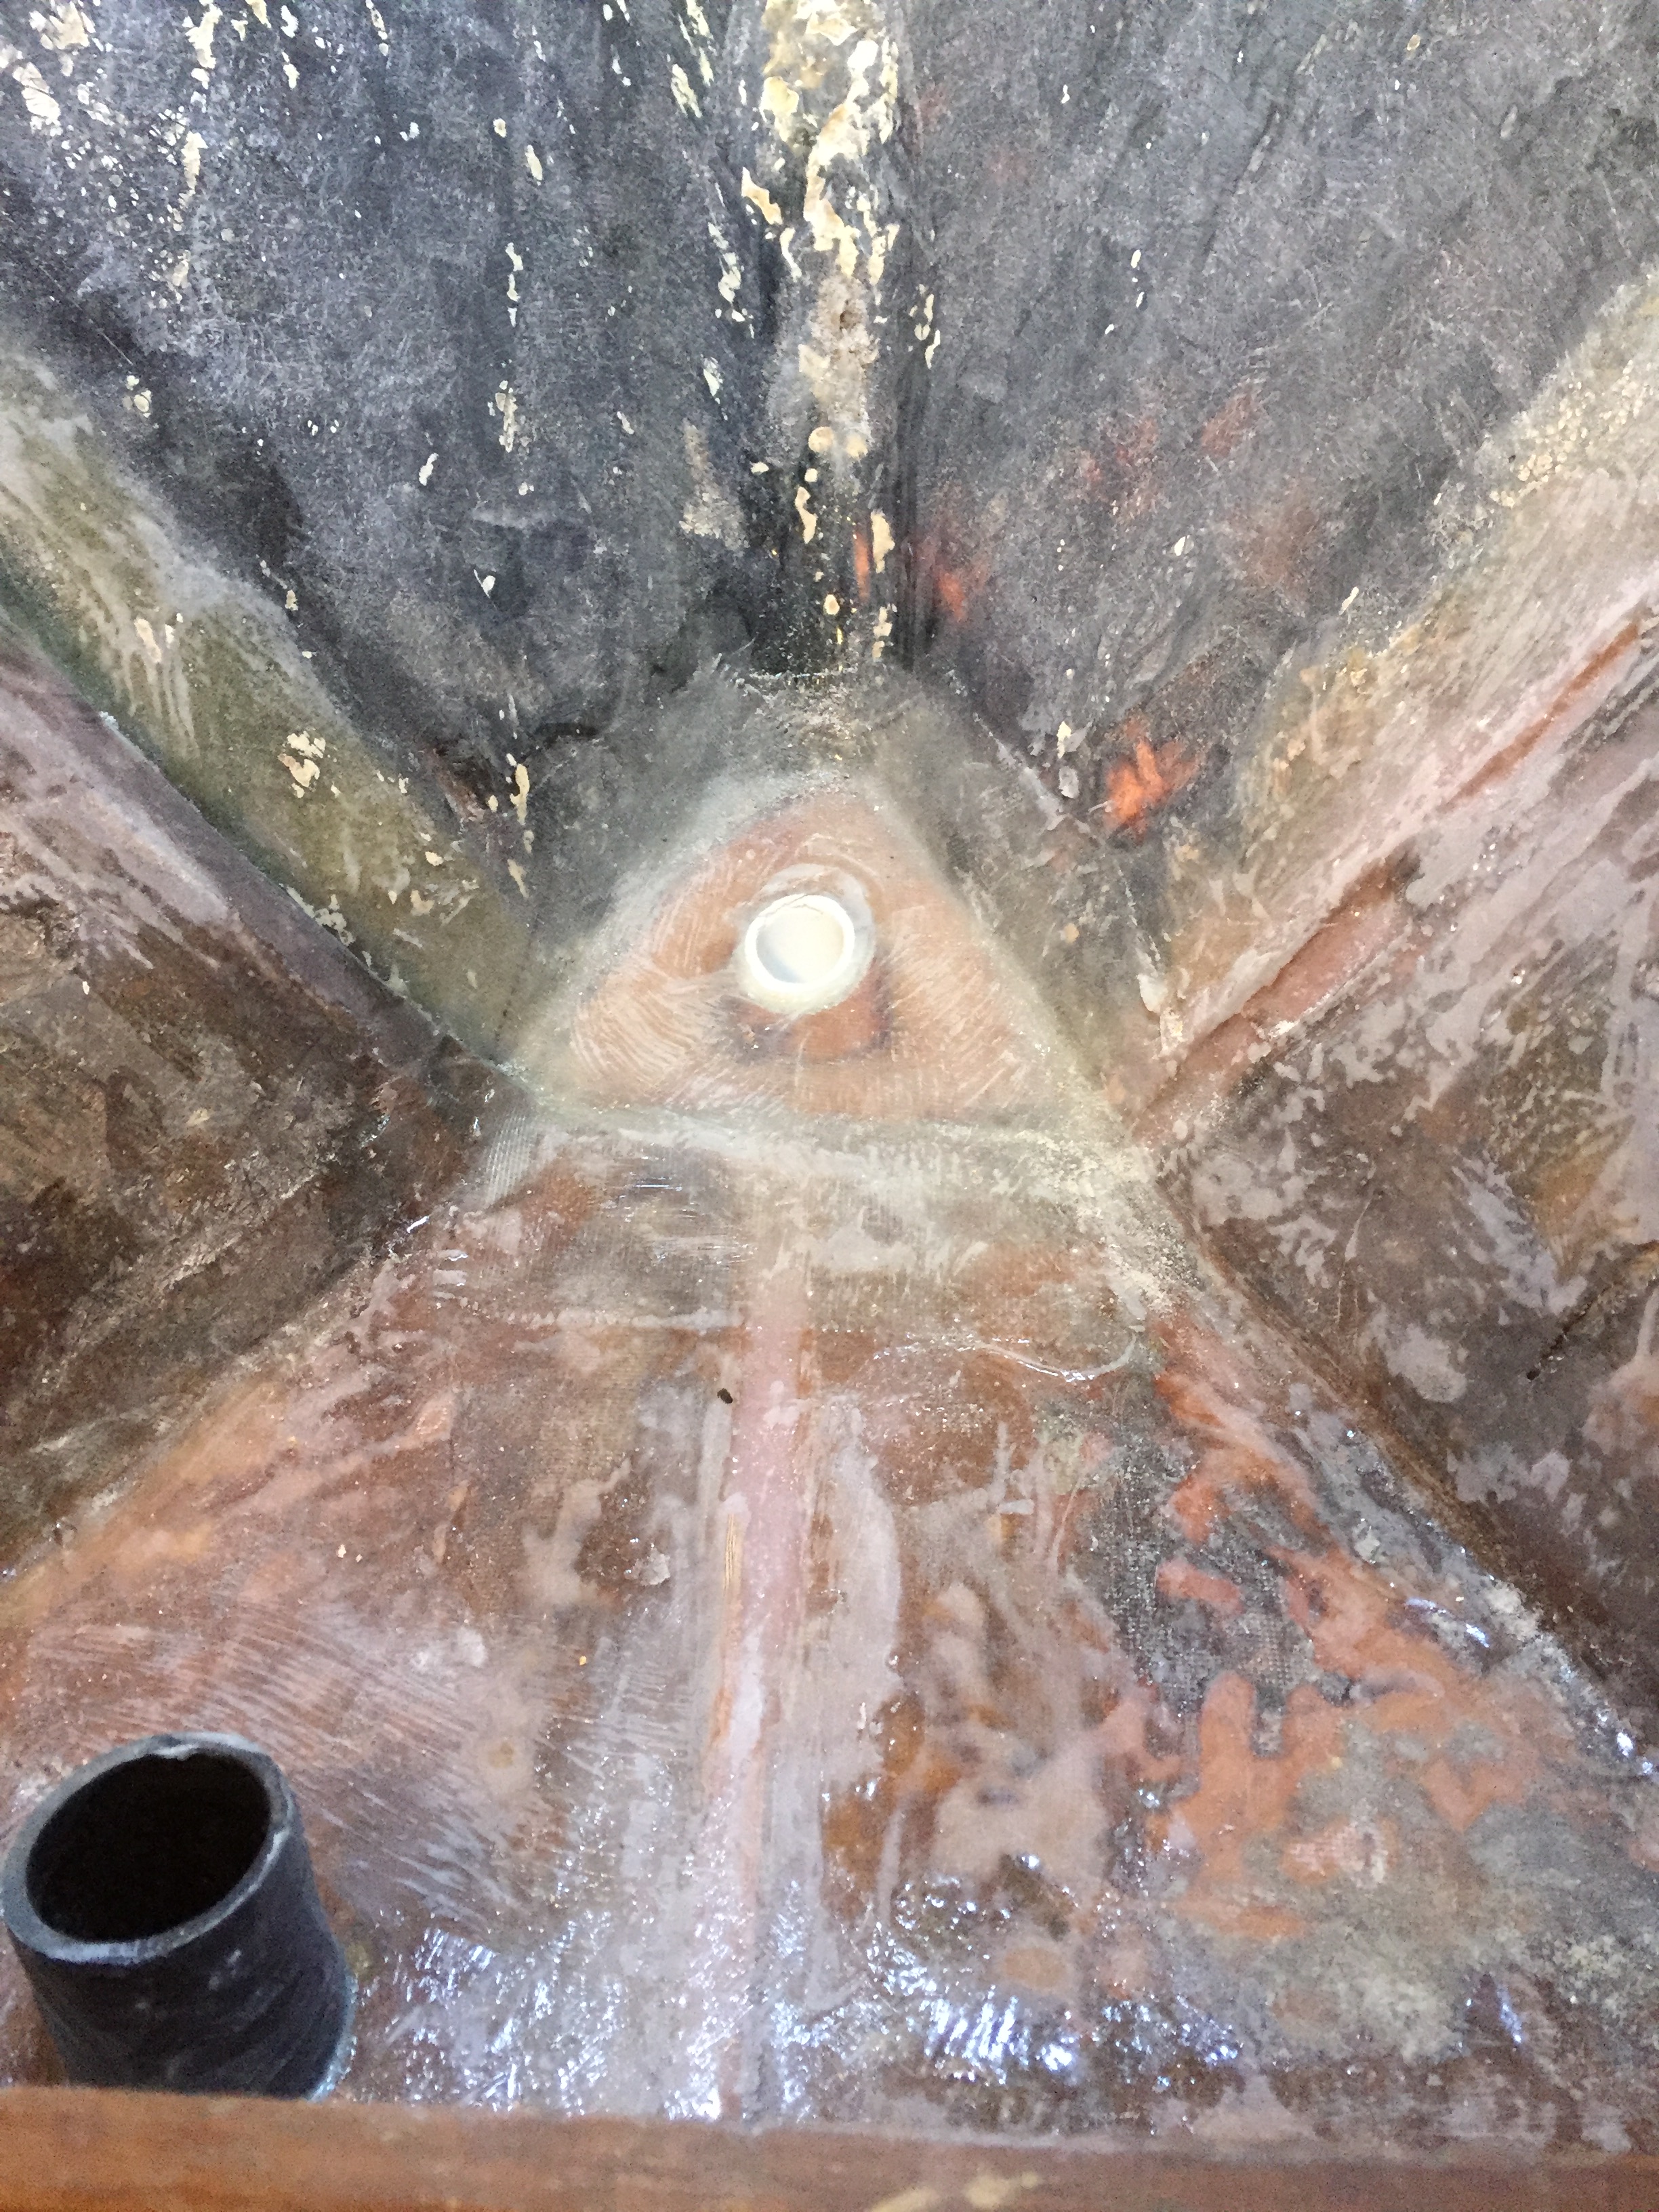
So “while we were in there” (A famous line on this boat, because every time we open up one project, 6 projects follow) we decided to address the chain locker, which was the original culprit of the V-berths destruction. Right off the bat I took out the partition that was set in the locker since we don’t have any rode, there was no need. After that quick fix, I really needed to figure out a more efficient drainage system so I put on my fix-it cap and got to work. At first I thought I was going to make a hawsepipe to bring most of the chain down into the locker below the first deck, however, thinking about mildew issues I then thought it was smart to keep all of the chain in the locker to seal it from the rest of the room. So taking a PVC Pipe, I built a floor in the chain locker, drilled a hole in the middle, and shaved a concave shape into the floor so all water would drain directly to the hole in the middle. I then fiberglassed the floor and the PVC into place allowing myself some extra room to cut off the PVC excess once dried. “While I was in there” (see? theres that line again) I also tackled the windlass wires in a similar way but kept a 5 inch lip of the 2” PVC so when water is in the floor of the anchor locker it wouldn’t drain down the wire-hawsepipe. I spent some real time in this Anchor locker bringing every square inch down to bare fiberglass with a 60 grit paddle wheel on a angle grinder. Messy, messy…. messy. I spent about three days crammed into my somewhat small anchor locker- talk about boat yoga! During this time, I noticed that there was what was left of an old previous bulkhead to which the owners replaced with the one we have now. When they did this, they cut the original bulkhead out leaving about 3-4 inches on the hull which made it clear that they used a jigsaw. So, I cut away the remainder of the original bulkhead for the chain locker. Following that was more fiberglassing, covering all of the unoriginal bulkhead so we would have no more water damage! THEN I GOT TO PAINT!
Check out all the fiberglass from the chain locker!
The bulkhead we have in our boat now was put in after being built, and is great because it increased the space inside the chain locker. However, they tabbed the bulkhead on top of a liner which isn’t structural. so WHILE I WAS IN THERE I knew the correct thing to do was tab it to the hull. No matter how much work it would take. For those of you that don’t know “tabbing” involves bonding bulkheads to the hull with strips of fiberglass cloth wetted with polyester resin. So I cut away the liner to get to the hull, tabbed in the backside of the bulkhead and pushed in 406 thickened epoxy into the gap stern-side. This stiffened up the deck quite a lot and now there is ZERO amount of play in the bulkhead.
.
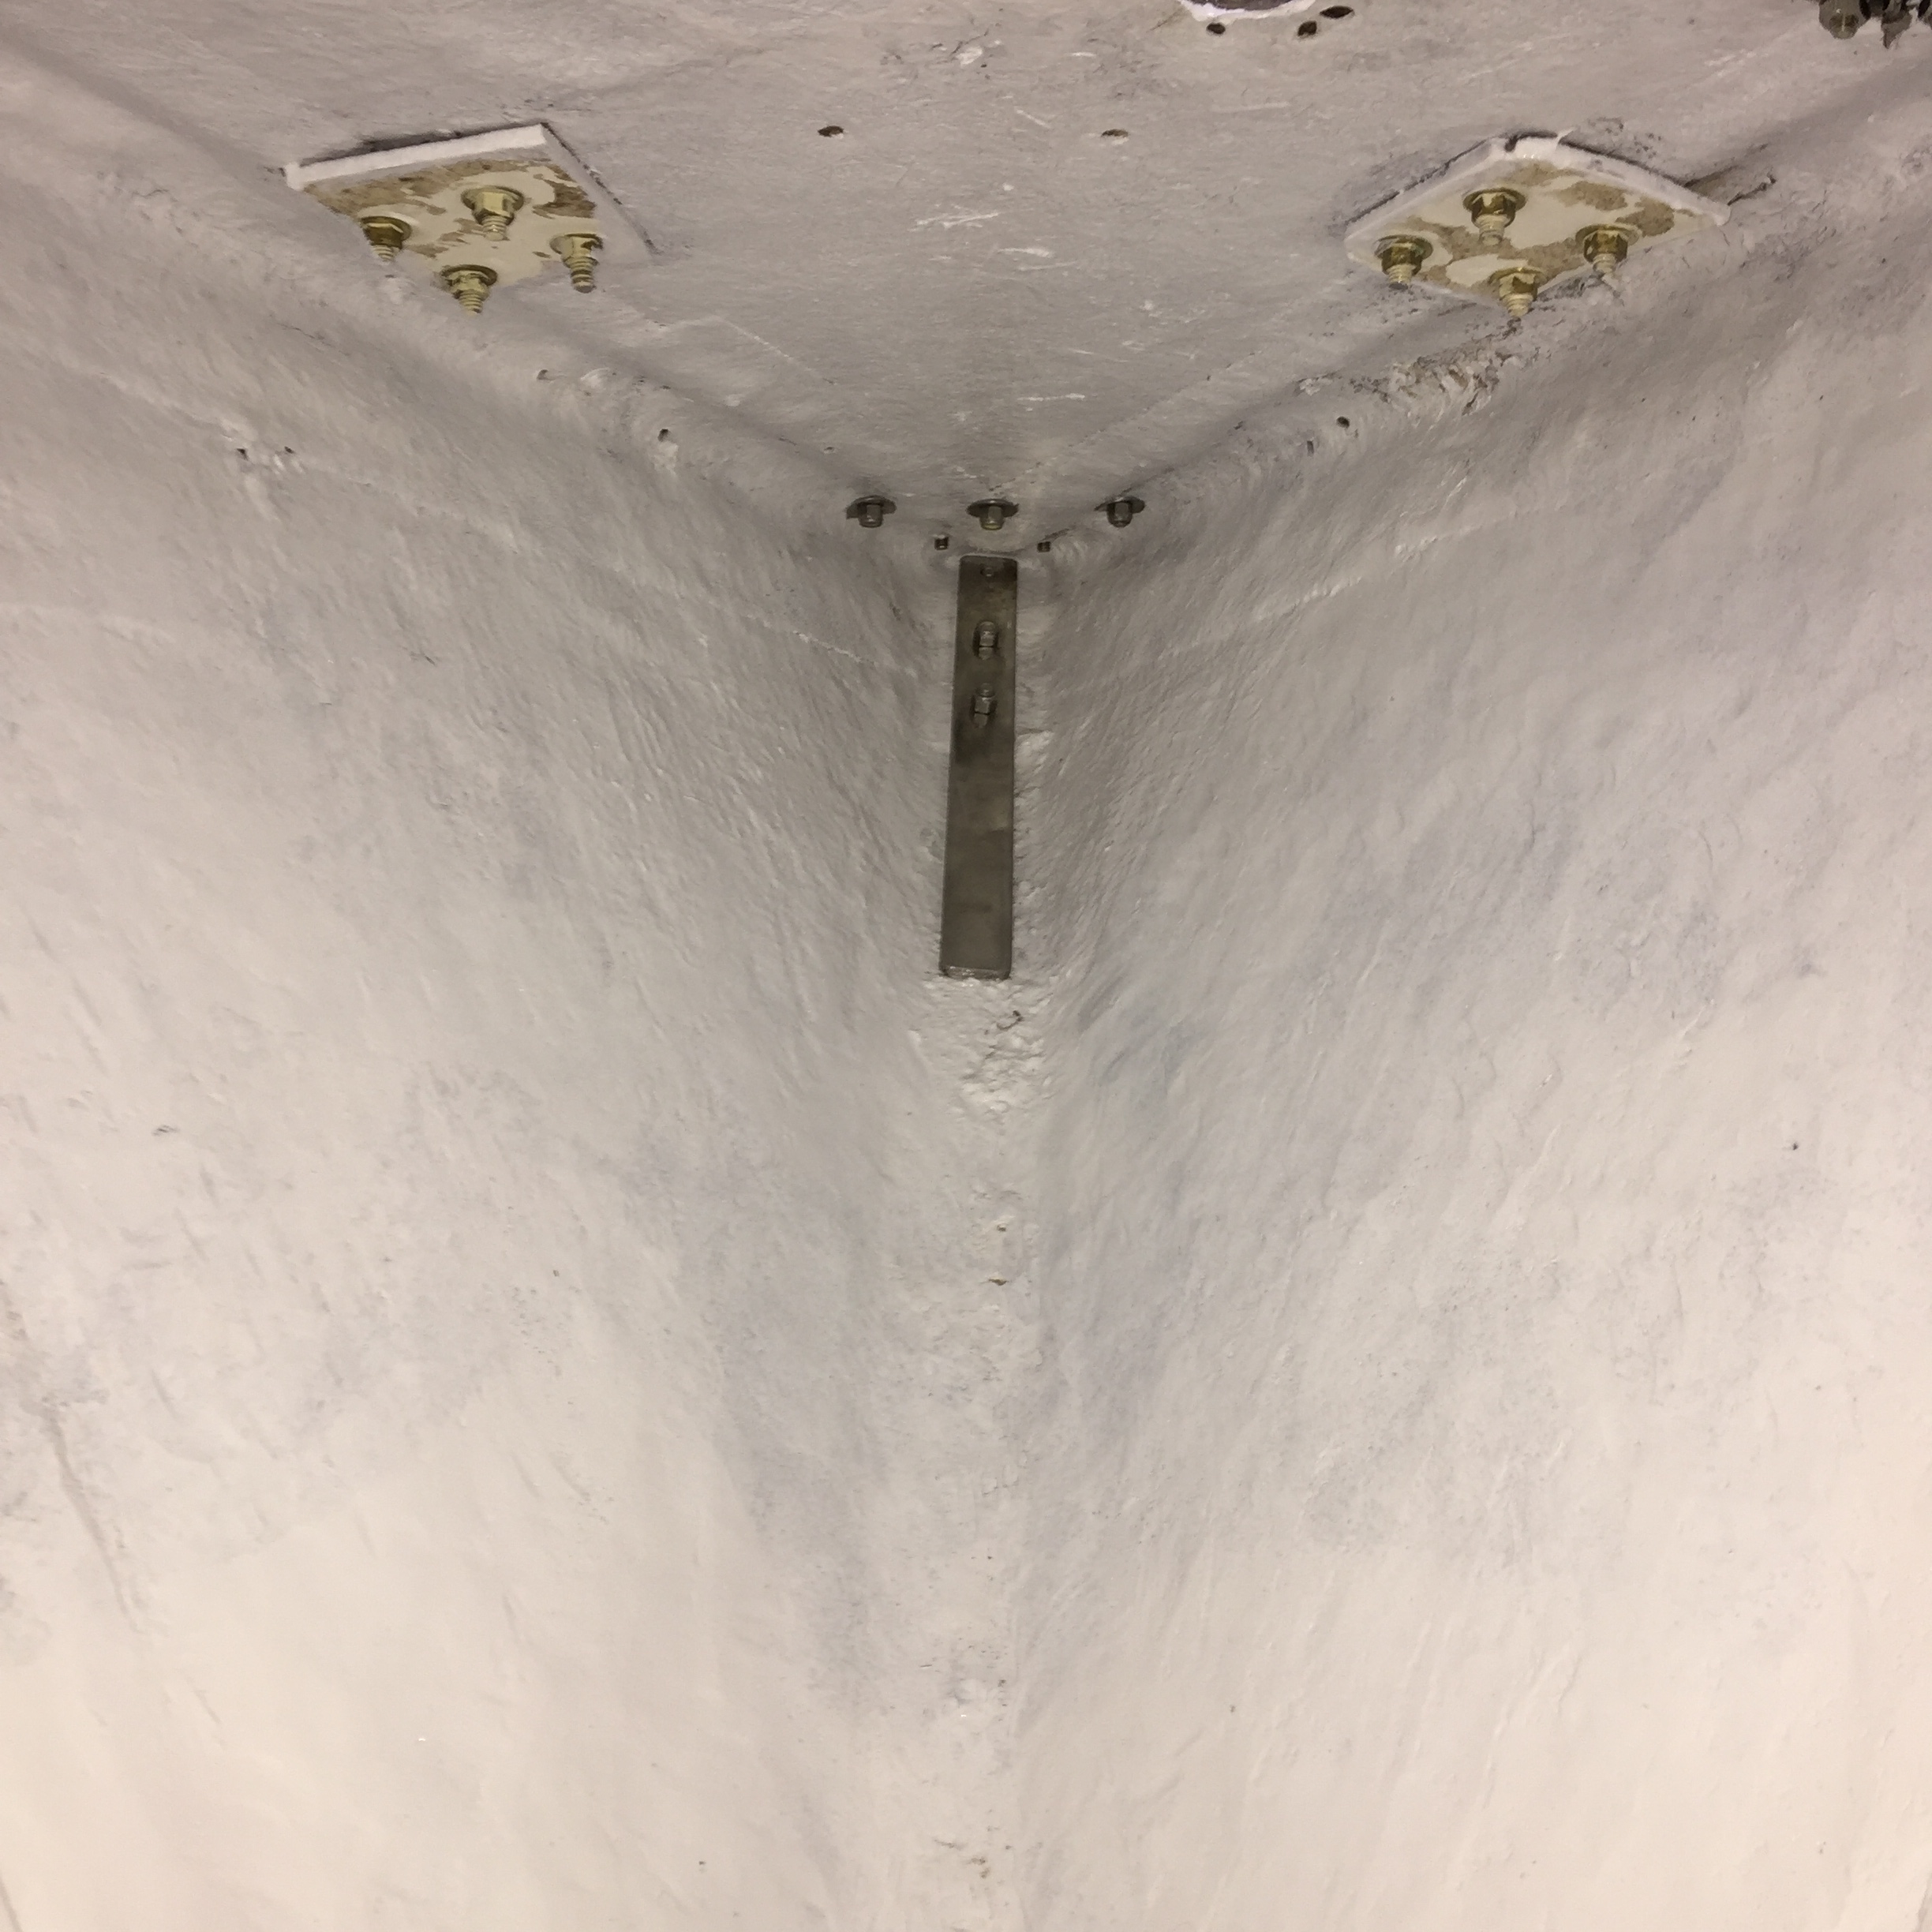
All painted
Finally!
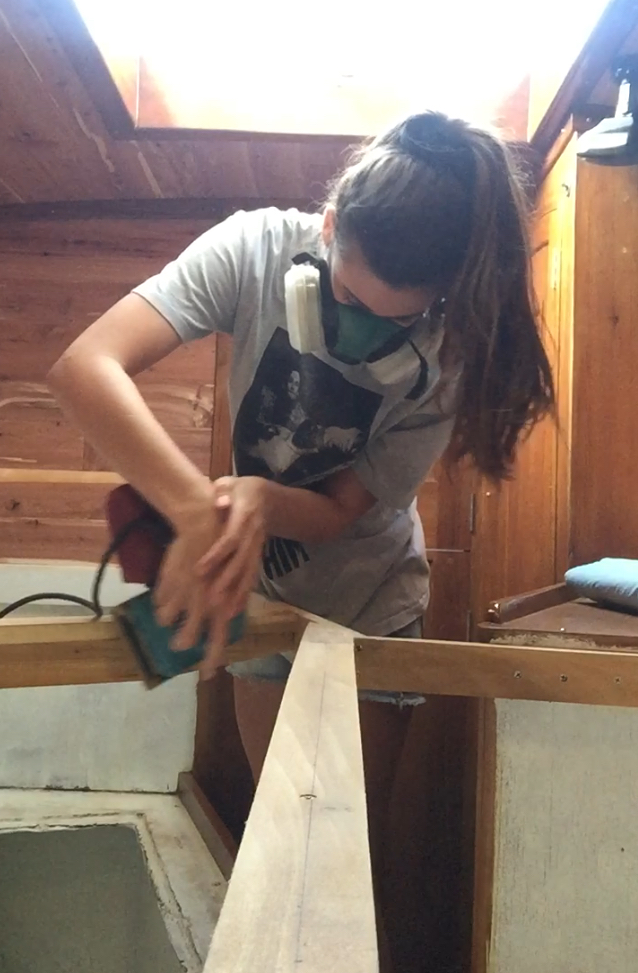
Marissa sanding before she painted the first coat
At this point, Jon had long departed for his own boat SV Prism and all that was left to do was paint more and lots of varnish. So I got stripping sanding! Luckily this time around, Marissa graced me with her presence and got to get her hands dirty. With her help, we completed the paint which made the whole V-berth appear more put together.
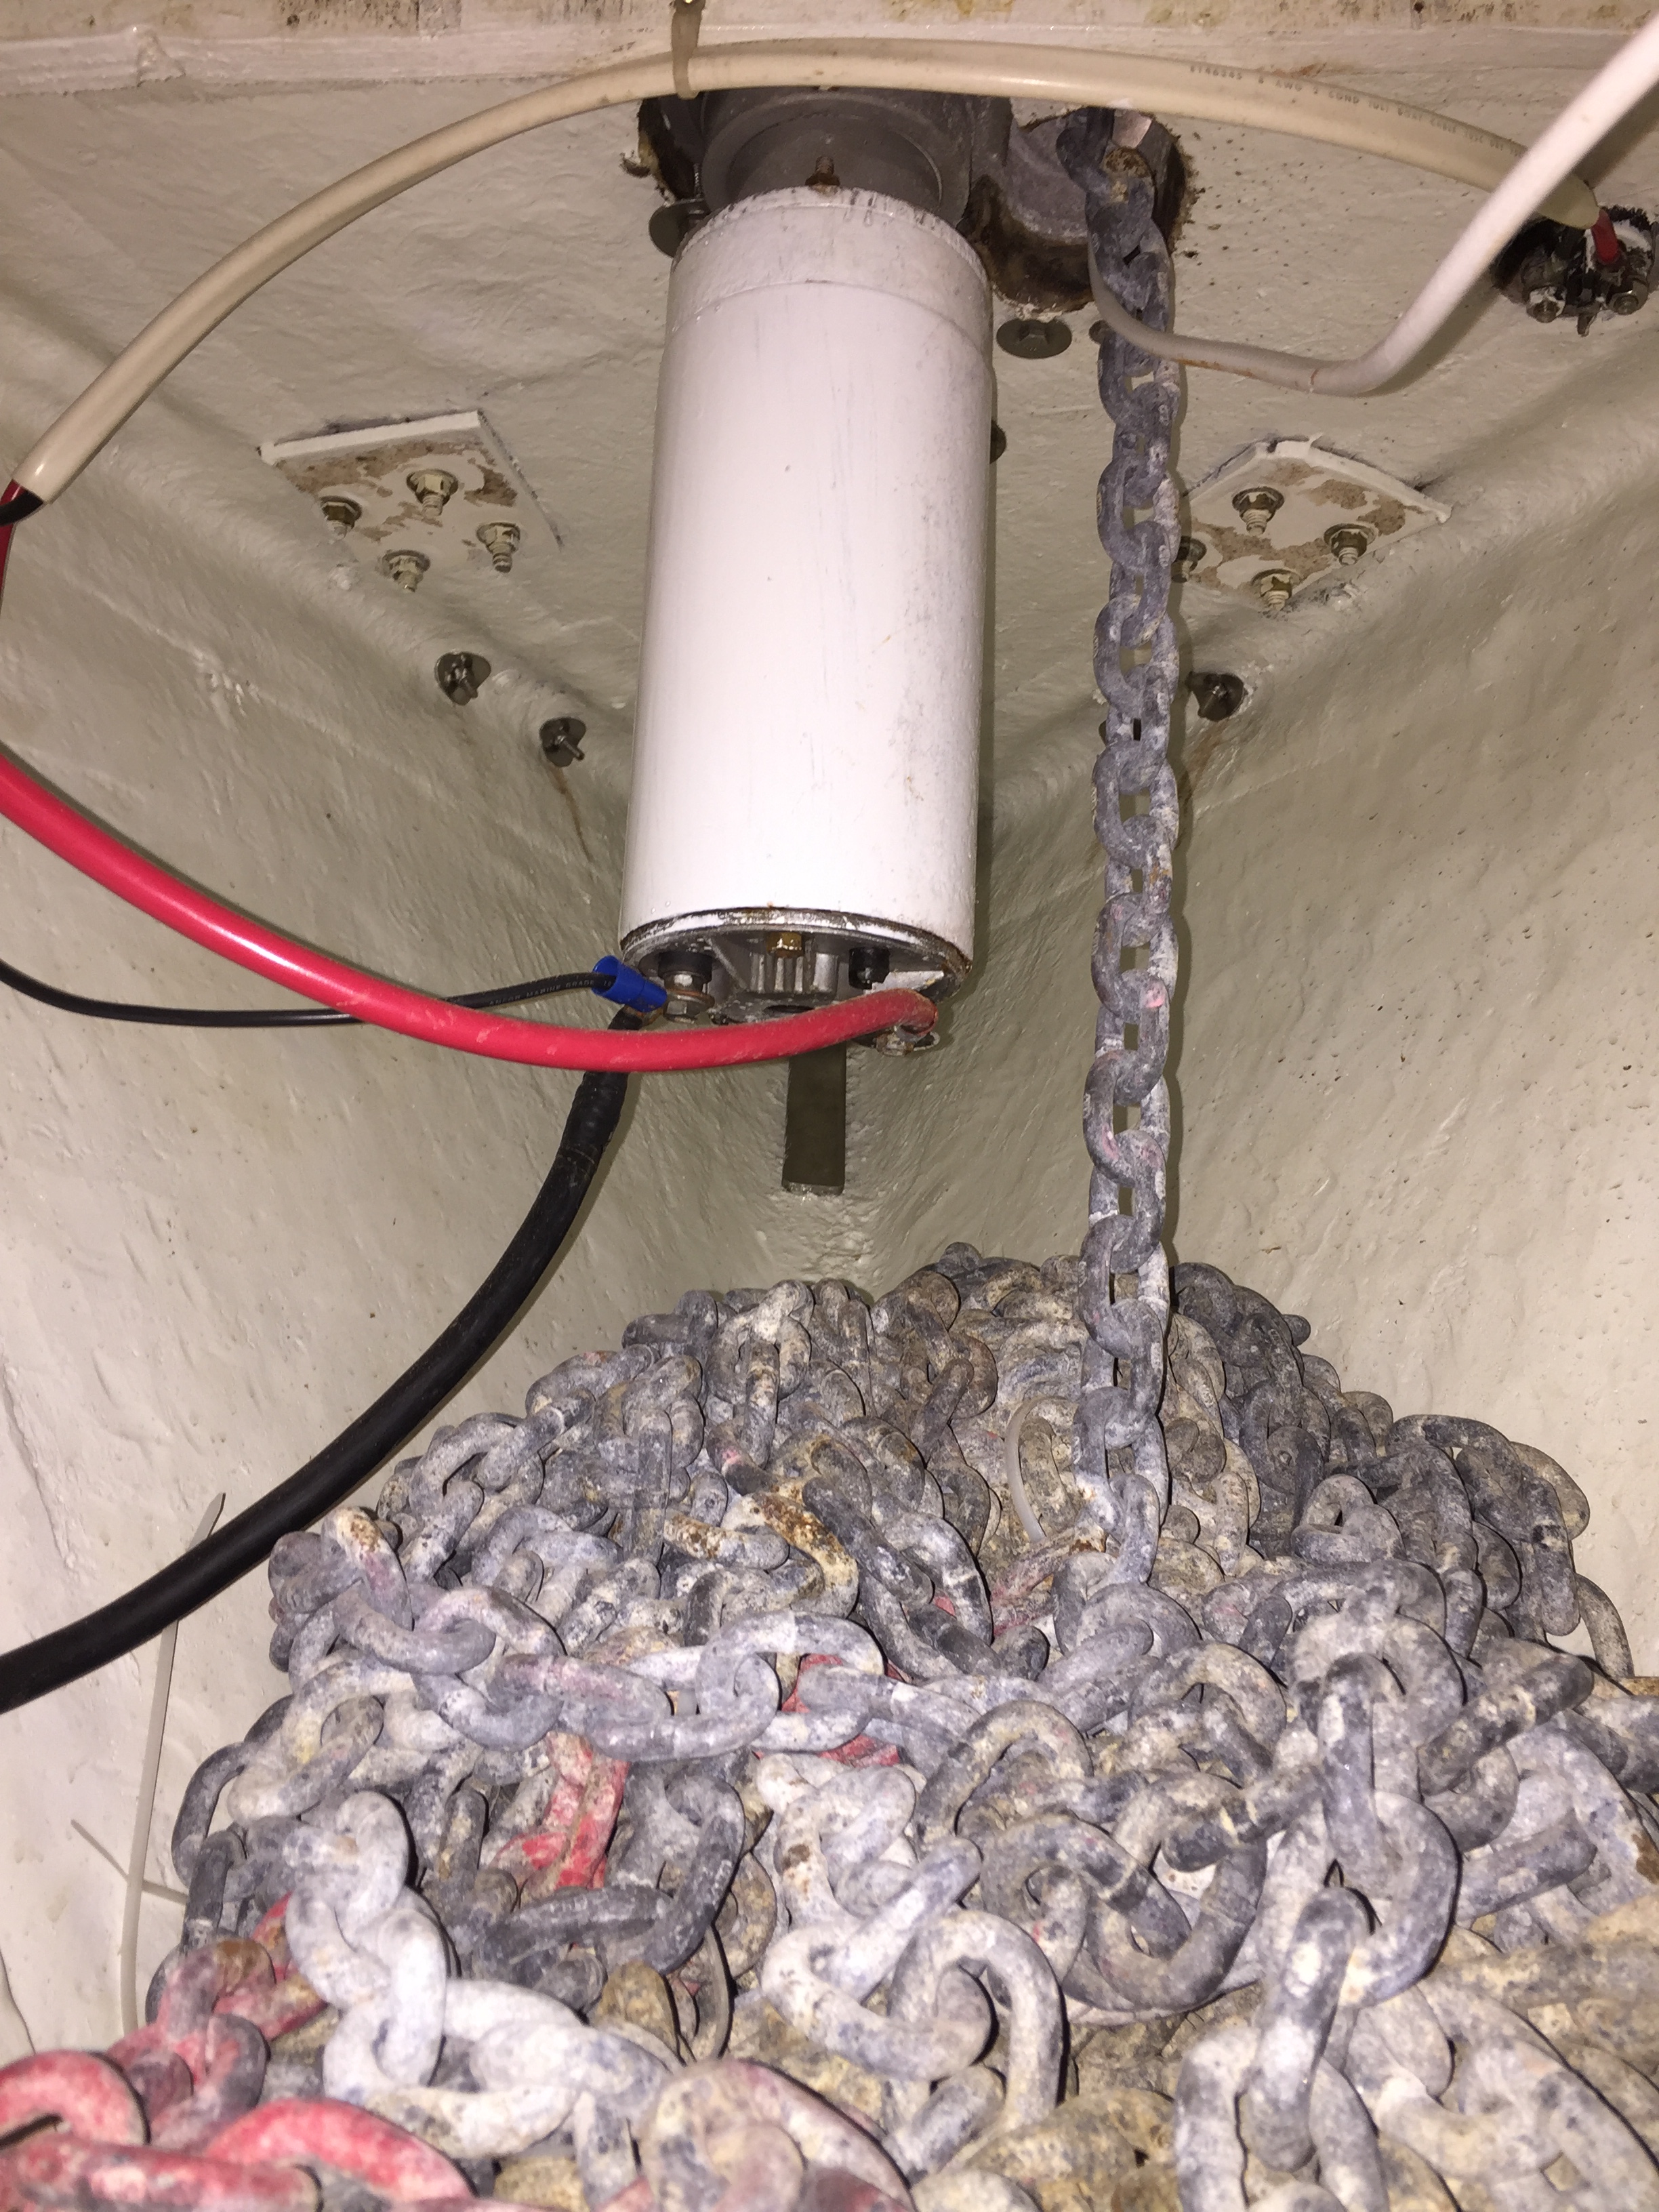
The last thing we have to do is order or make a mattress, but until we get the funds to do so we have set up a very comfortable air mattress which was mom-tested and approved when the family came to visit- meaning it works for now. (The small white wire is our internet while at dock, I have it coming through the anchor locker so I don’t have to ghetto rig our companionway or put it through a hatch.)
-
Sorry! No grid gallery found : [GGAL id=1799]
So, there it is! There is my blog on the V-Berth restoration. A video be posted once we get our real mattress all set up! Thanks for reading. Cheers, ~Skipper Chris


0 Comments