(DEC 2018) One of the many things we love about our boat is her ability to host up to 6 people and absorb all their things. However, it became apparent to us when the Neely family visited for our Santa Cruz Island sail that our quarter berth(s) was not the comfiest sleeping arrangement. You see, our quarter berth was a double bunk, meant for crew while underway which is great but we didn’t see ourselves hosting 4 single people at once… which means there was no need for the quarter berth to be offset. So circling back to when the Neely’s came to stay, Jon and Shannon (who we shall refer to as SV Prism) had to sleep bunk style while momma Neely slept in the V-berth. When they left we promised ourselves that our next “big project” priority would be constructing a raised platform to turn our bunks into a (sorta) queen sized bed so a couple could cuddle comfortable (try saying that 3 times fast!) We finally got around to the refit when my parents planned a visit. Now I will pass off the blog to Chris who can give you all the details. Cheers, ~ Marissa
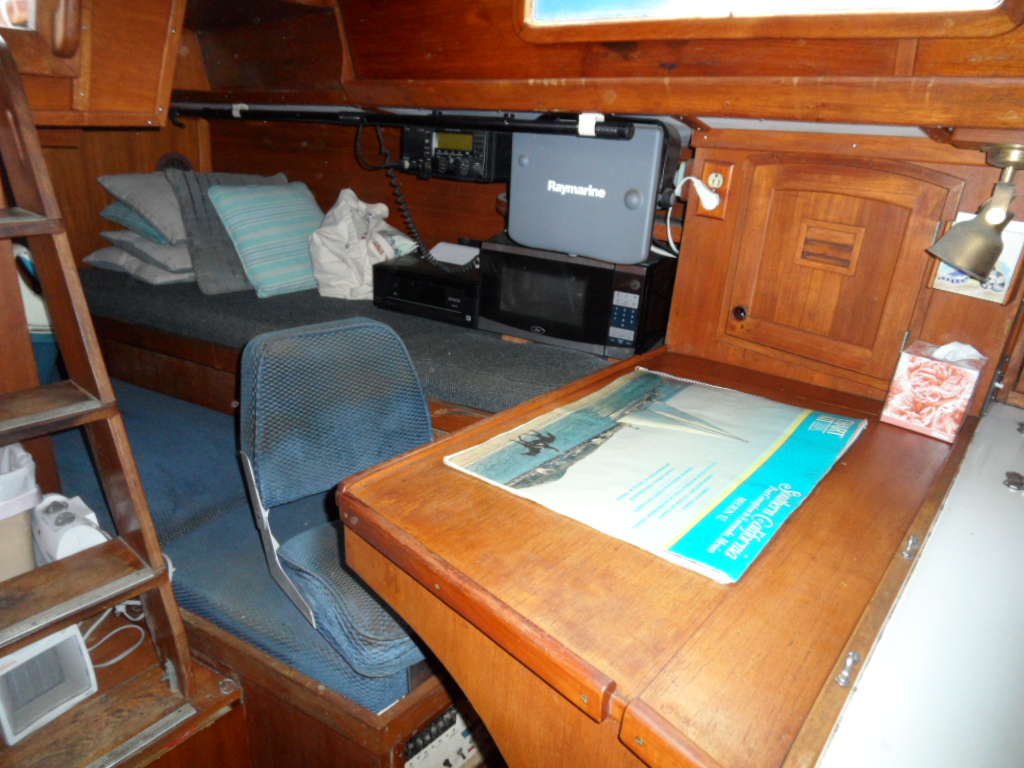
Before the reft
Hi everyone! Chris here. Let’s dive right in: the first thing we had to do was take out all the cushions then disassemble the upper bunk starting with the large teak beam which provided a lip along upper level. I knew right from the start that this piece of teak was going to be reused in some way to build up our nav station so we were extra careful not to harm the wood in any way. Once we carefully took out all the teak bungs (or plugs) and screws holding it in place it popped off no problem.
Right after that, I had a classic “while I was in there” moment and cleaned out the locker that was underneath the lower bunk and repainted using good ol’ white rustoleum. I did this to all four existing lockers before moving onto the next part of the project which turned out to be a project in itself (go figure!)
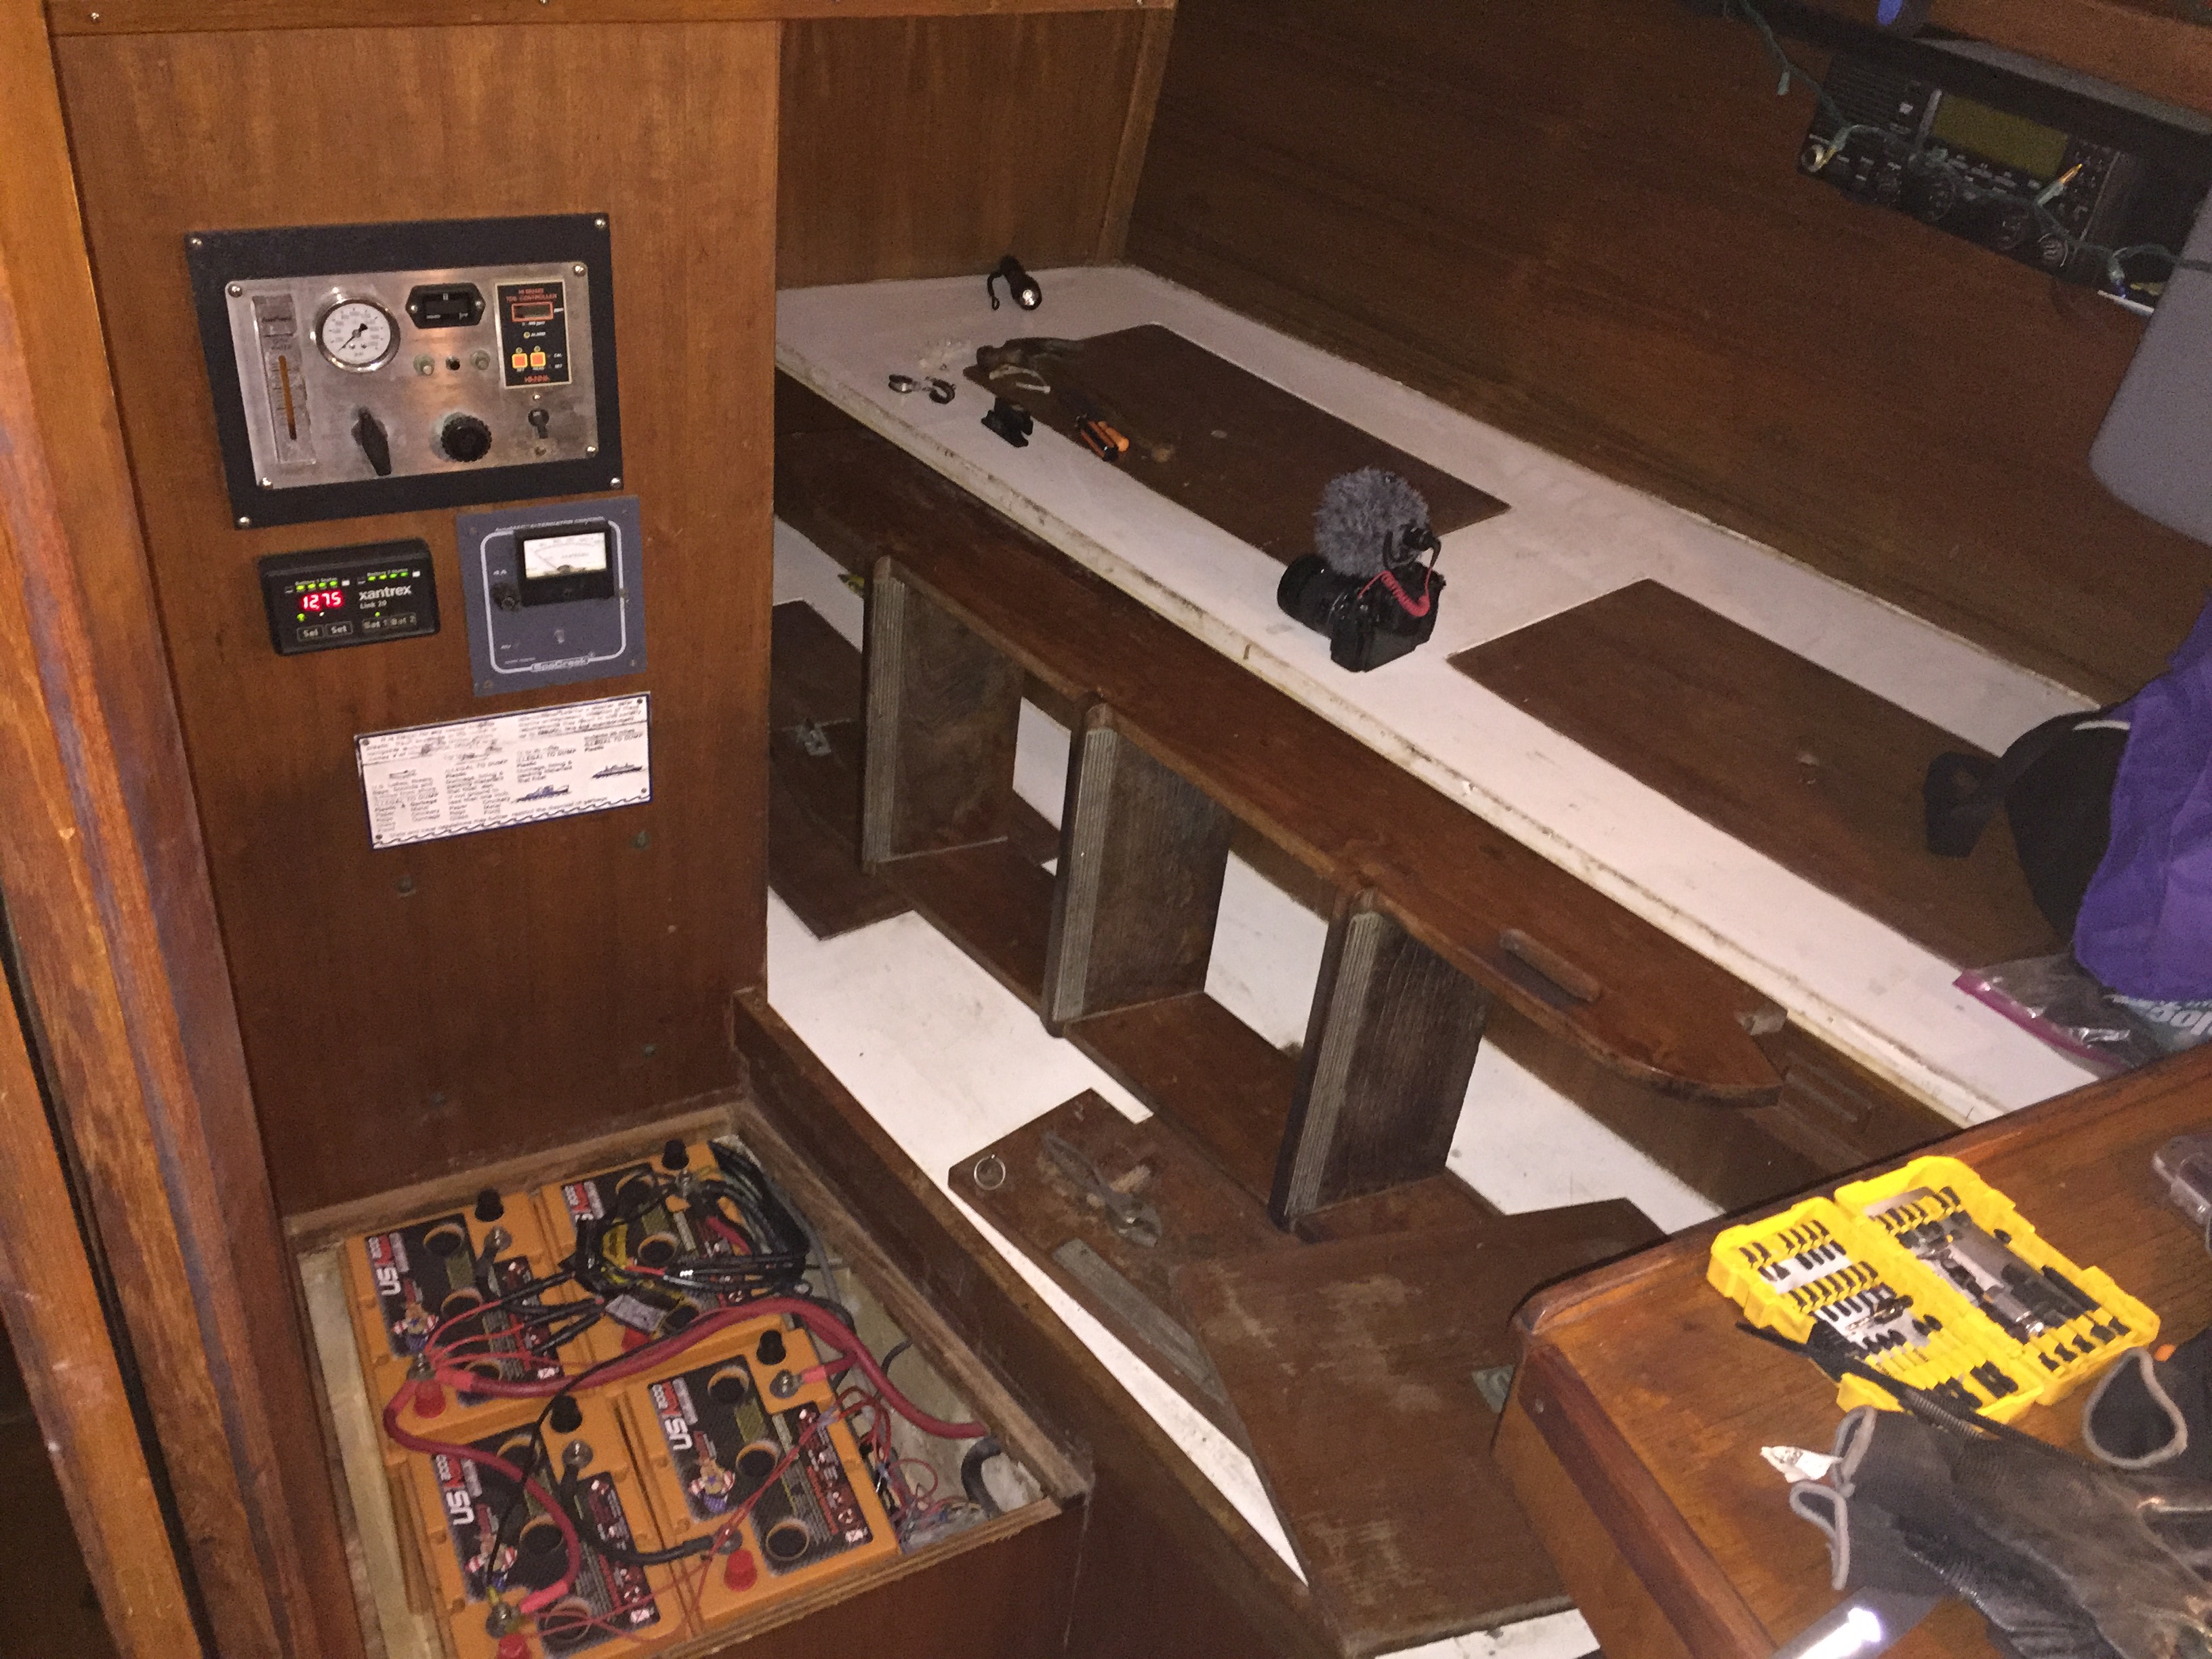
Our Q-Berth with no cushions.
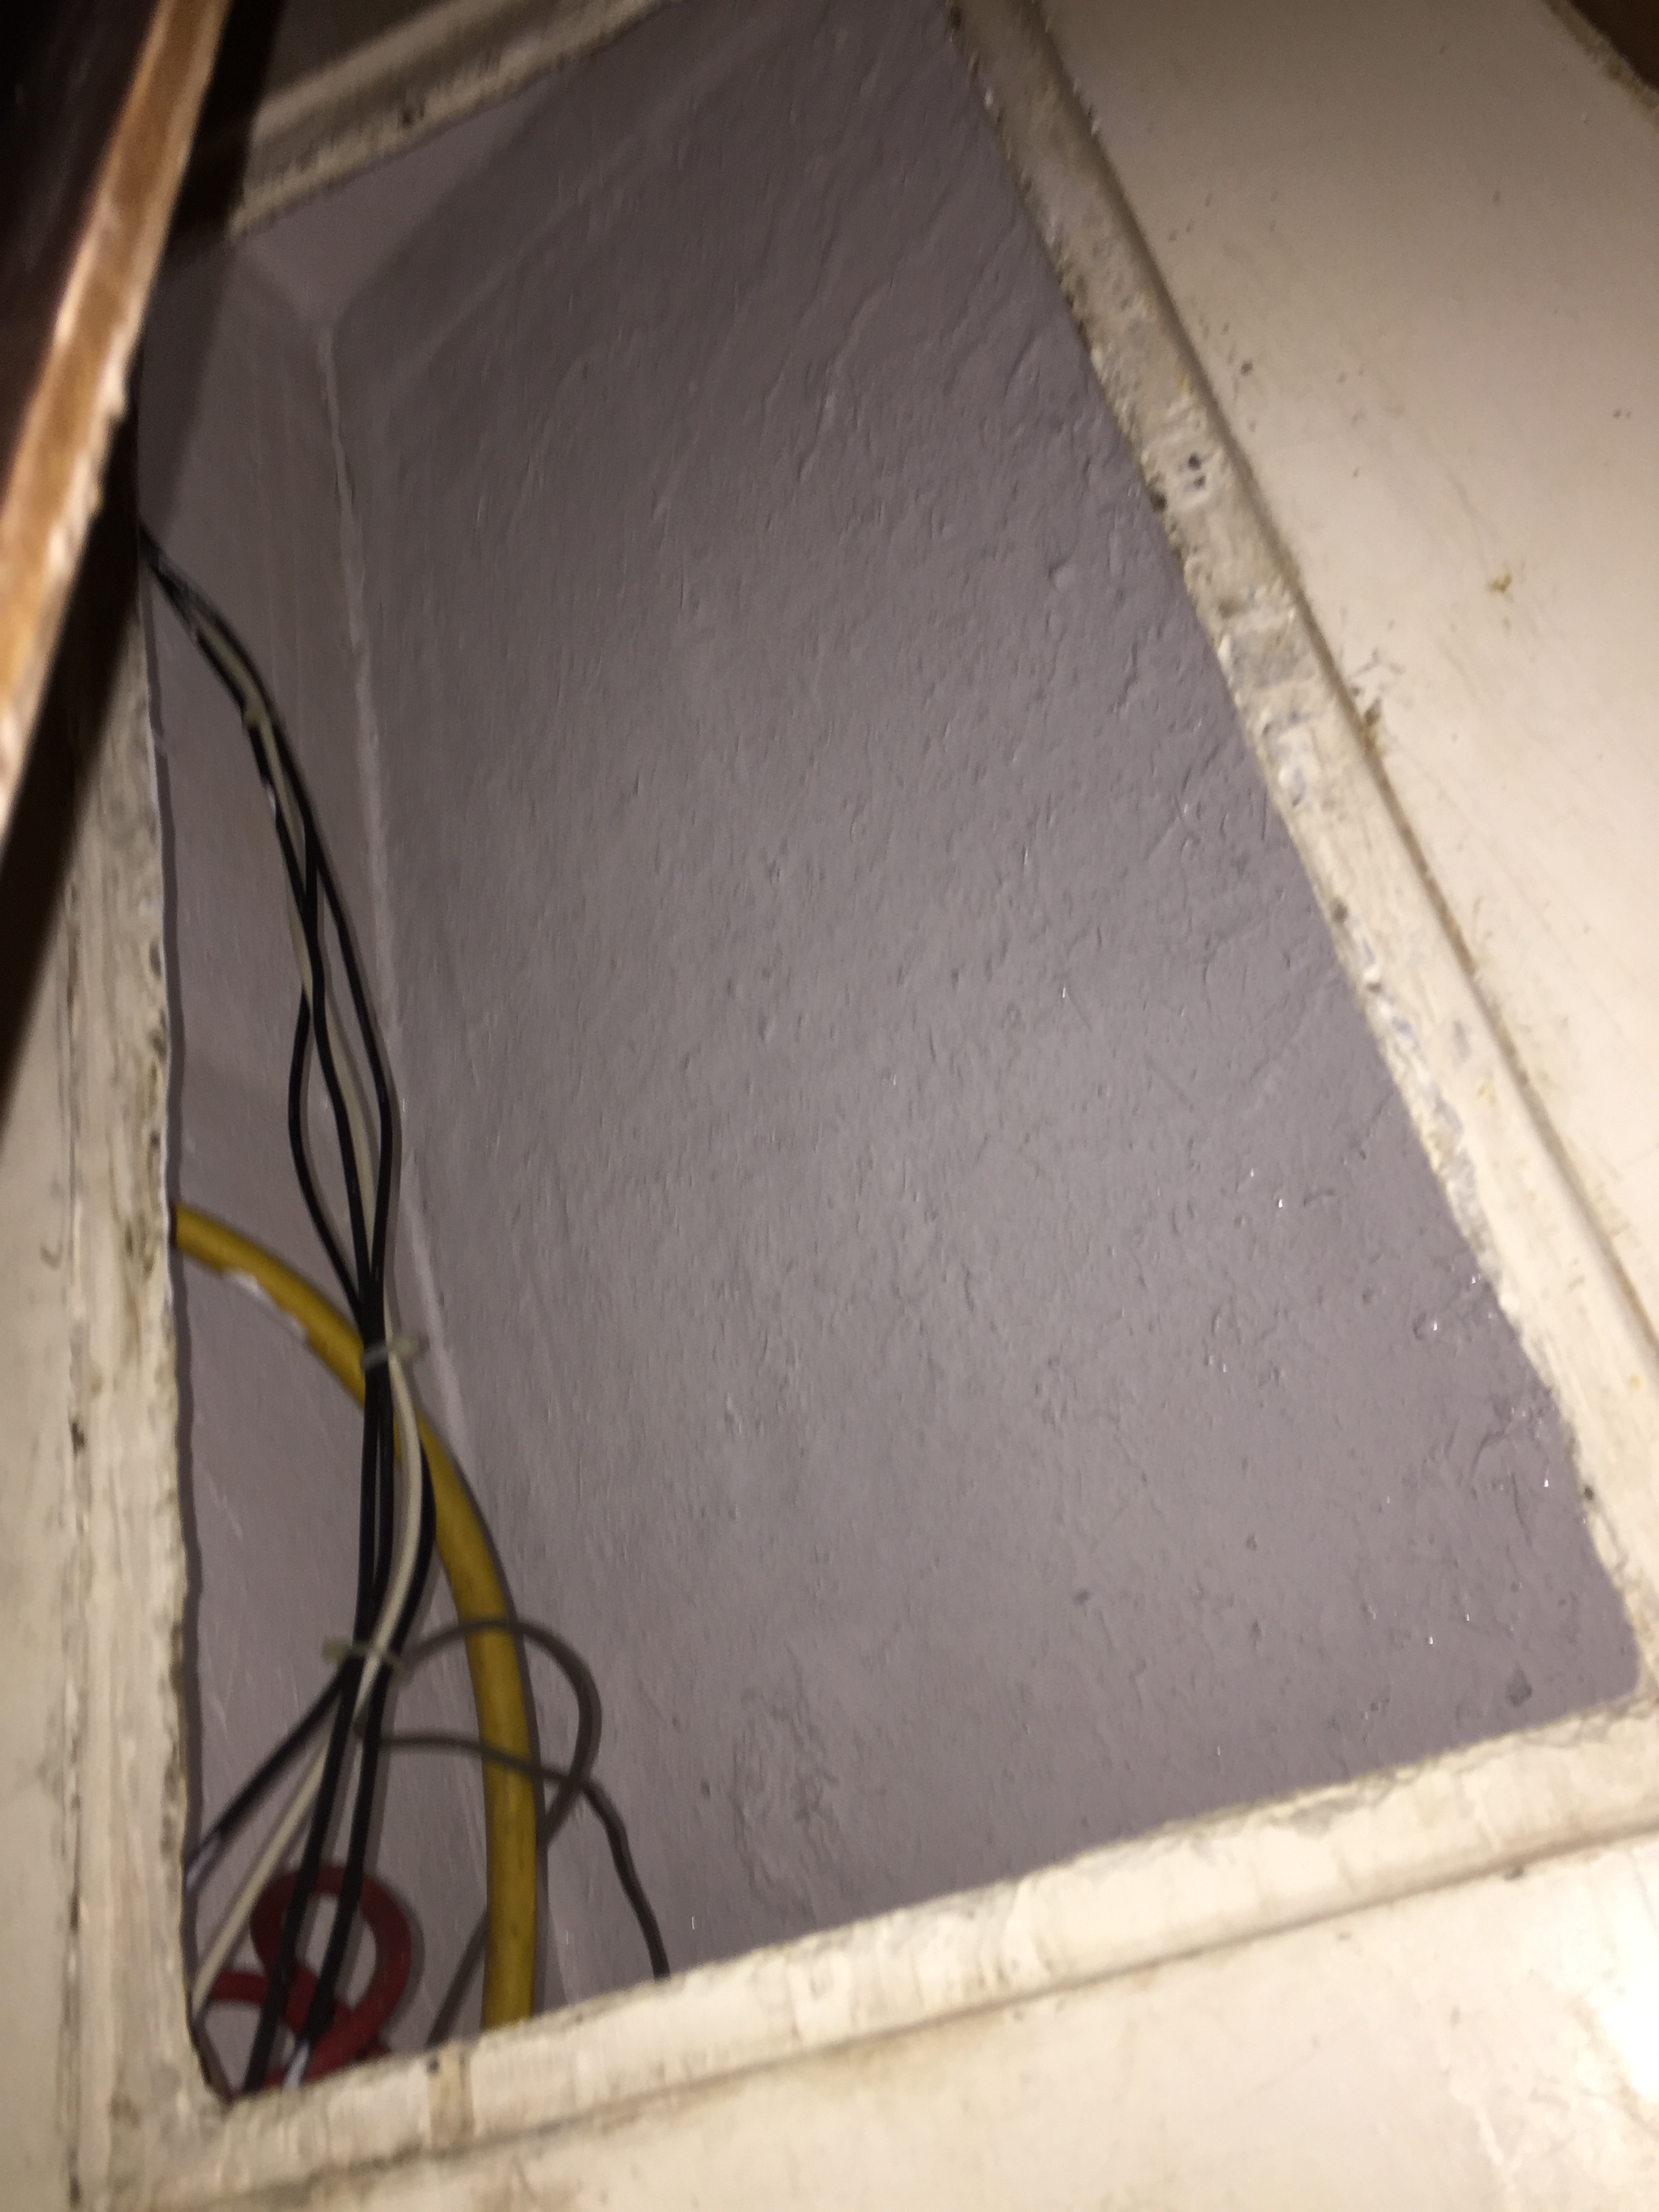
The locker underneath the Q-berth, freshly painted
Our battery charger was attached to the bulkhead separating the lazaret and the cabin which is fine, however it was always in sight and I really hated looking at it all the time so we decided to move it into our dedicated Electronics Locker (which also doubles as Marissa’s overflow closet… she’s working on the whole “downsizing” thing). Moving the battery charger meant moving all the wires that connected the charger to our batteries, along with relocating a 110v plug into the locker, so it can be neatly found all in one place. During this seemingly little relocation, I removed an old hanging plug that belonged to the old inverter that powered the entire 110 side of our boat when we are not plugged into land, but when we bought the boat one of the first things I got rid of was the very old and crusty inverter that sounded like it would blow when I flipped it on.
I’m not sure if you can tell, but I really like things to be done correctly and neatly so when I start one project, I’m bound to dabble in 13 others in order to consider the job truly done. So back to me struggling to rewire: long story short I called my brother to help me figure out what wire was what since we found one 4-plex wire that should not have been in a 110 system. After much thought and careful experimentation, we found that the wire only daisy chained into our room and stopped there. I finally felt much more comfortable with our 110 system. Another little tidbit about my personality: I feel much more confident in something if I have completely torn it apart and correctly put it back together again. This method (although time consuming) gives me peace of mind when I use these systems daily.
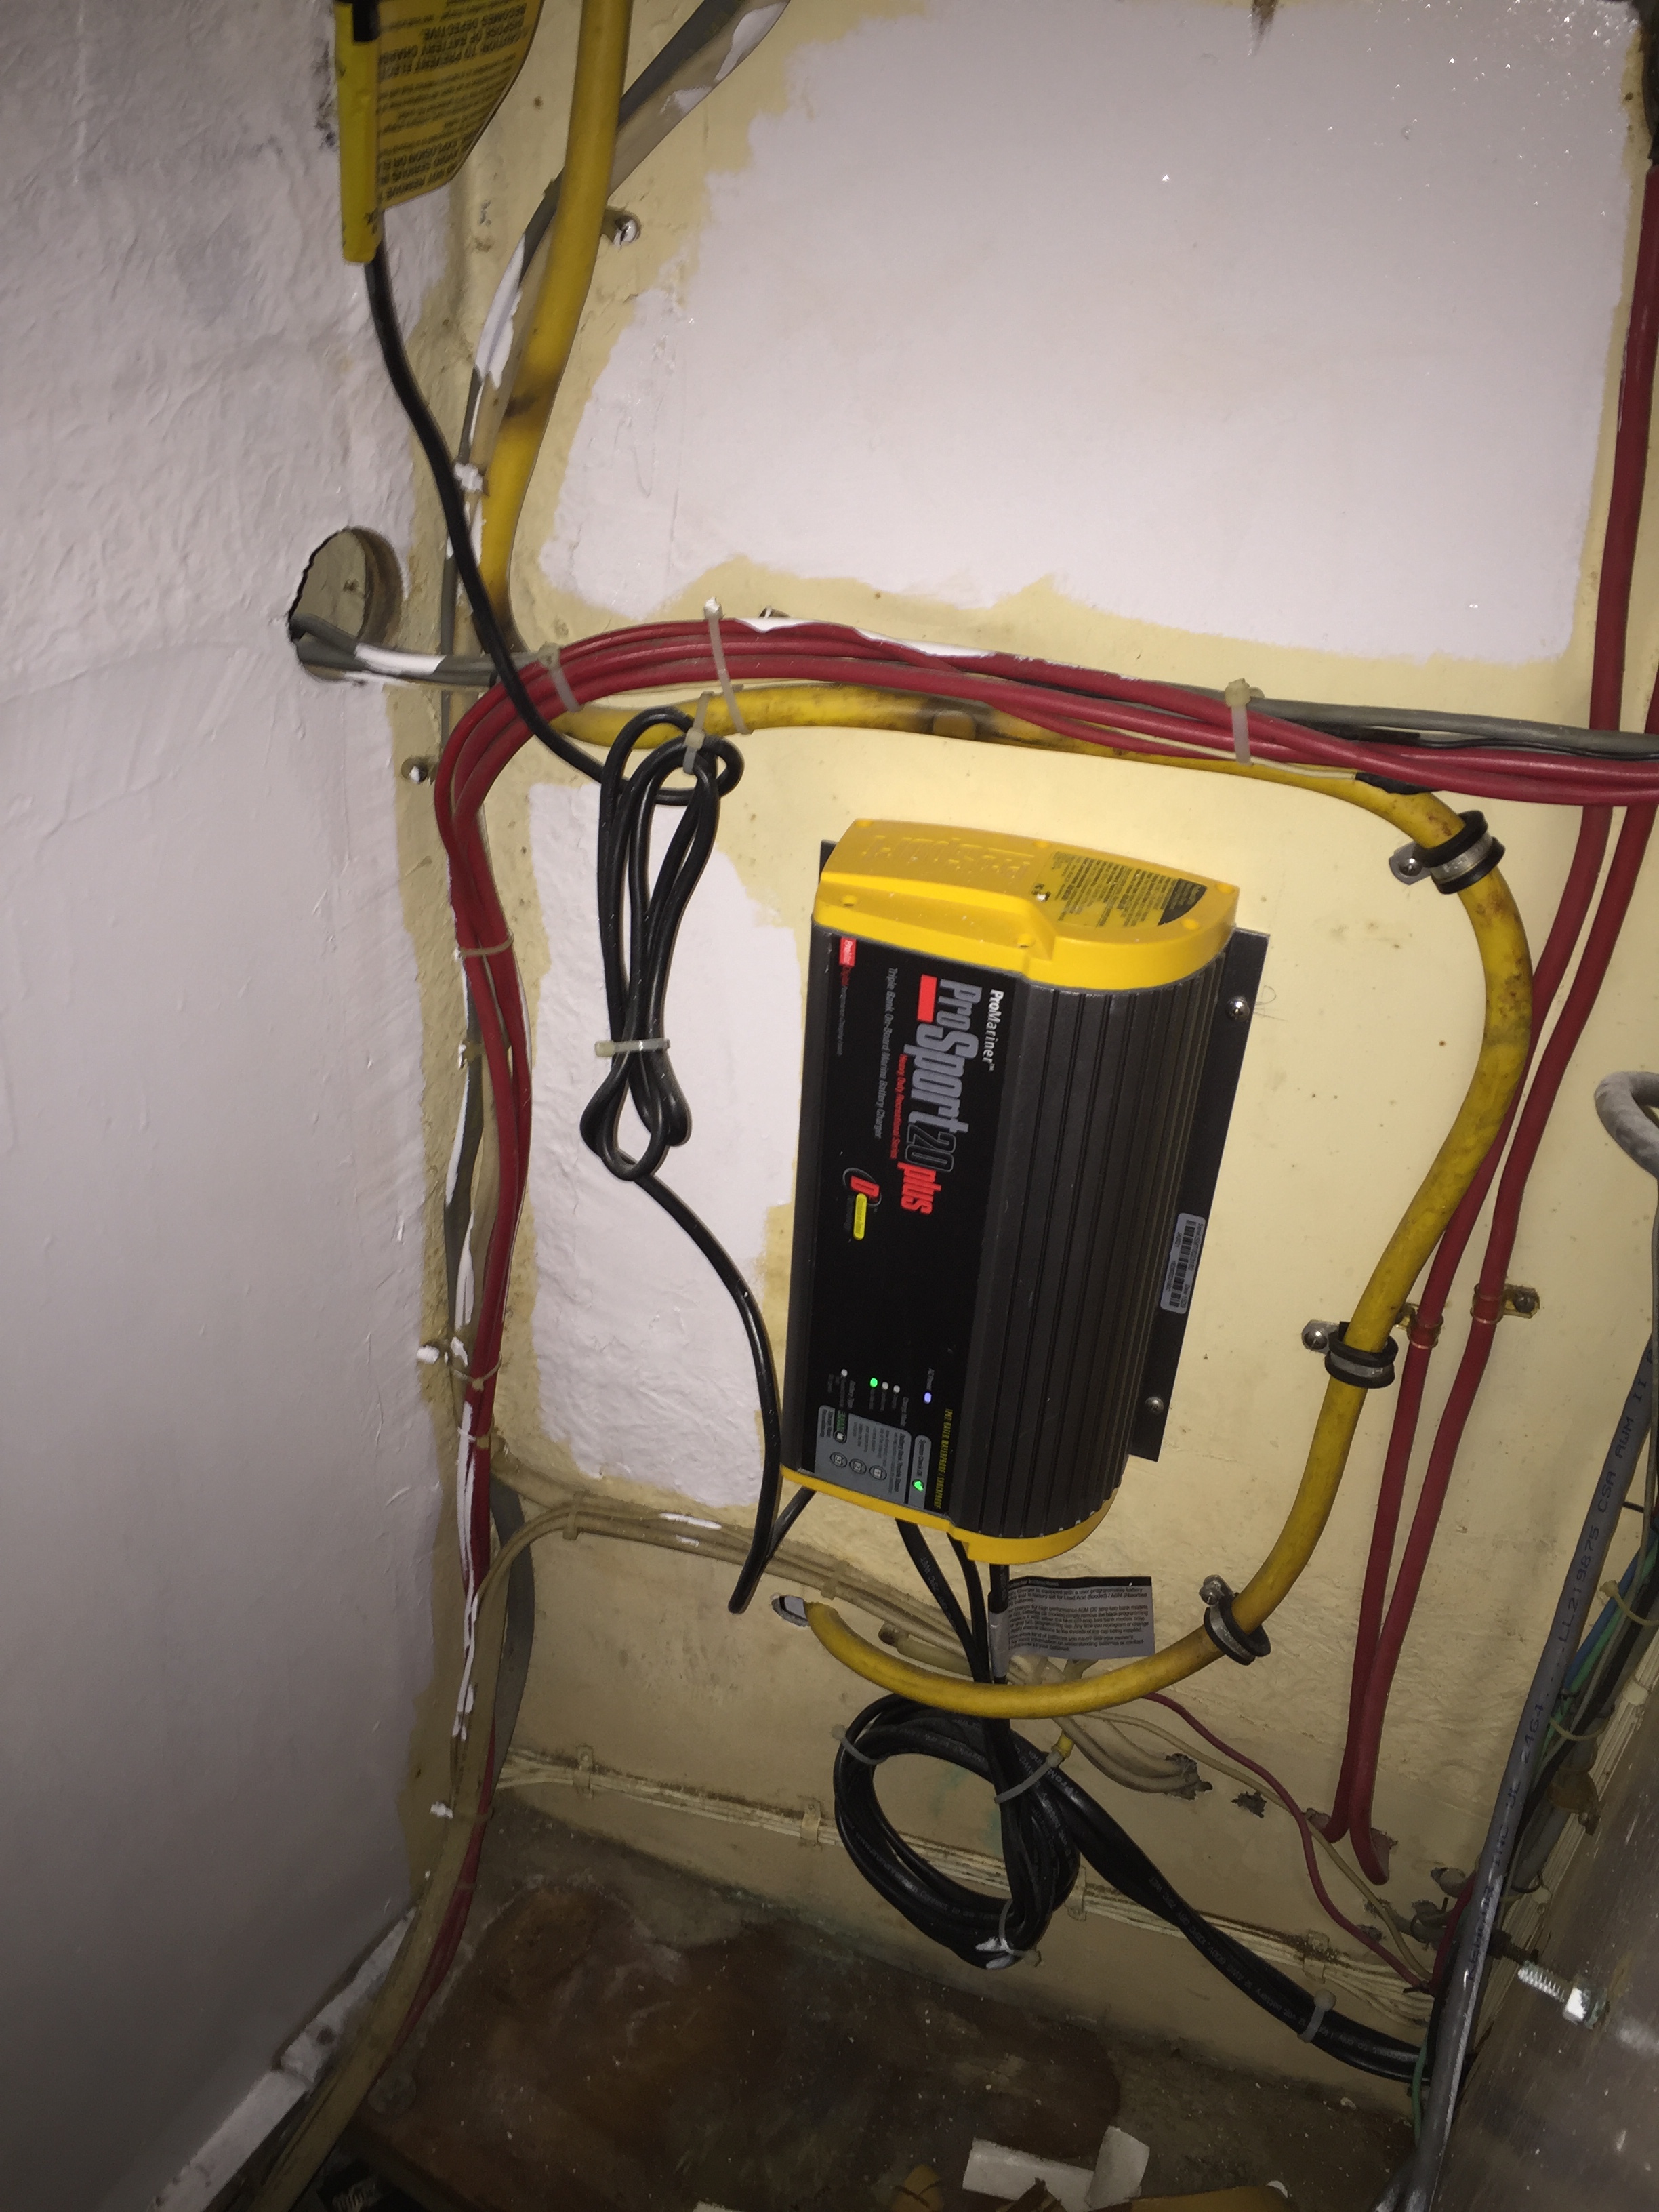
The battery charger in its new electronic locker home… mid-painting
While I was in the electronic locker the paint was also crap so I got out my tools to strip to fiberglass again before putting two coats of paint on. This made the locker smell all better (it was a little musky in there) and Marissa appreciated because some of her clothes share this locker (like I said, she is working on downsizing). The floor in this locker was badly rotten from getting wet at some point in time this is also where we had our 2nd battery bank for starting the engine and when we bought the boat this one battery was expanding, getting super super hot and oozing battery acid (FUN!!) but when I took the battery out some 6 months ago I didn’t have the chance to fix the gross floor, so with the extra plywood that I used for the new planks in Q-berth, I cut a new floor. I am happy to say that the electronic locker is SWEET now and ready for the instrument panel next. Thats enough about the wiring and electronics (full blog and video to come). The last thing I did while I was in this locker was remove a random piece of wood with 4 screws coming in from the outside where the sea wall is. I already noticed hairline cracks on the outside paint, but come to find out the previous owner put fairing compound over the screw heads and painted on top. There was already some water coming in where the cracks were, so I pushed the screws through, beveled out the 4 holes, put two layers of fiberglass and fairing compound on top all with Marissa’s help. I still need to sand and paint, but I need to find the paint to match before I go forward. At least now there is no leaking and the problem is fixed on the inside so the Electronic Cabinet is done from the inside.
Lets go back to the Q-Berth building, FINALLY! To build the frame I went and bought some 2” by 1/2″ wood for the plywood to sit on top of. I screwed the 2″ by 1/2″ planks on 12 3/4″ above the lower bunk so the plywood sits perfectly level with the existing upper level of the Q-berth. Once the border was built I had to make some cross members to disperse the load. I made two cross members in total, the one further aft has two U shaped wood blocks that a wood beam is cradled in. I made the x-members removable so we can get into the lower storages easily. The 2nd x-member shares the same design using the u-shaped blocks but due to the plywood wall not having as much structural integrity side to side as compression, the x-member is still removable but two pins hold the crossmember in place so there is no side to side wobble.
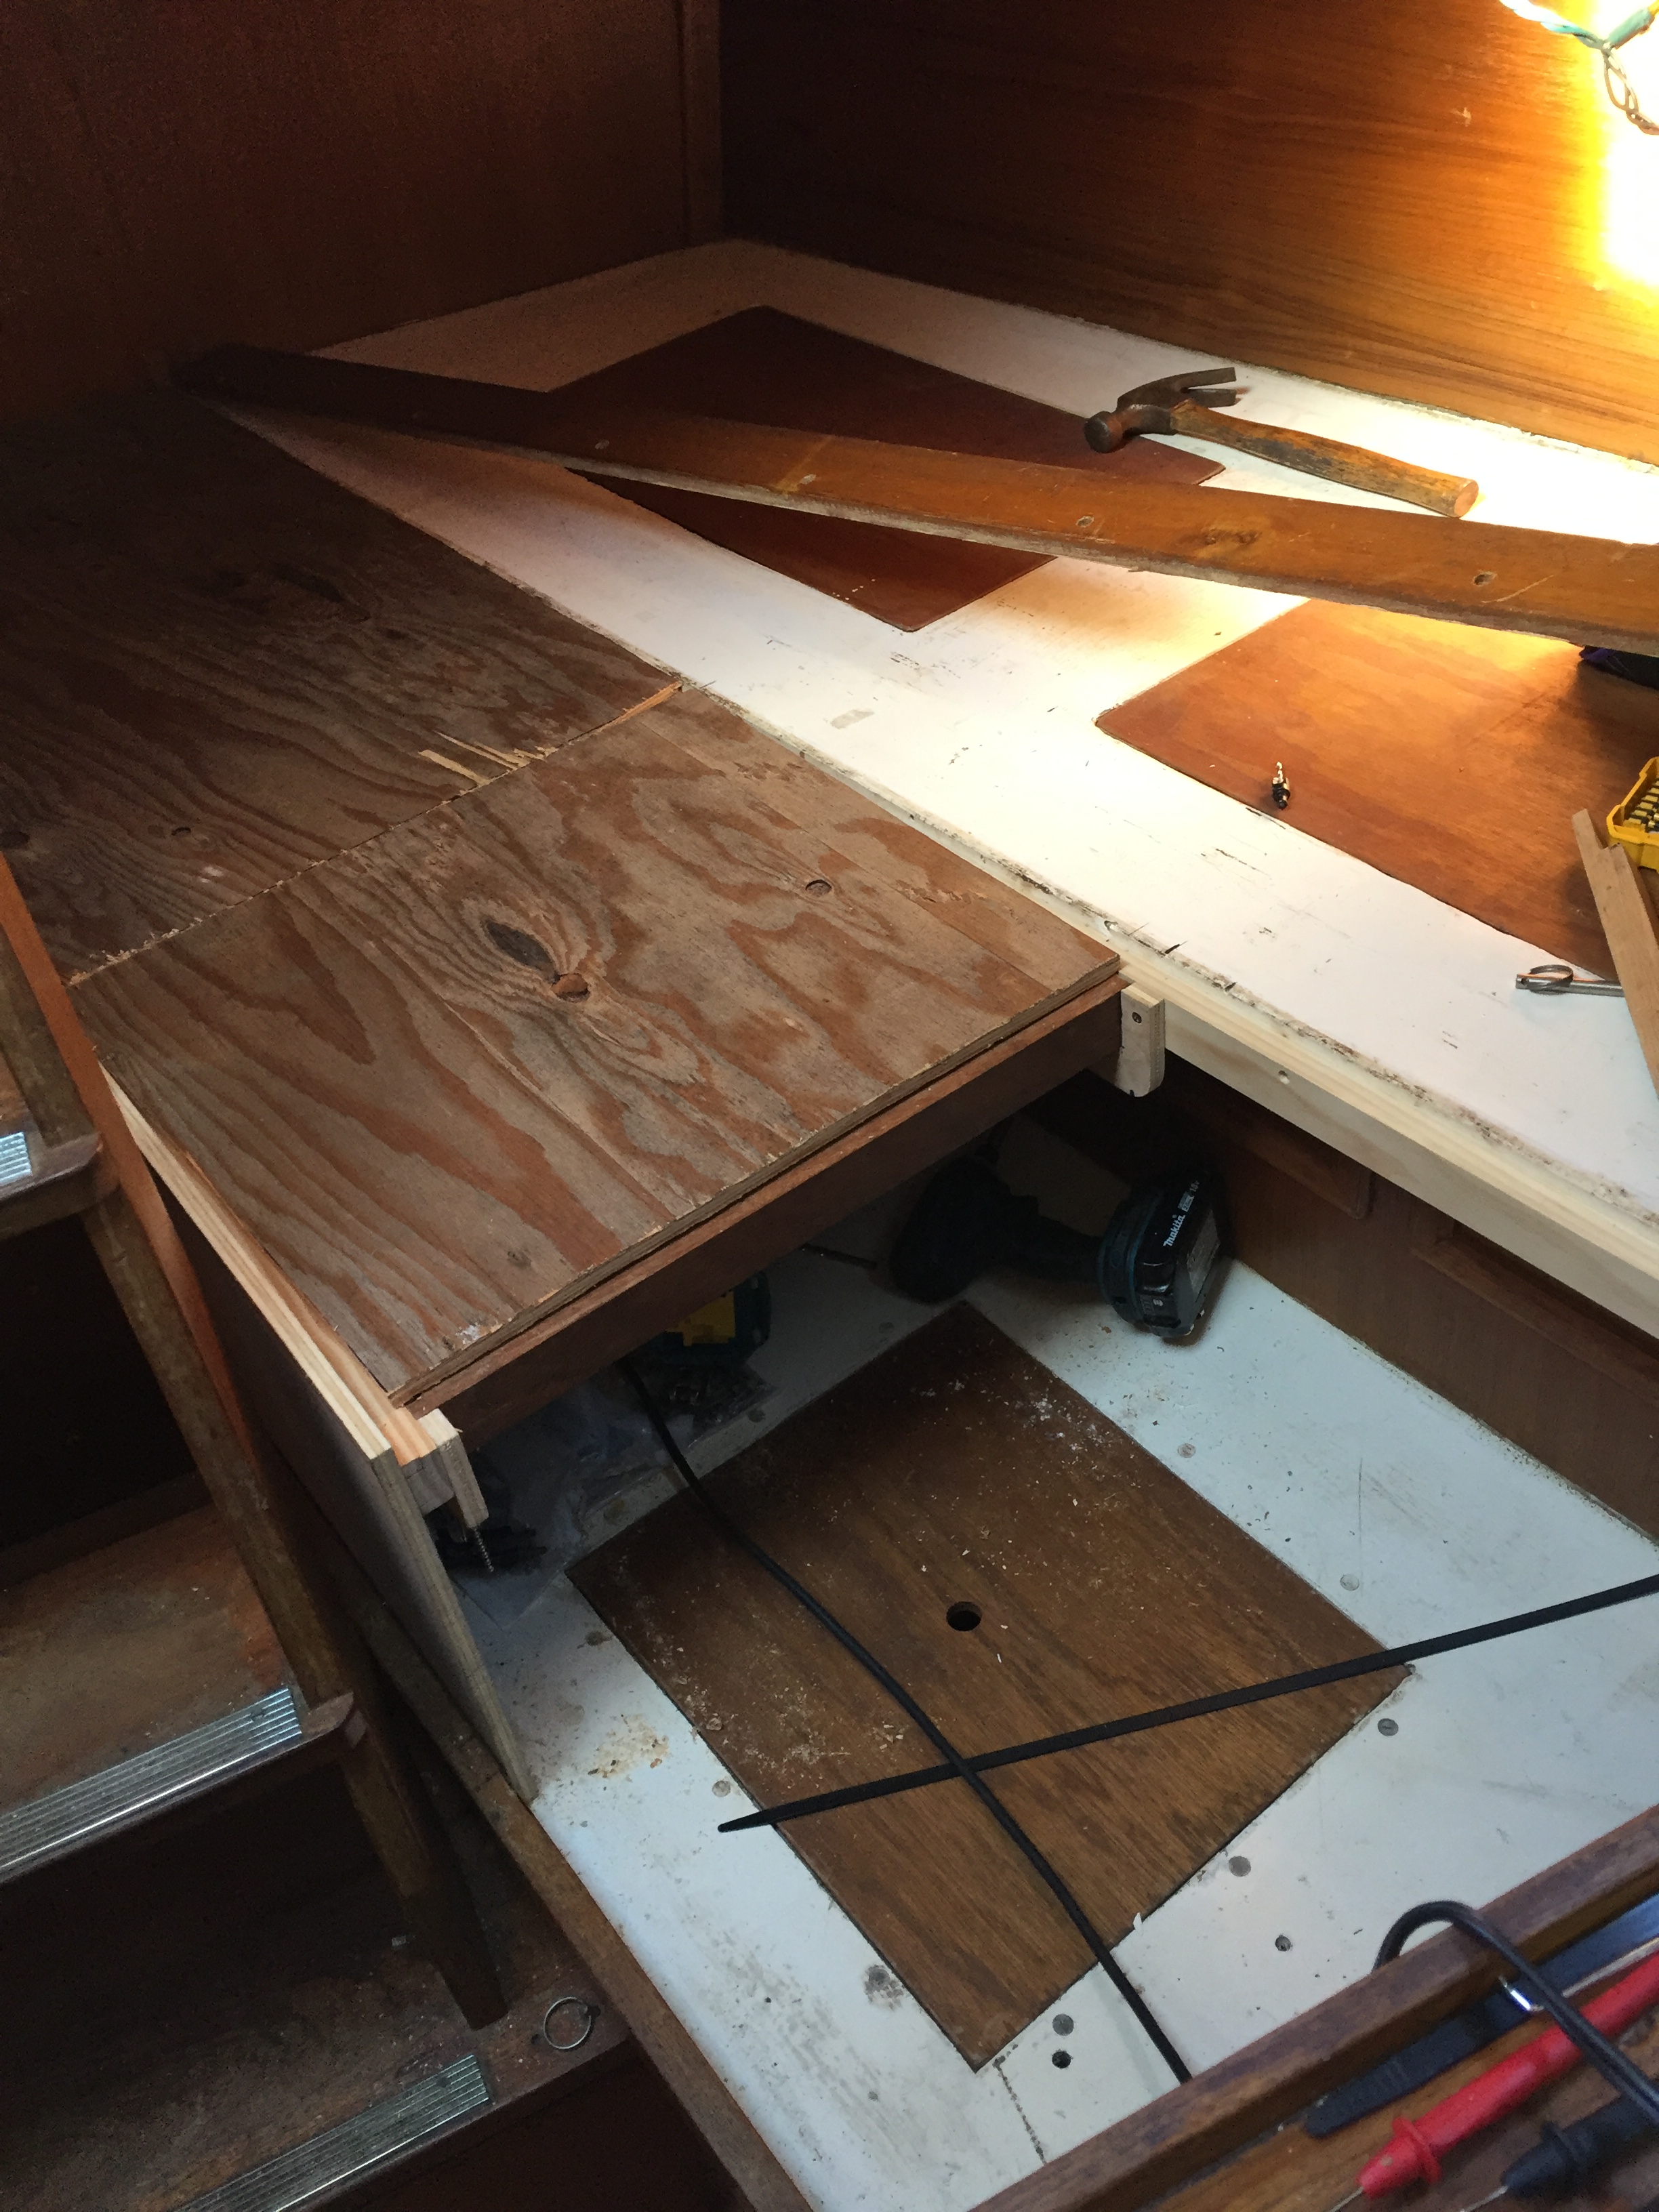
Using the template ply to map out how the final pieces will be
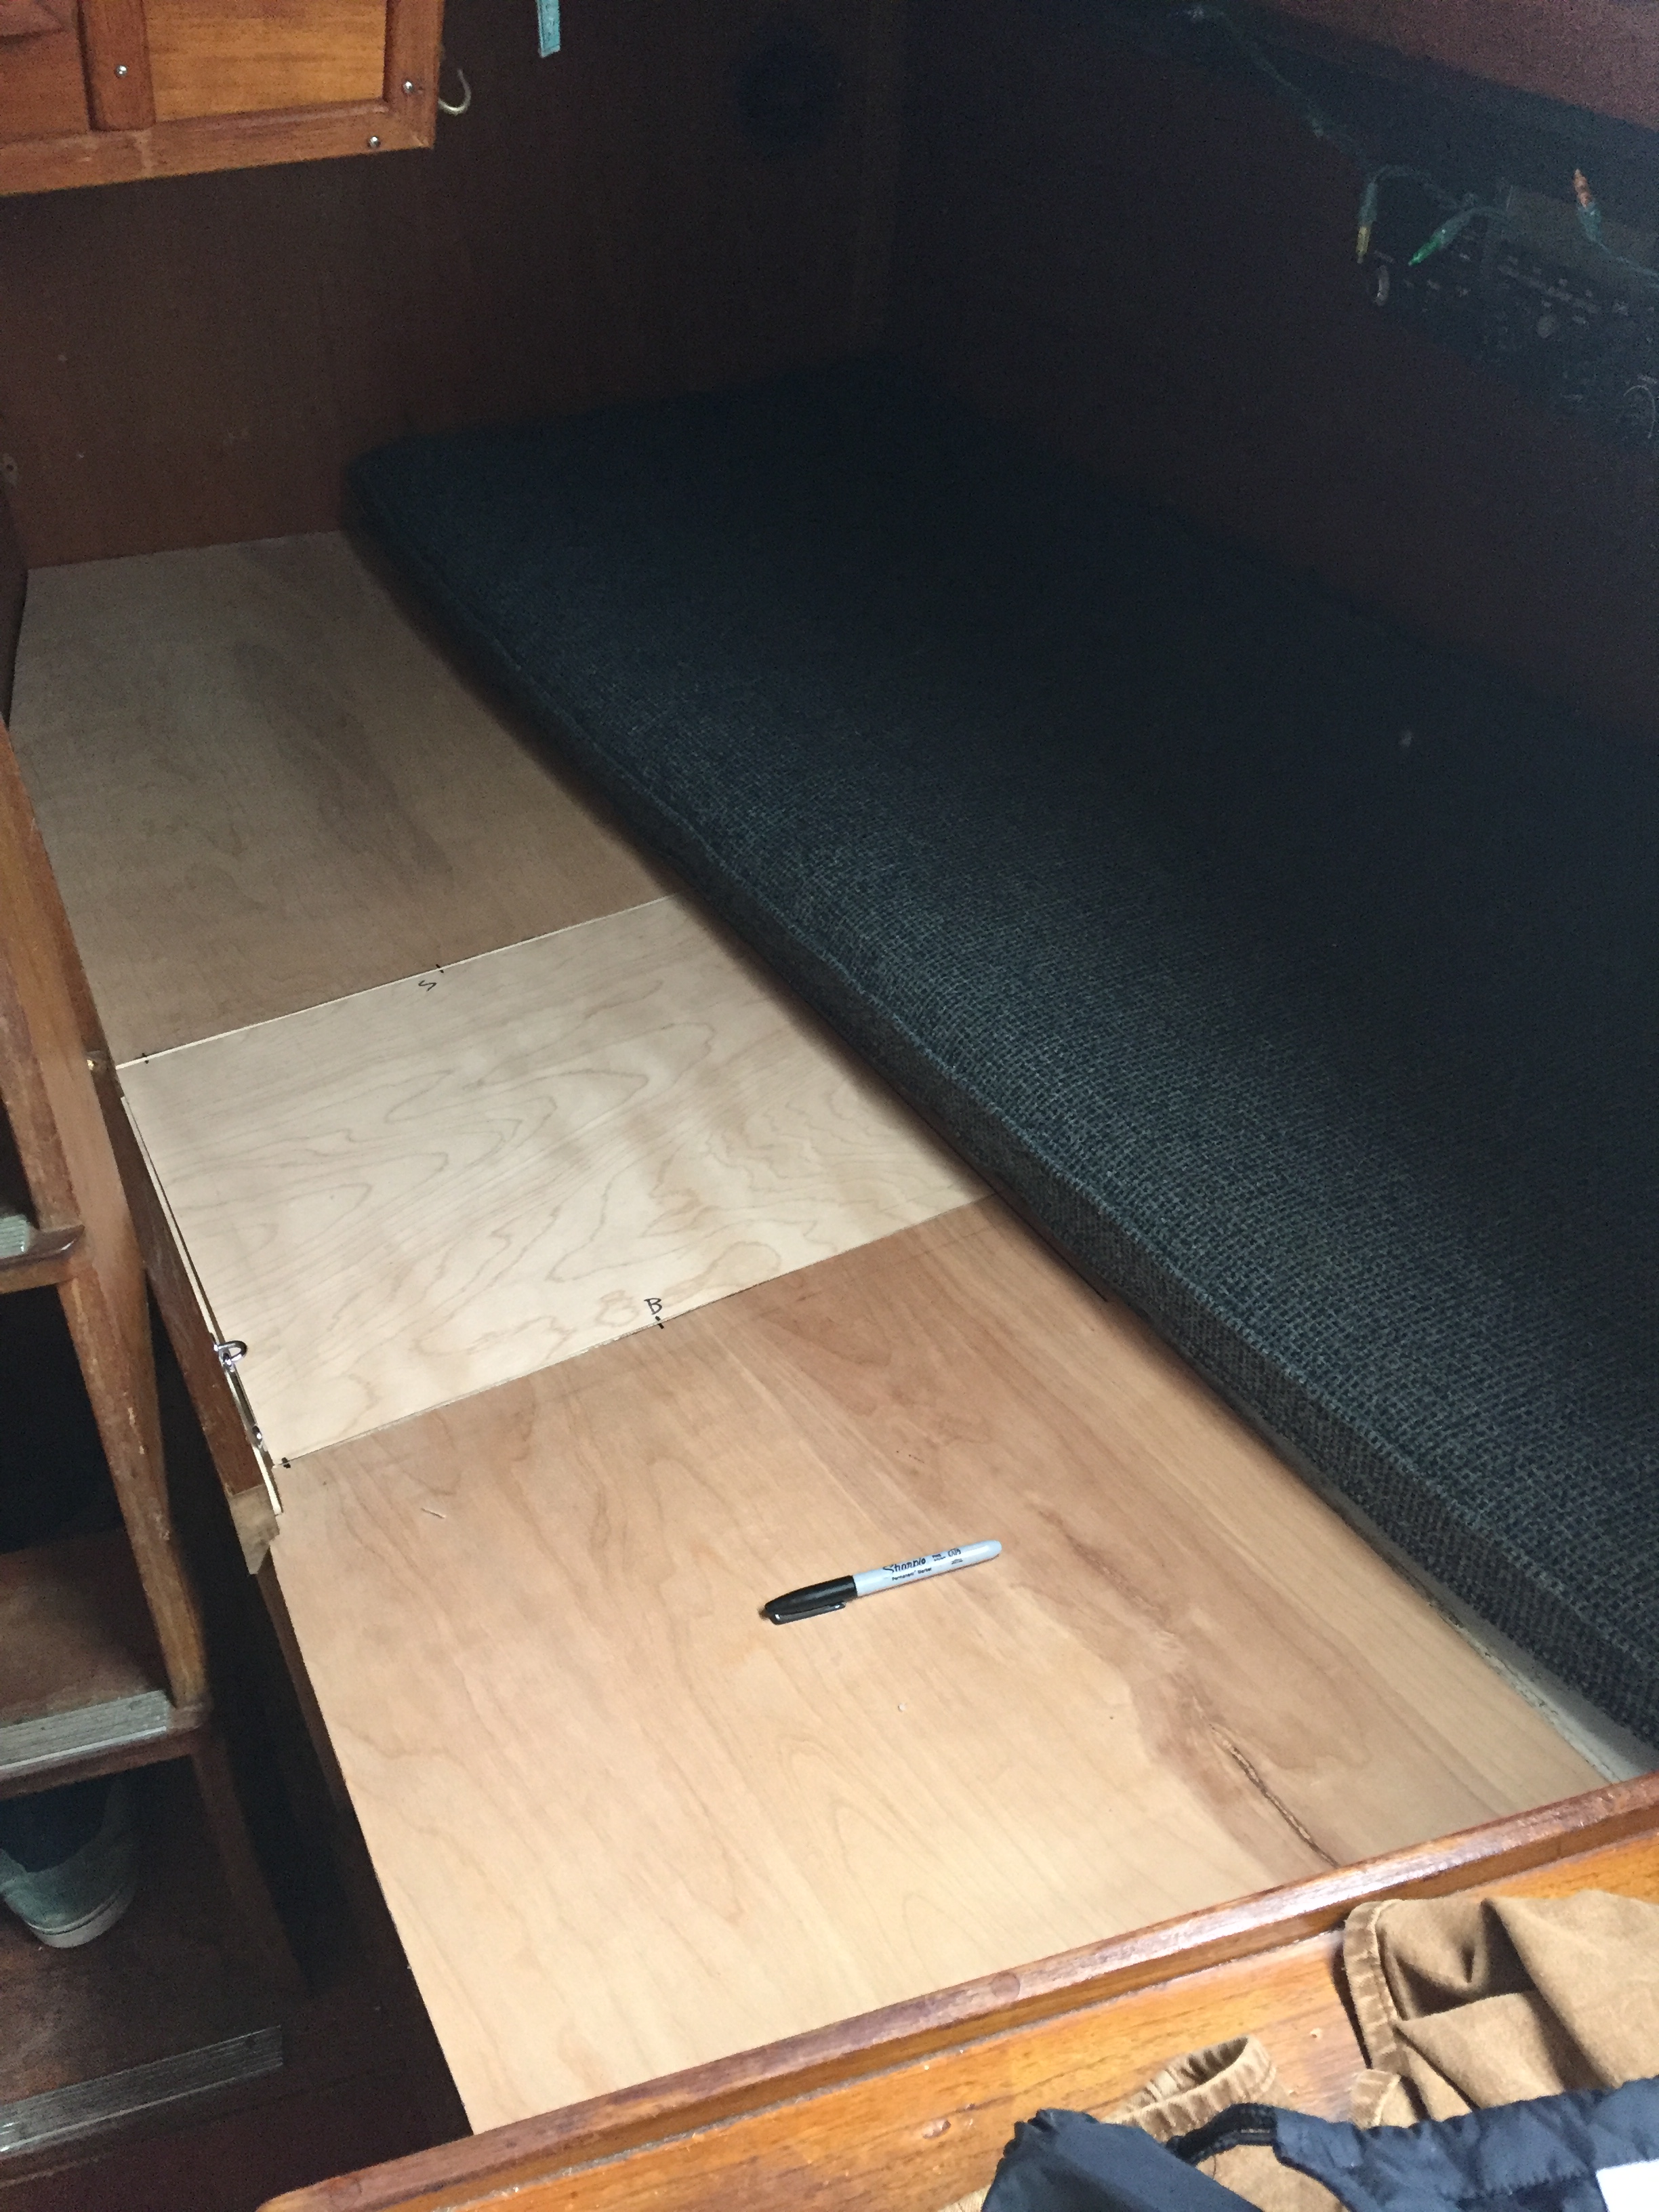
Not bad! full bed mode
The hardest part of this project was constructing a nav-seat/back rest. Although we wanted to raise the bed to the upper level, this area will still be used primarily as a nav-station so I needed to find a way to hide the ugly lip of the old upper level and the crossmember I built to give a more “factory” feel and look. After much, much thought I built a new backrest and armrest. The only way to make it look good like it belonged in our boat was to use teak. I did happen to have some teak saved from previous projects, but after using the big plank to finish the top of the backrest I bought some new 1″ 1/2” teak strips using a tongue and groove style to finish the job.
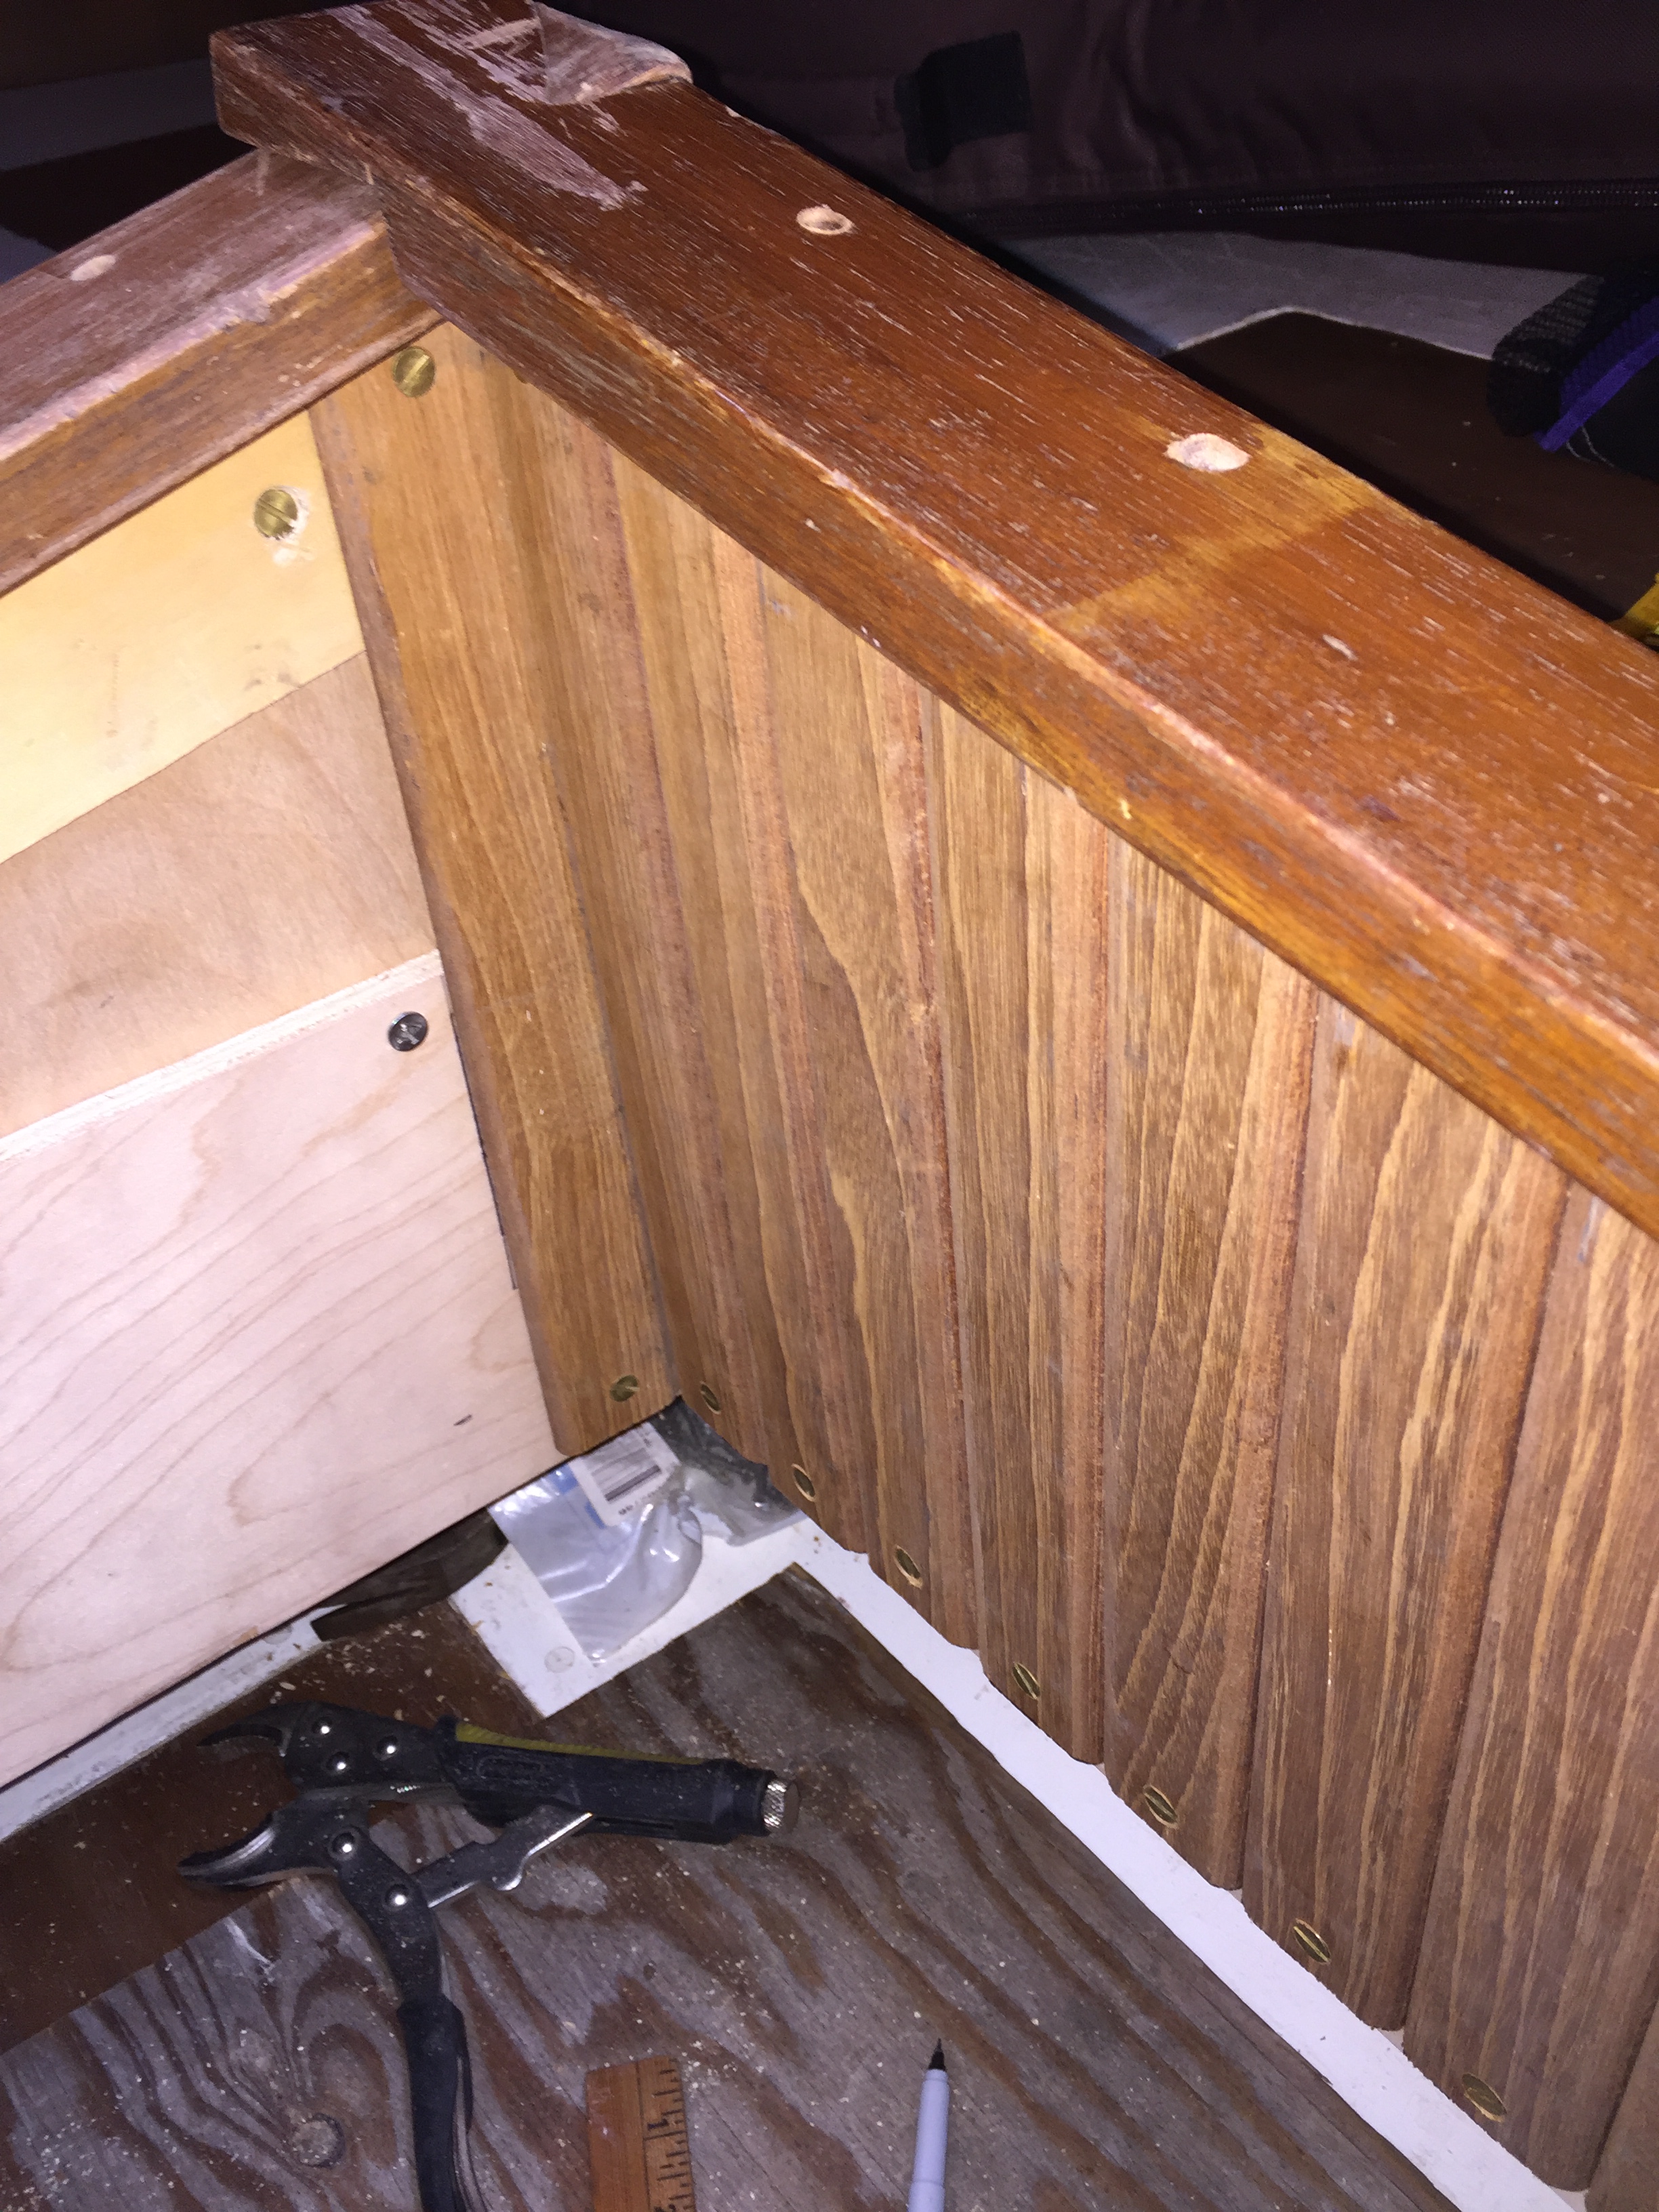
.

Just needs some varnish!
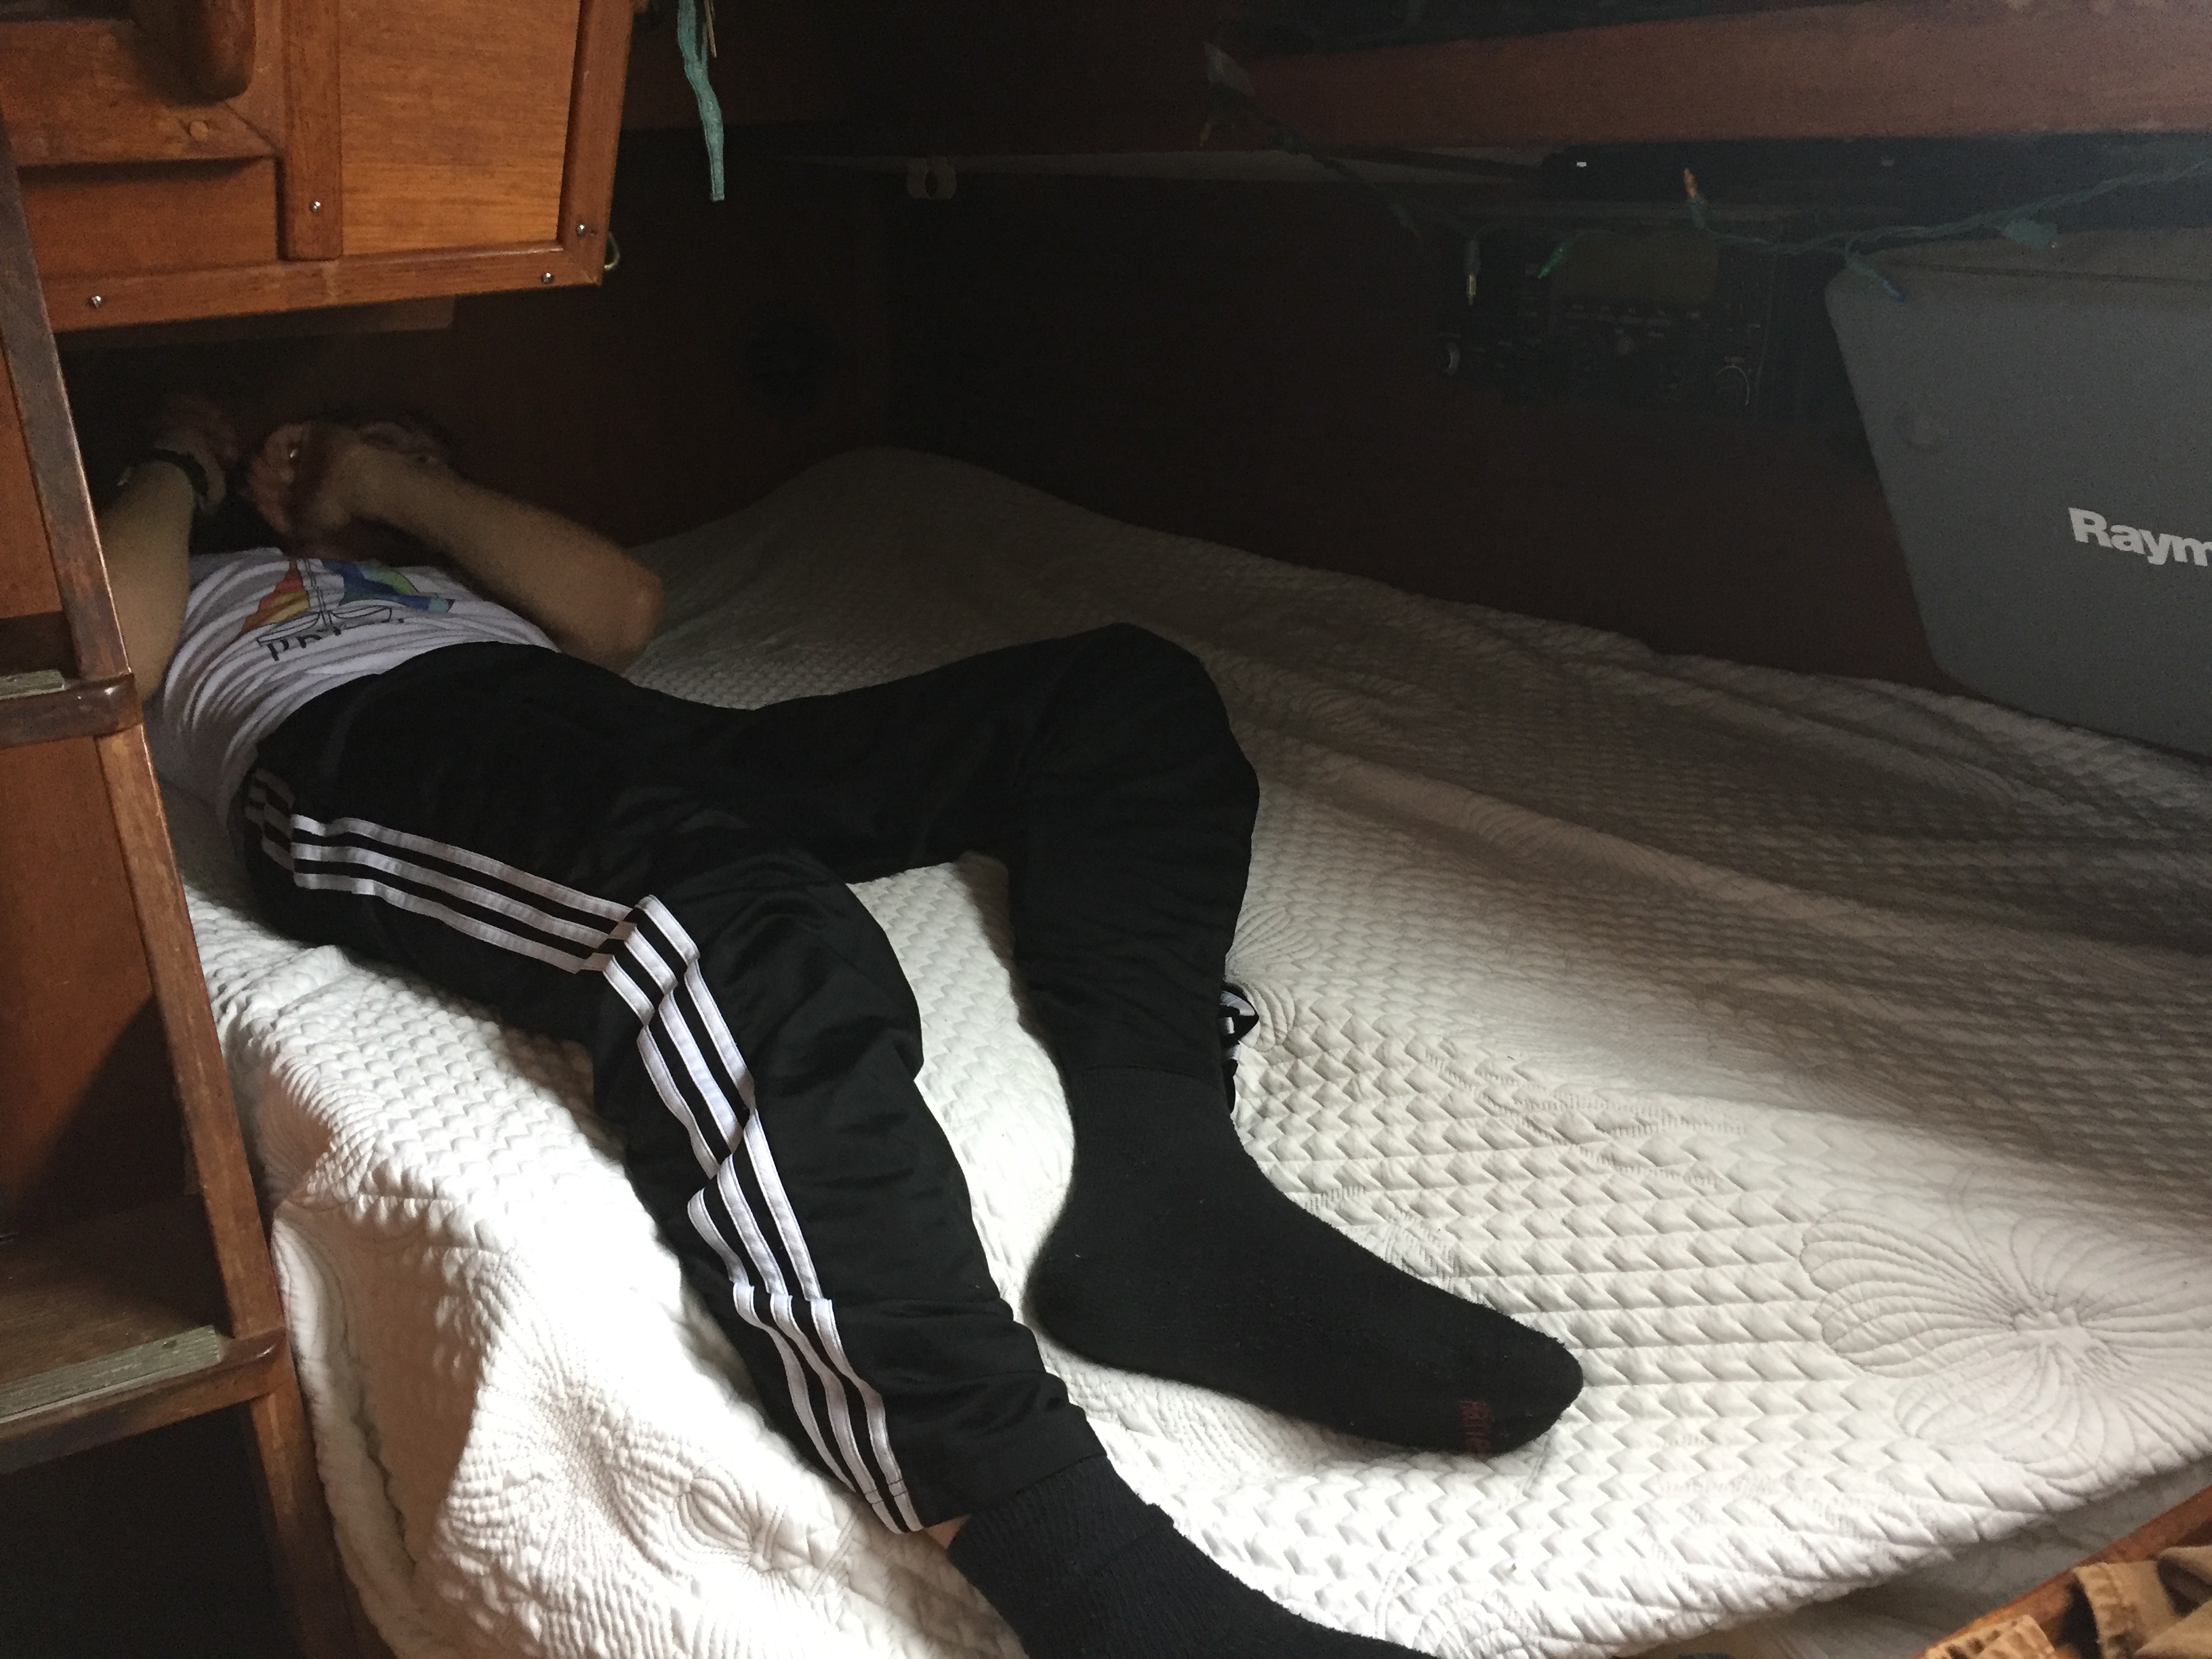
Not too shabby pre-cut
The last step was to put a new mattress in. Instead of buying a custom mattress (which would be great) we decided to buy a latex foam mattress from amazon and cut it ourself. We did the same with our bed, and it worked really well. After measuring and remeasuring a few hundred times, I found that a queen size was the smallest we could go after making our cuts. I also found that using a very sharp cutting knife works perfectly for cutting the mattress. We have heard of people that use serrated knives, but with our experience they do an okay job but leave quite a mess. We used the old cushions and the new planks as templates for cutting. From there we cut a little off both long sides but kept the two narrow sides untouched. After we finished cutting we put the foam back into the sleeve and sure enough we cut it perfectly! In the future we plan to sew on a cover that will match the blue pattern on the rest of our boats cushions so we don’t have to keep a set of sheets on the bed at all times to make it look good, but until then we will enjoy how snug it looks.

Not a bad set up 🙂
As far as the project goes now, all we need to do is varnish the new teak, paint the plywood white just like the V berth, and make a custom blue cover for the mattress as well as the nav-seat. However, those are just details. We consider this project complete and we are so excited with how it turned out! We now have more storage for our guitars, video gear, and other misc. things that had no home until now.
Marissa’s parents were the first people to sleep in the new bed, and we finished the project within 20 minutes of their arrival- not bad if I do say so myself. They said that it was very comfortable and are excited to come visit again, we sure hope that our guests now have a better nights sleep when they stay aboard!
Thanks for reading, I hope you enjoy the full video recap below.
UPDATE JULY 2022 – Finishing What We Started
A lot has changed since we did this project back in 2018. Avocet’s interior has been completely revarnished, we have a brand new galley, new nav station and that’s only the major interior renovations. We have touched nearly every inch of this boat above and below the waterline, inside and out truly making her our home sweet home. As we near the end of our project list, we find ourselves circling back to some of the earlier things we did to either revamp our initial installations or simply just finish what we started. You see, we may have finished up the bones of the Quarter Berth remodel in 2018, but what we didn’t do was complete the finishing work like painting all the lockers underneath and fixing where the water damage from our toe rail (now removed) damaged the teak veneer. Not to mention, after a few years of trial and error we realized the paint we originally used was not as good as our new two part epoxy favorite. We had pushed this project off for a while, but with some newfound time and resources we decided to jump right back in, wishing Chris and Marissa in 2018 did this all in the first place.
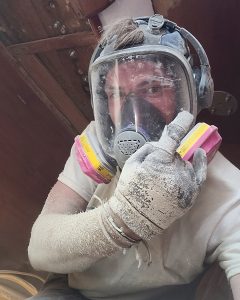 Truth be told a major inspiration to get back into this project was because of Cleo. When we remodeled our nav desk, we relocated Cleo’s litter box from the bow to her own space under the nav station where the switch panel used to be located. Although this new locker fit her box with ample space, the headroom was not ideal for our sweet kitty so we decided to “raise the roof” three inches to give her a poop palace that was fit for a queen. Since her box is located under the nav seat (which as you know, gets lifted to create a full bed) we only had to build up this part to accommodate for Cleo’s head space, leaving the rest of the bench alone. But before we could even think about reconstruction, Chris grabbed his trusty grinder and got to work removing what was left of Avocet’s failing paint. Fortunately, Chris’s dust control efforts have improved over the years as he completely (and carefully) tarped off his work space that threw up copious amounts of fiberglass particles. I was surprised when I came below deck (via forward hatch) to see that not a spec of dust had crossed his tapped off boundary to wage war on the rest of our interior.
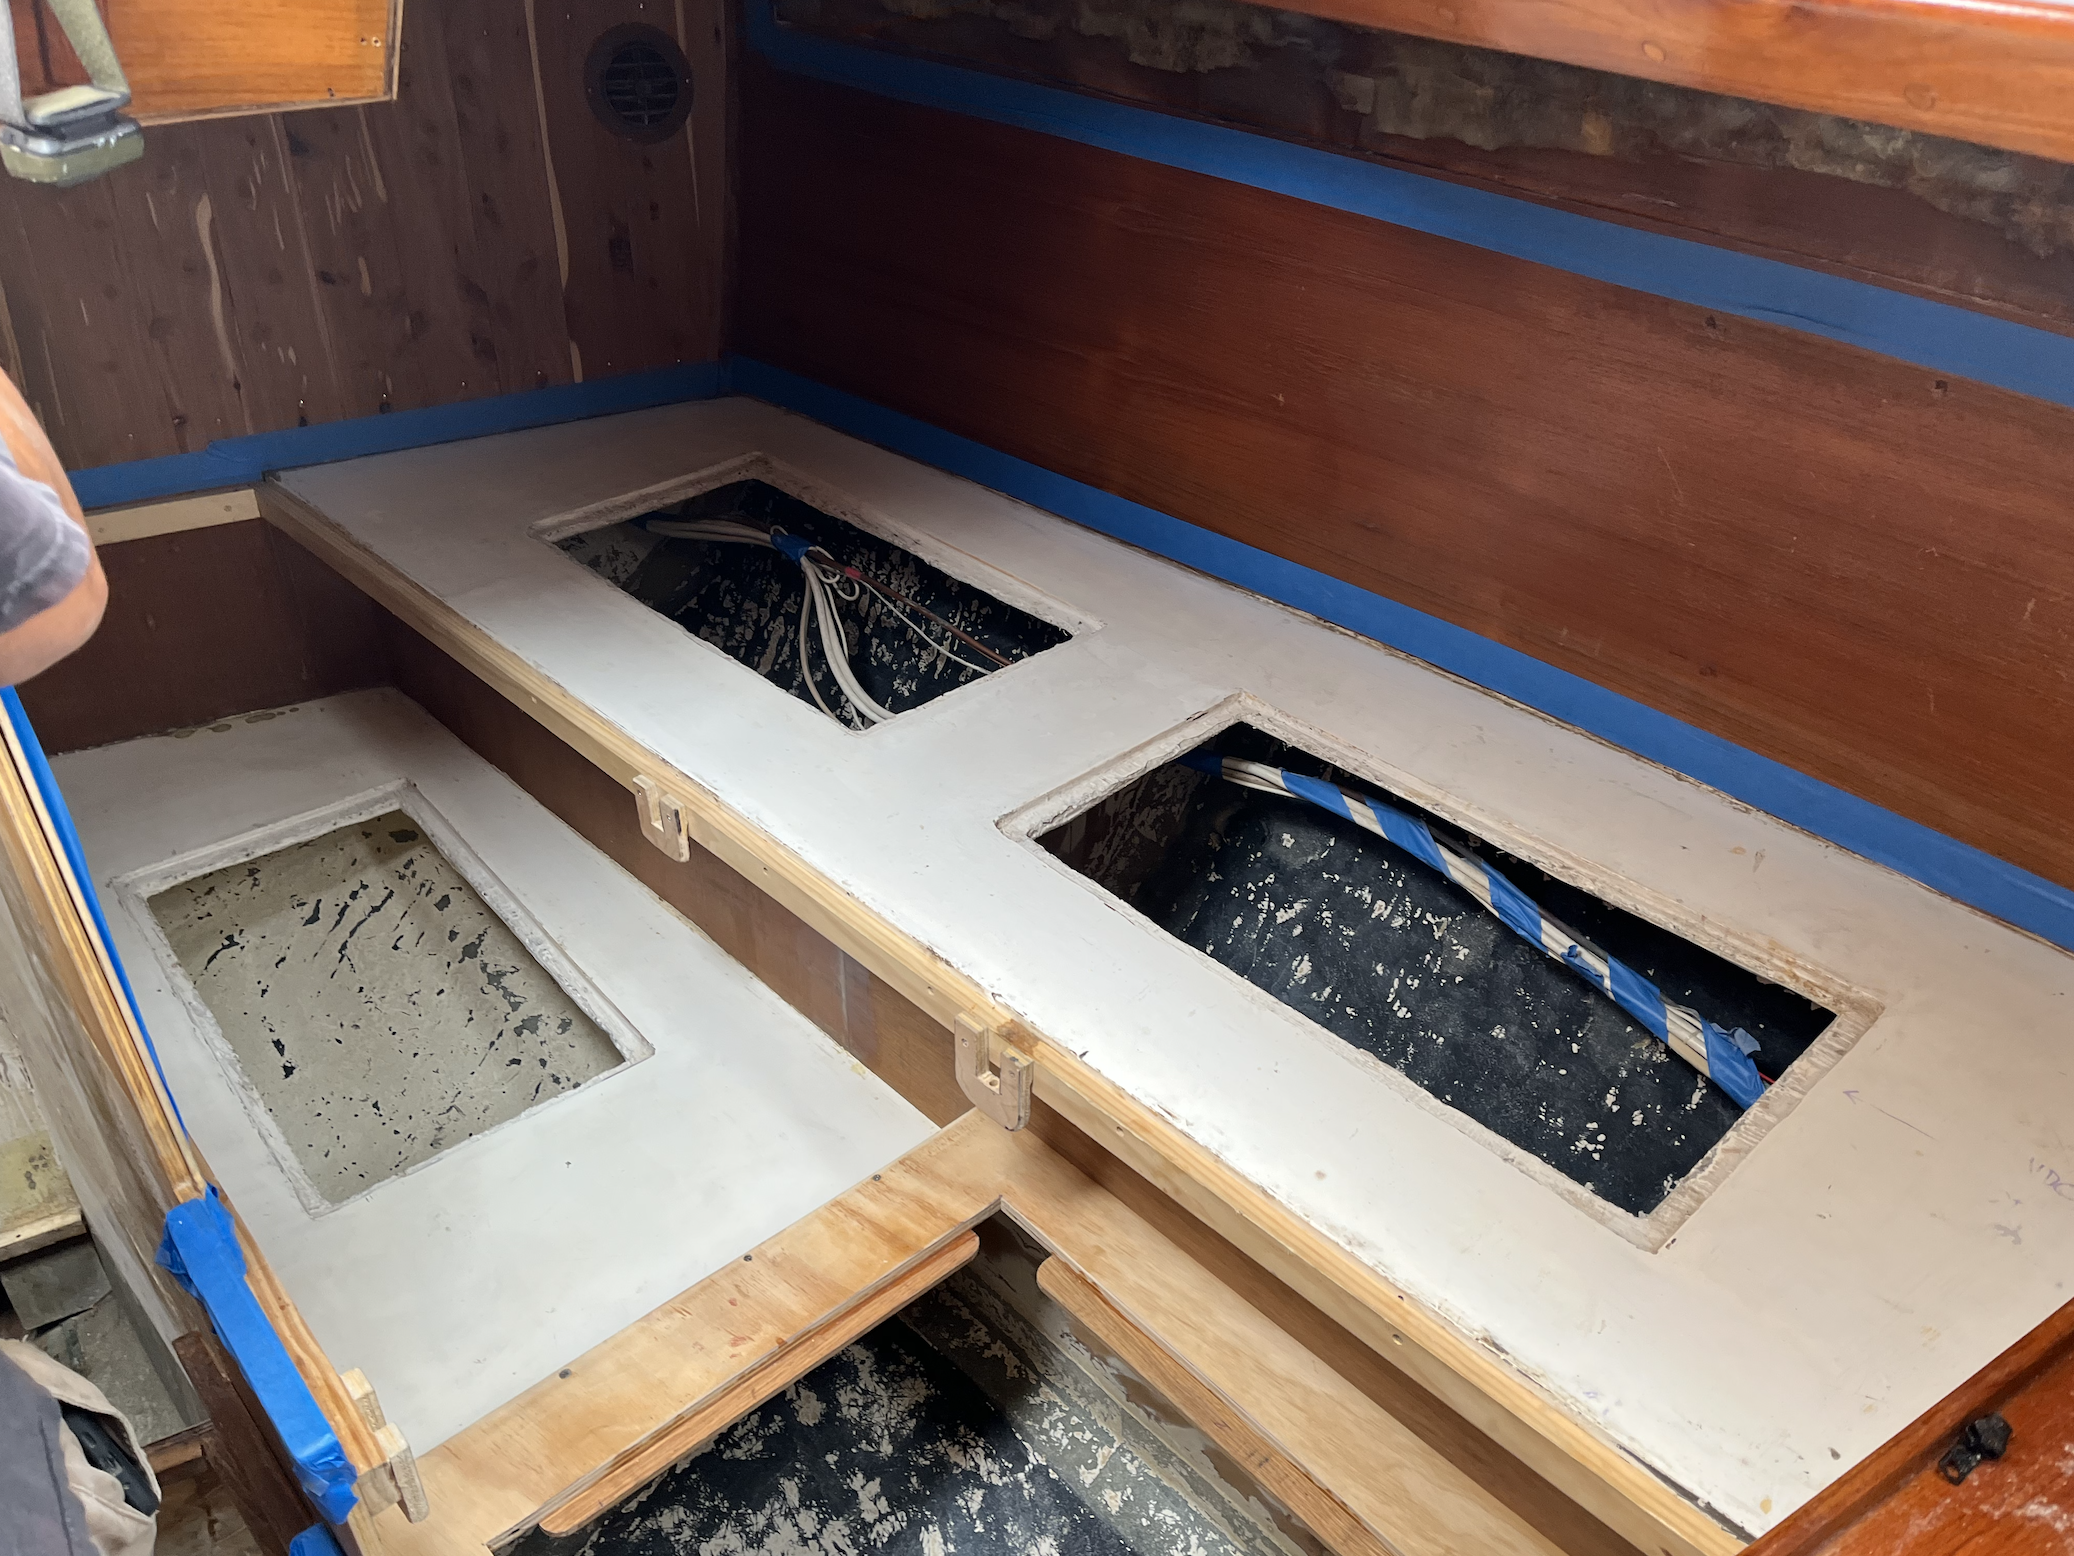
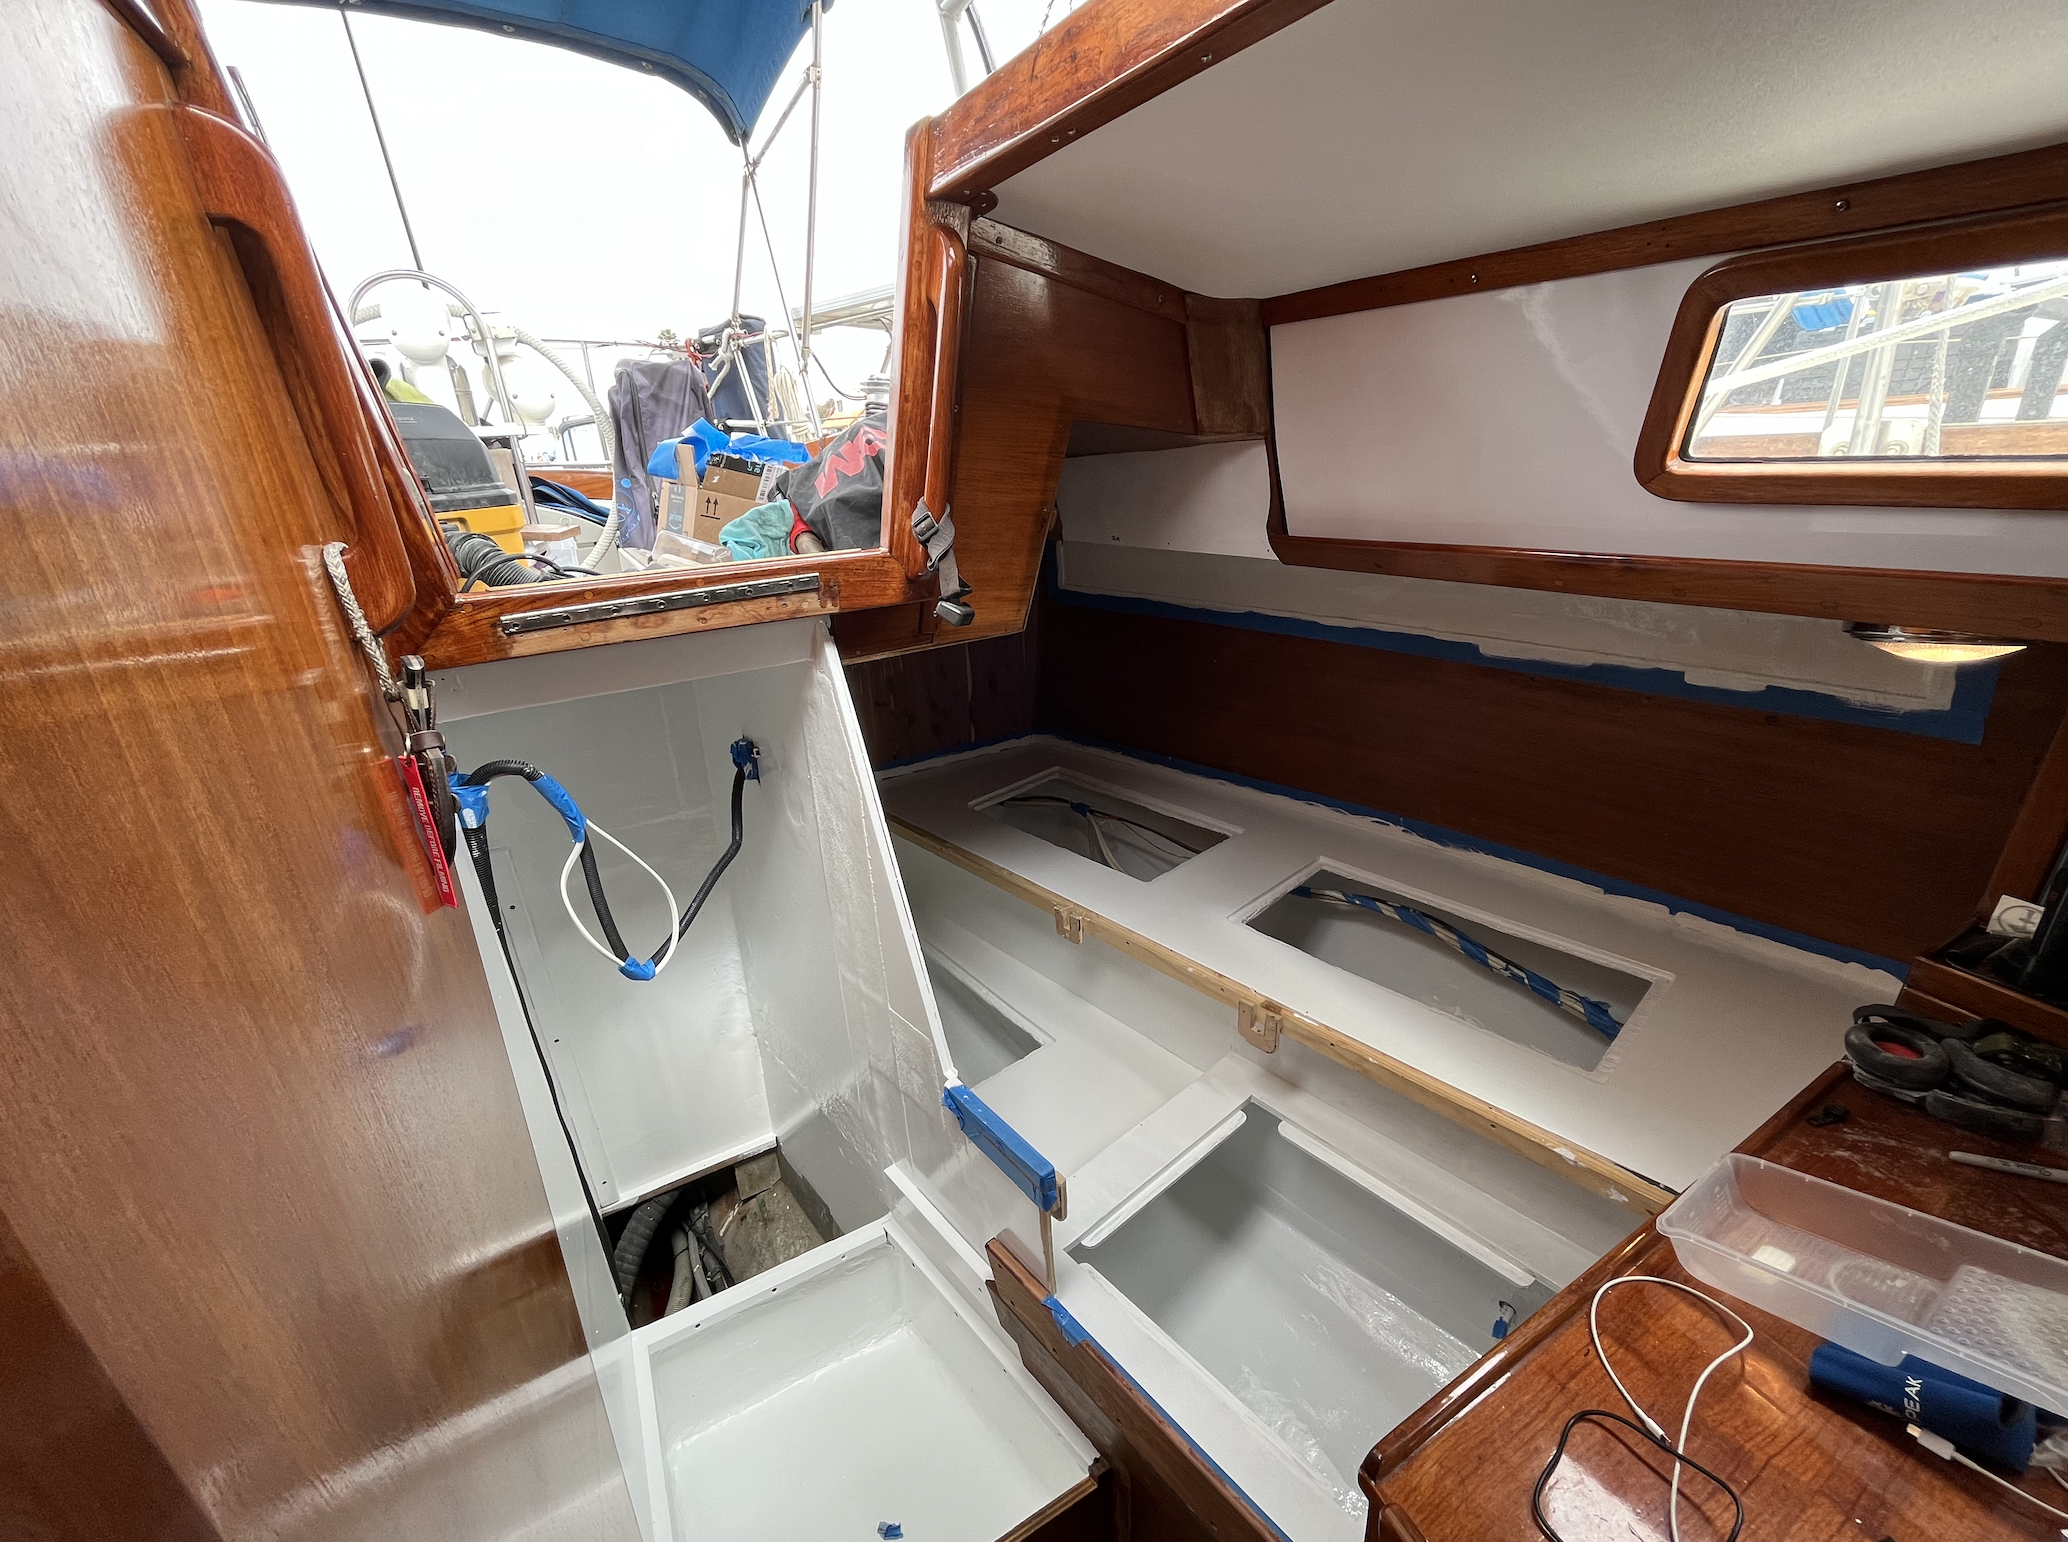
Since Chris has worked with fiberglass for years (and even had a stint building fishing boats) his skin has become impervious to the itchy glass dust which is his justification to forgo the always fashionable Tyvek “bunny suit”. He is what many would clinically classify as a man that is glutton for punishment, but he promises me that he really can’t feel the itch (or burn) and continues on his mission, bare skin and all. At least he wears a heavy duty respirator with the understanding that if that dust goes internal, it’s all bad news. With the space free of paint, Chris built Cleo’s new raised roof/nav desk seat platform and wiped everything down with acetone before jumping in to paint with Tile Clad, our go to mold resistant two part epoxy hard paint. Since we also had remodeled the space beneath our steps to be a new locker, and beneath that had the old battery box we prepped that area for paint as well. Since the space was really only fit for one and we couldn’t find my respirator, Chris squeezed in to roll three hot coats of paint; meaning he would go back over a completed area while it was still tacky to build the layers and create full coverage.
Oh, I forgot to mention that painting and creating Cleo’s poop palace weren’t the only things we did to revamp this space. After living aboard for four years Chris and I realized a shelf in above the Quarter Berth bed would be beneficial for guests to store things as well as to hold our radios, headlamps, flashlights, flags and other navigation essentials. Luckily Chris has become quite the craftsman and busted out a beautiful shelf that looked factory within a two day period – something 2018 Chris would be so proud over. Chris removed the damaged teak veneer, the final trace of our old toe rail, revealing the glass underneath. We decided to paint over the glass since we would just be covering it with the new shelf, and prepped the surface for its new addition.
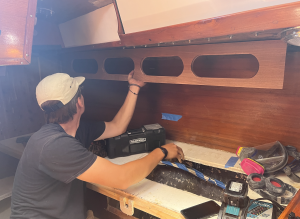
Together, we attached the shelf by screwing it into beneath the deck, then finished it with a few coats of Man-o-War varnish. With the bed in place (now grey, thanks to the covers Chris sewed a while back) the entire look was pulled together, finally finished with lockers ready to hold our possessions. Finished photos coming soon!




0 Comments